

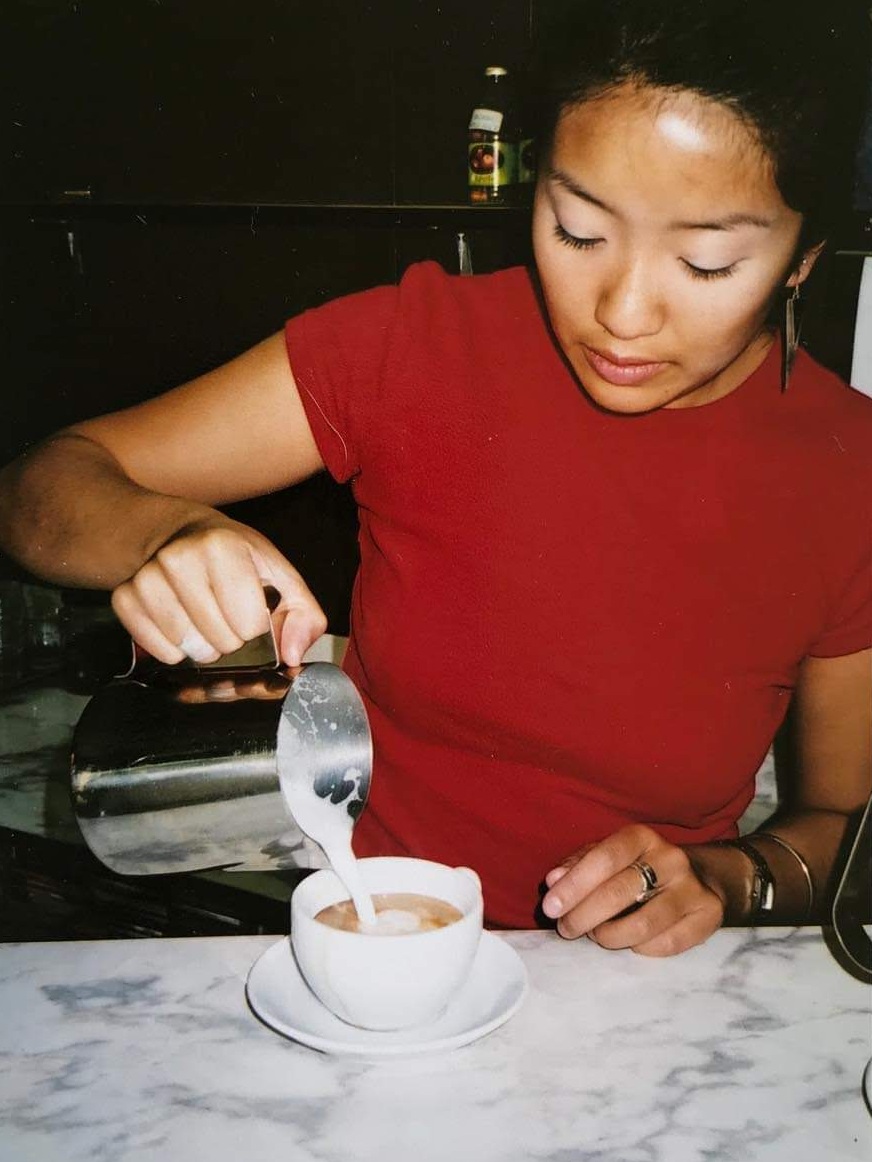
When I first started making coffee well over ten years ago, my coffee mentor was already doing perfect double Rosetta’s in his milk! This was way before latte art was seen anywhere. It wasn’t even a thing. I remember working really hard to even get some sort of formed ‘blob’ on top of the coffee. But I was told, if I get the milk texture (and temperature) right, the rest would come. I steamed and swirled that damn milk like no tomorrow so that I could get it smooth and creamy. Whether you’re a working barista, someone starting out or a home enthusiast and looking for another perspective, it’s always a good sign when you see some nice latte art so I’m going explain the basic science and concept of heating milk then share some pointers I use which will hopefully help get your milk texture right.

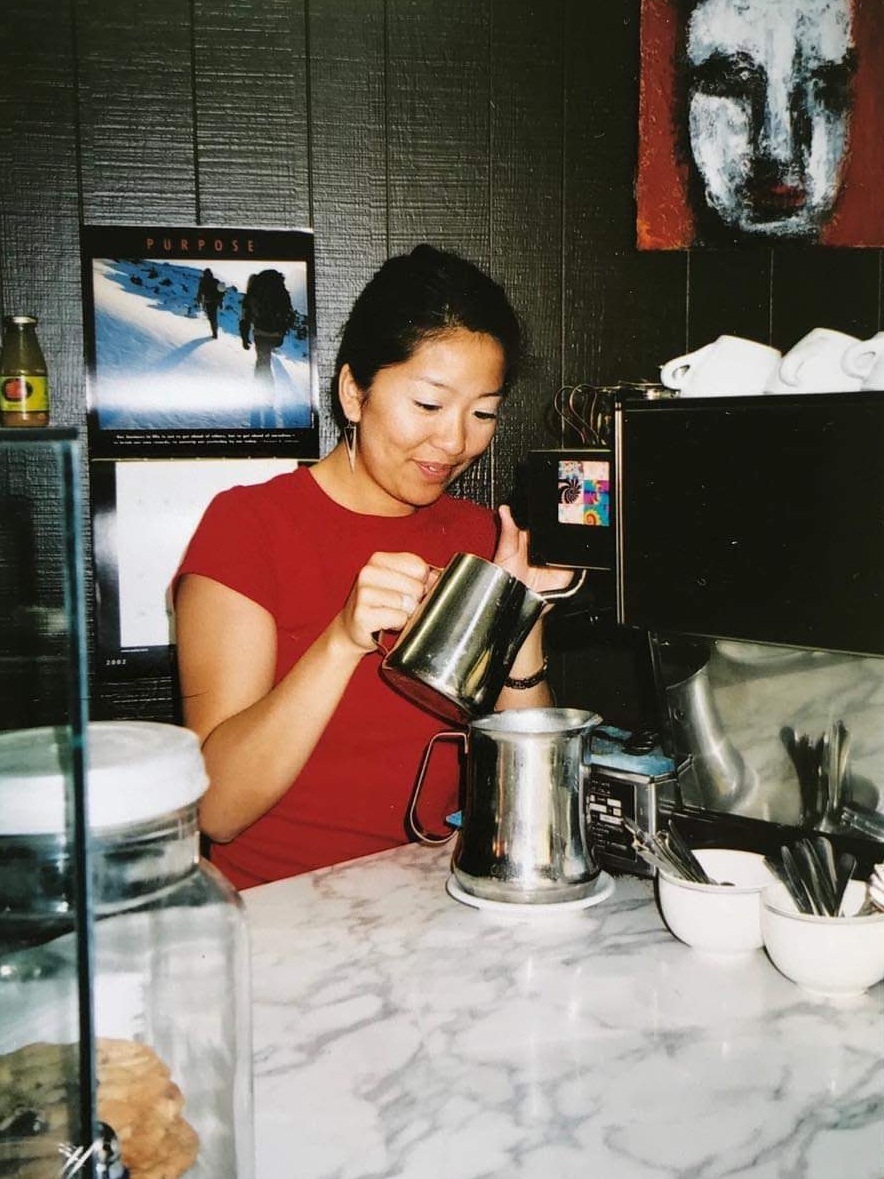

Picture above: Baby-Me making coffee well OVER A DECADE AGO!
Latte art is really important in the presentation of coffee but it does not necessarily mean that the coffee itself is “good”. It is only one part of what makes a well-made coffee. It is however a good indication that the barista is practiced and has trained hard to control that aspect of coffee making, time and time again.
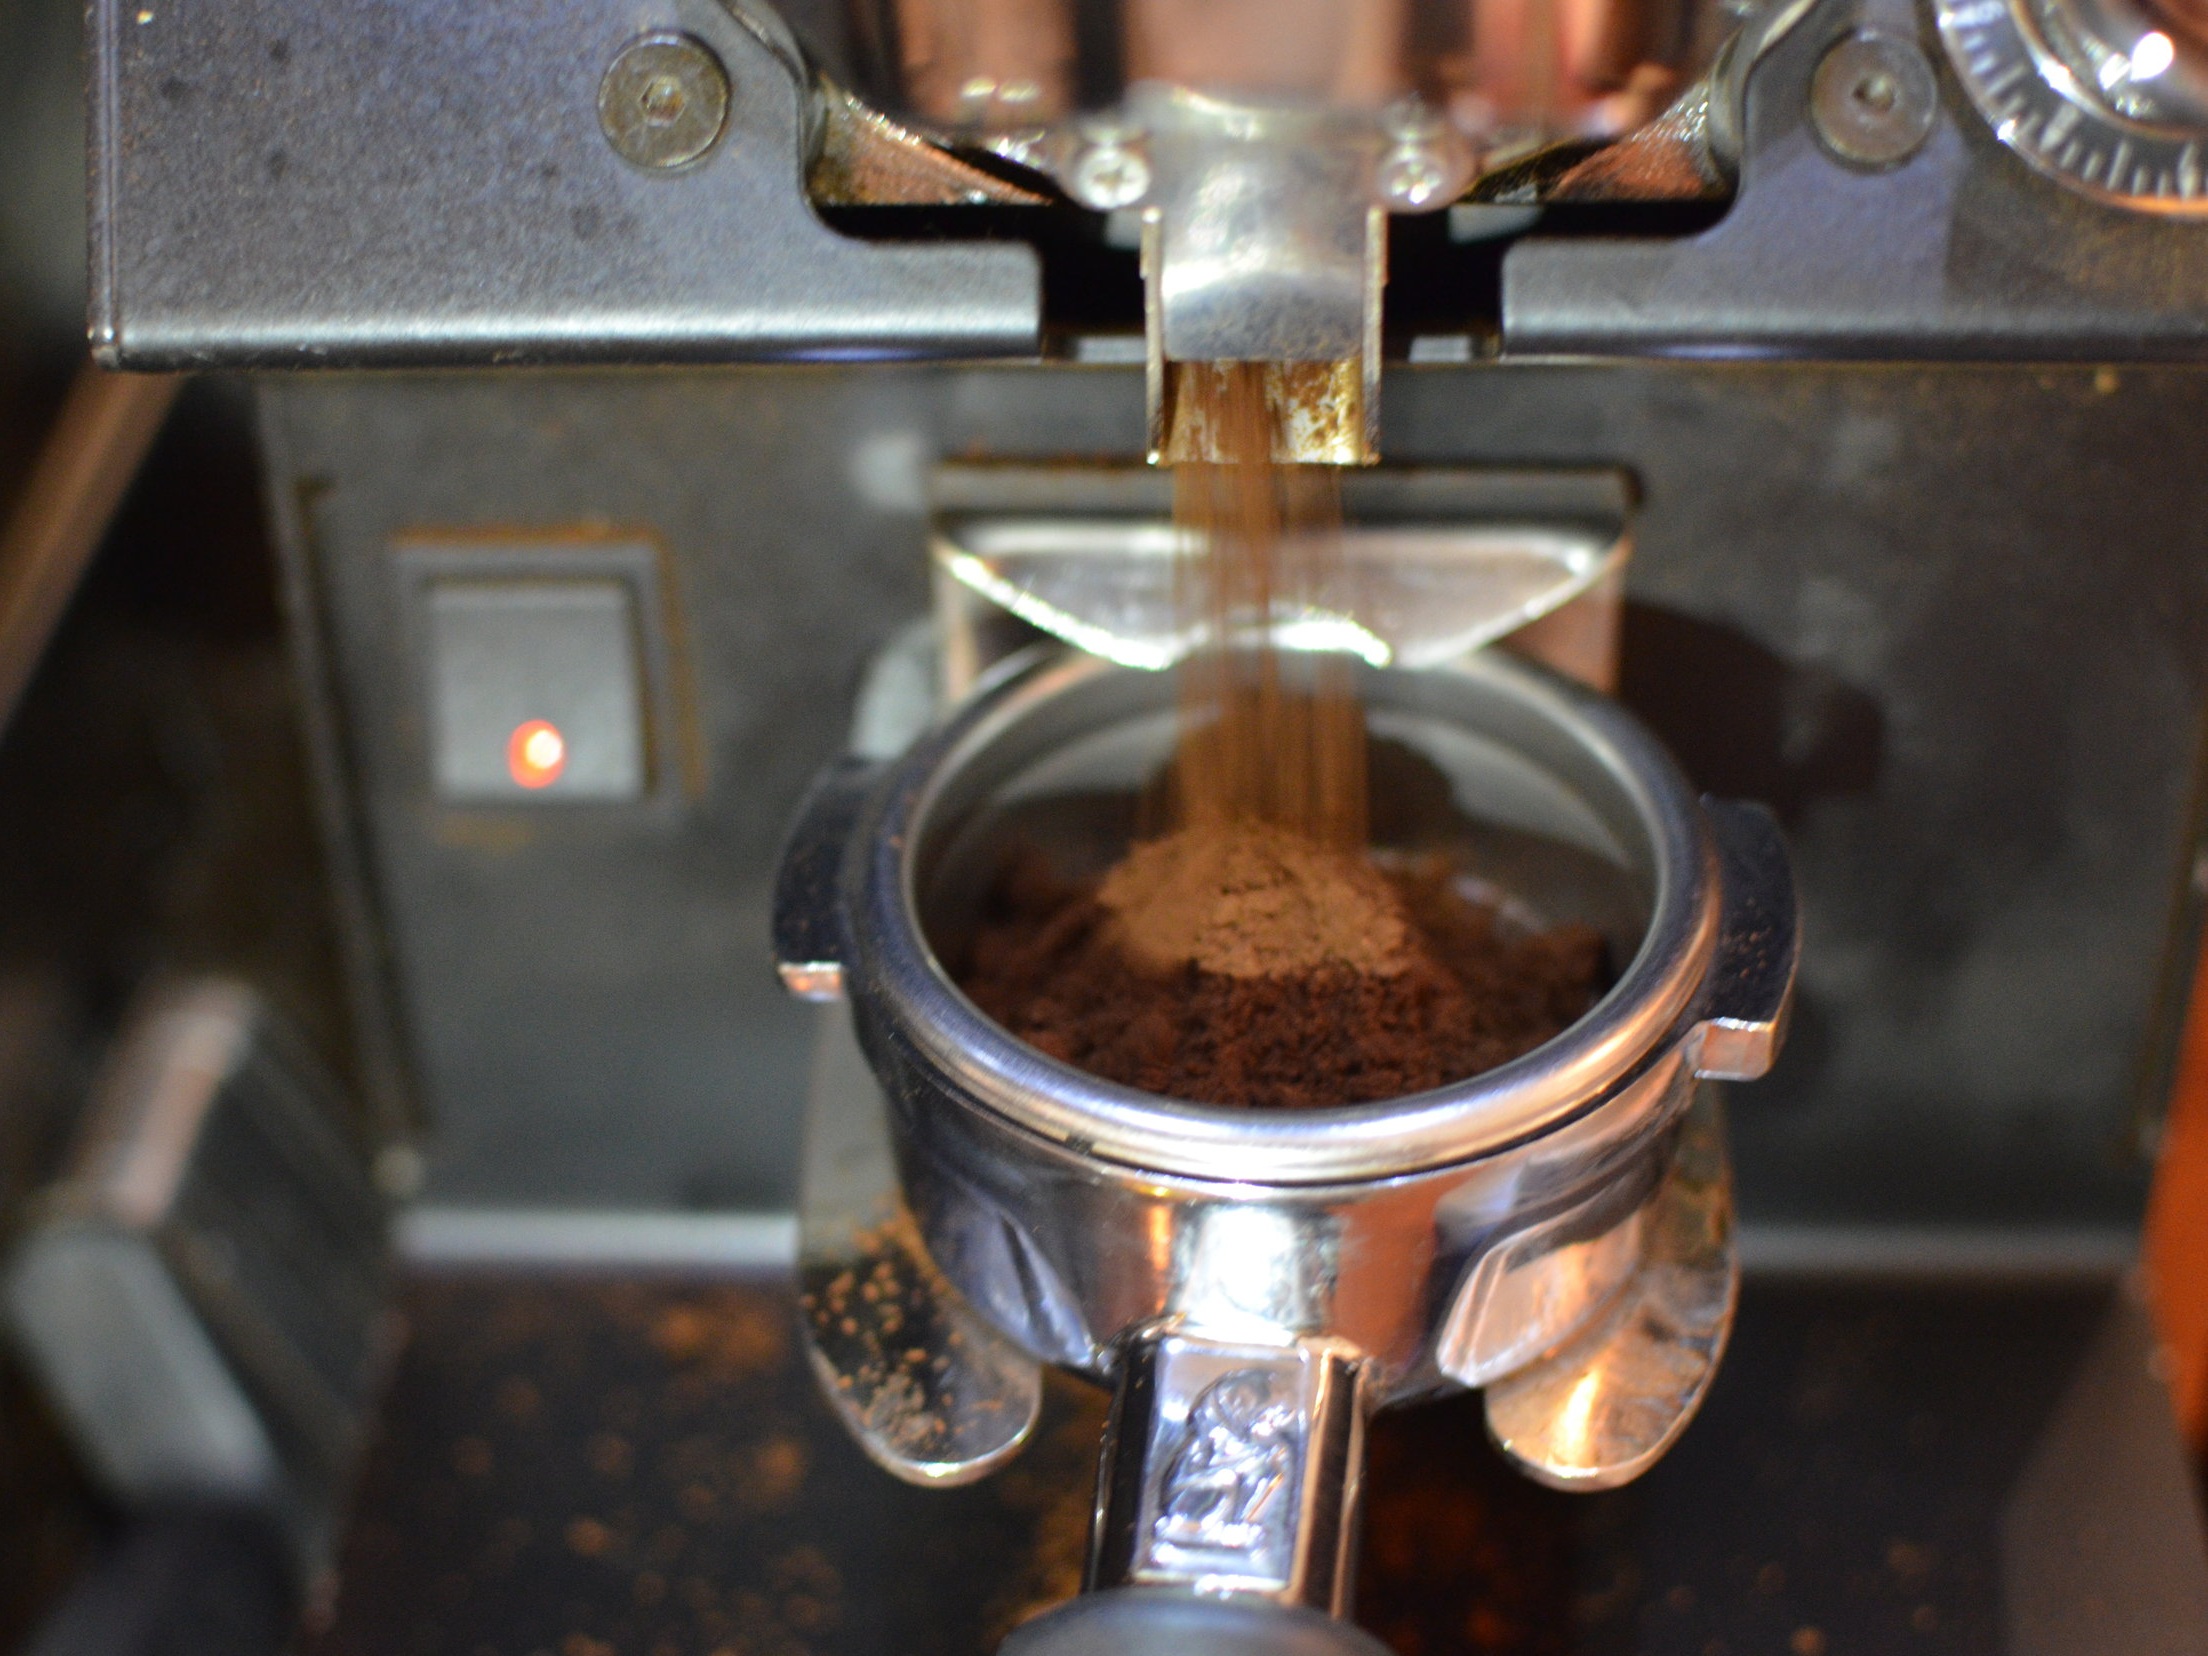
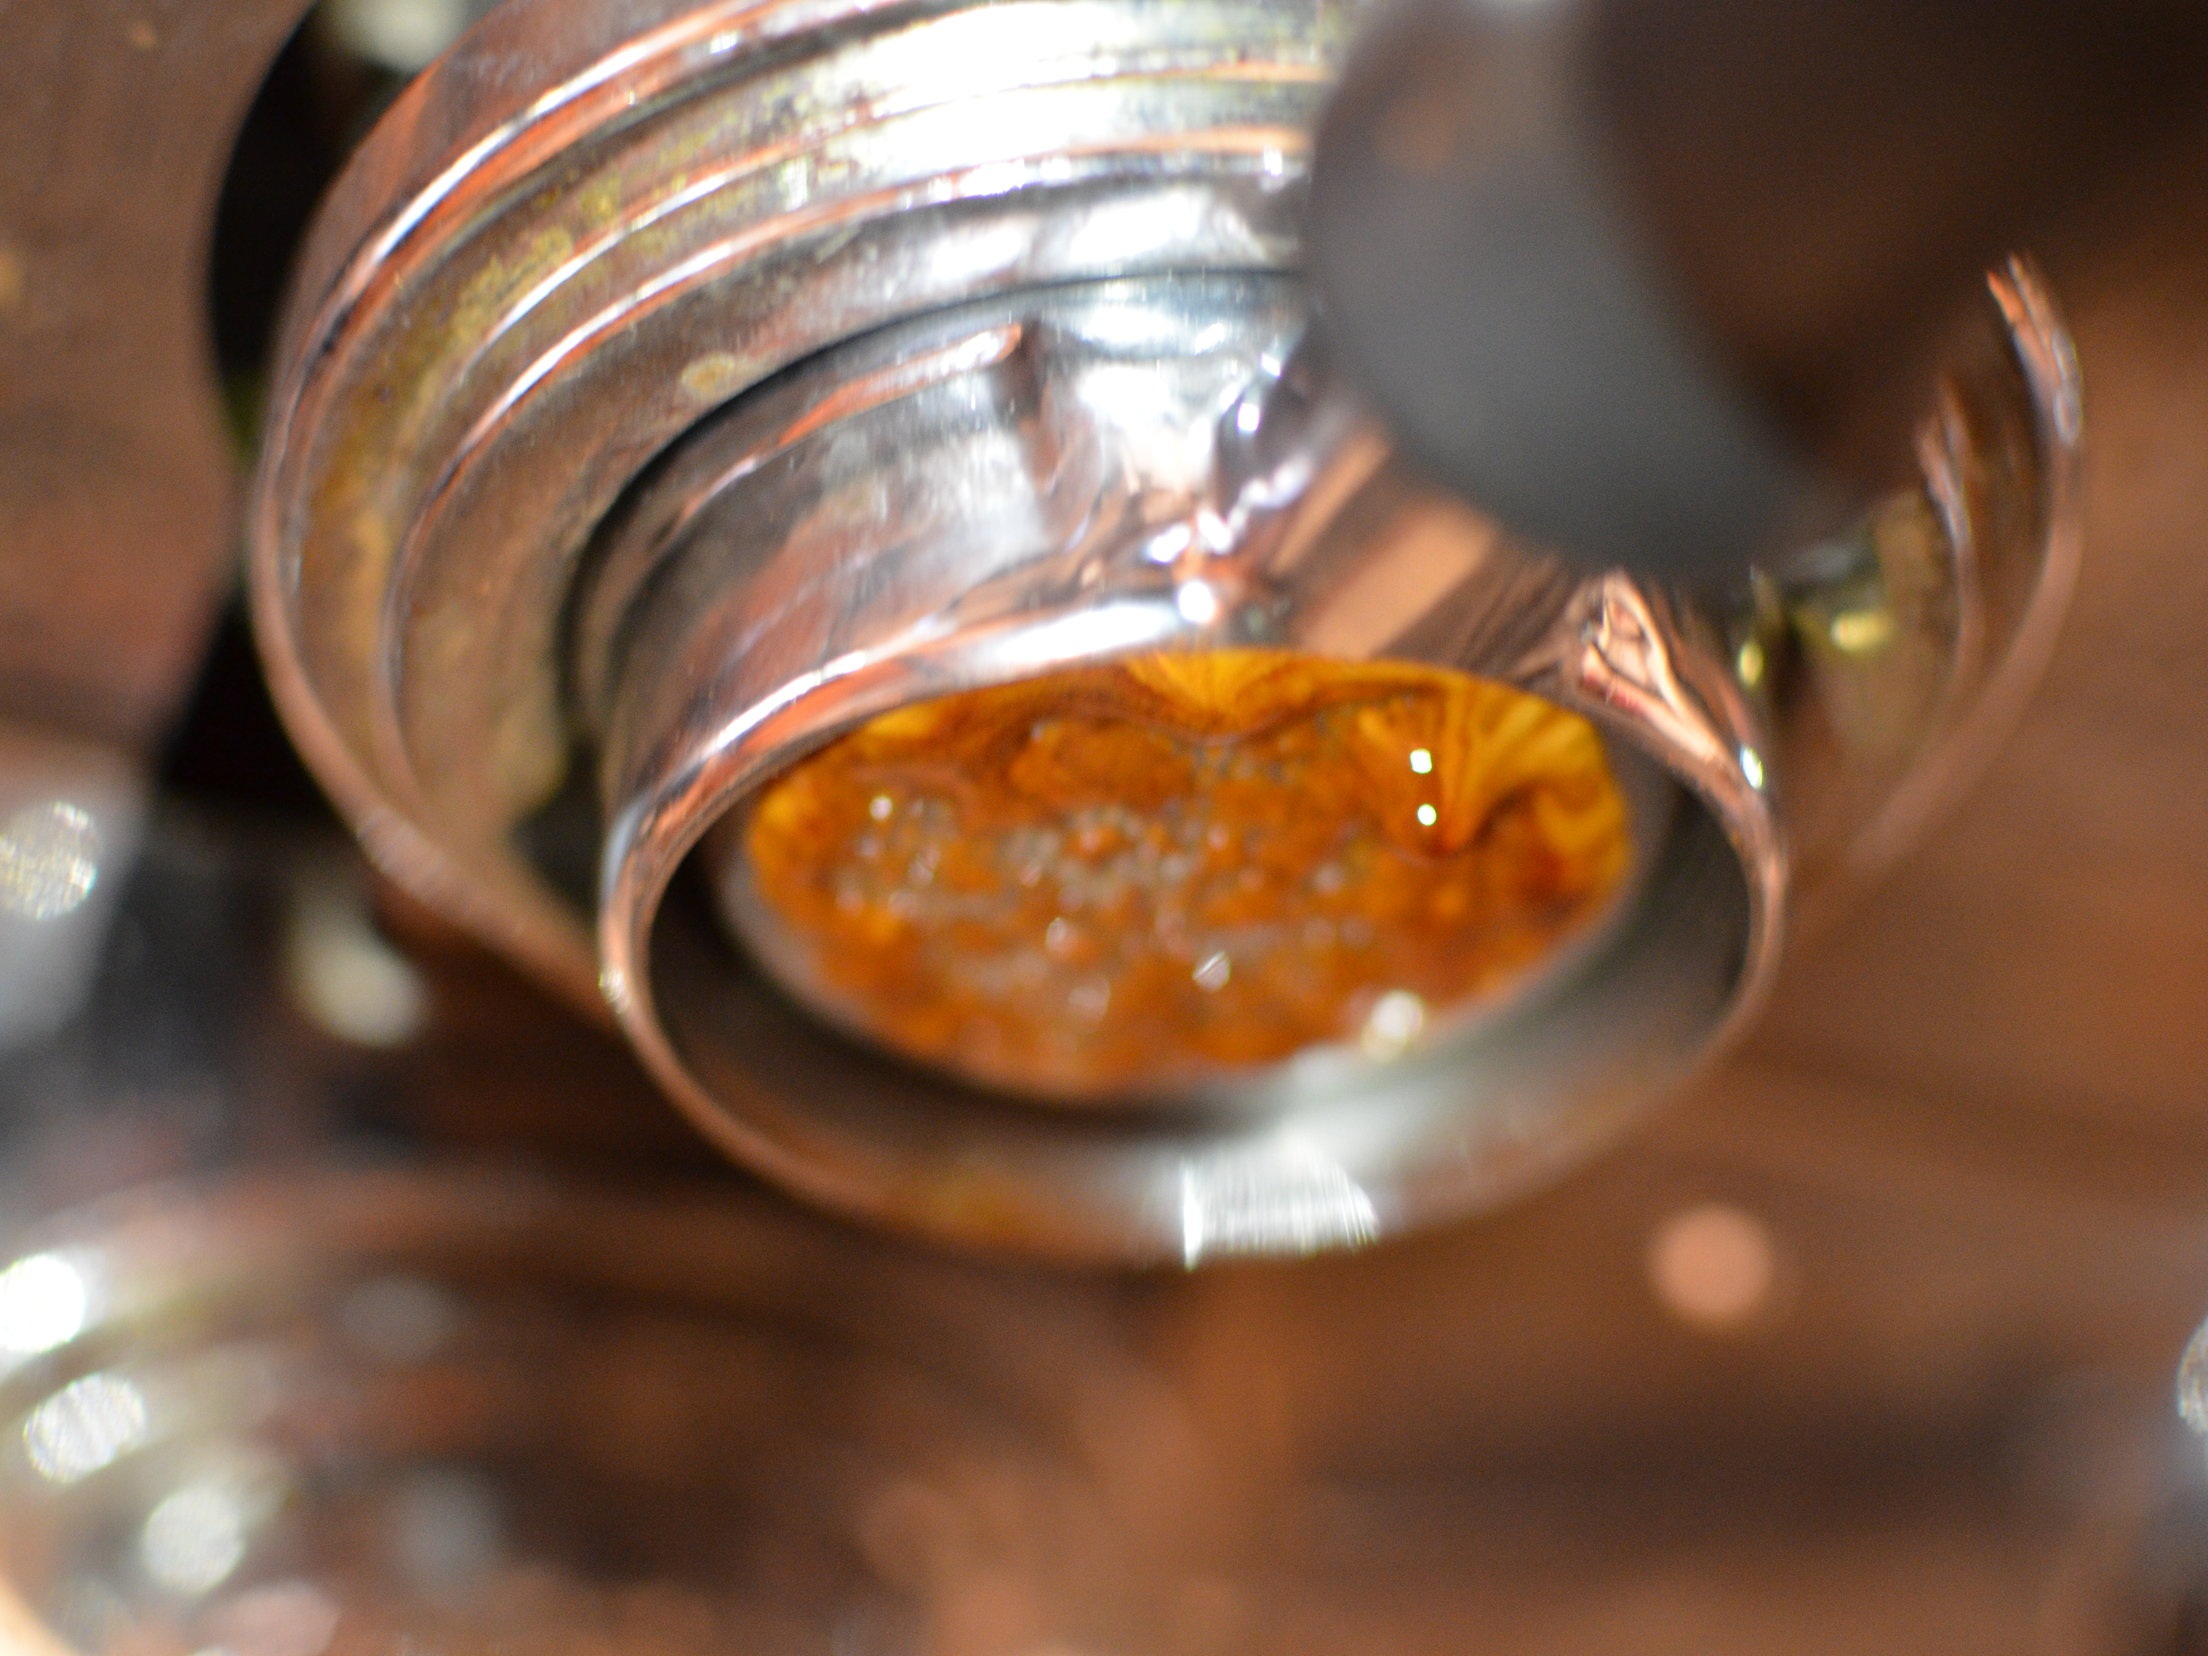
Many latte art championships won’t focus on the espresso, but in the business of cafes and consuming coffees, it’s very important to note that the espresso needs to taste good on its own merit. That is down to the quality of green beans, skill of the roaster, the experience and expertise of the barista to make sure the extraction is good. The milk is just the cream on the top - so to speak.
Start with the basics; apples and hearts. Nail them, then move onto rosettas until you can do them (almost) literally with your eyes closed! It’s easier to do when you understand the science and importance of milk texture and of course, with loads of practice and repetition.
It takes practice to get consistently good latte art, and you can only really do good latte art with good milk texture. Ever tried to do it with bubbly, rigid milk?
Not gonna happen.
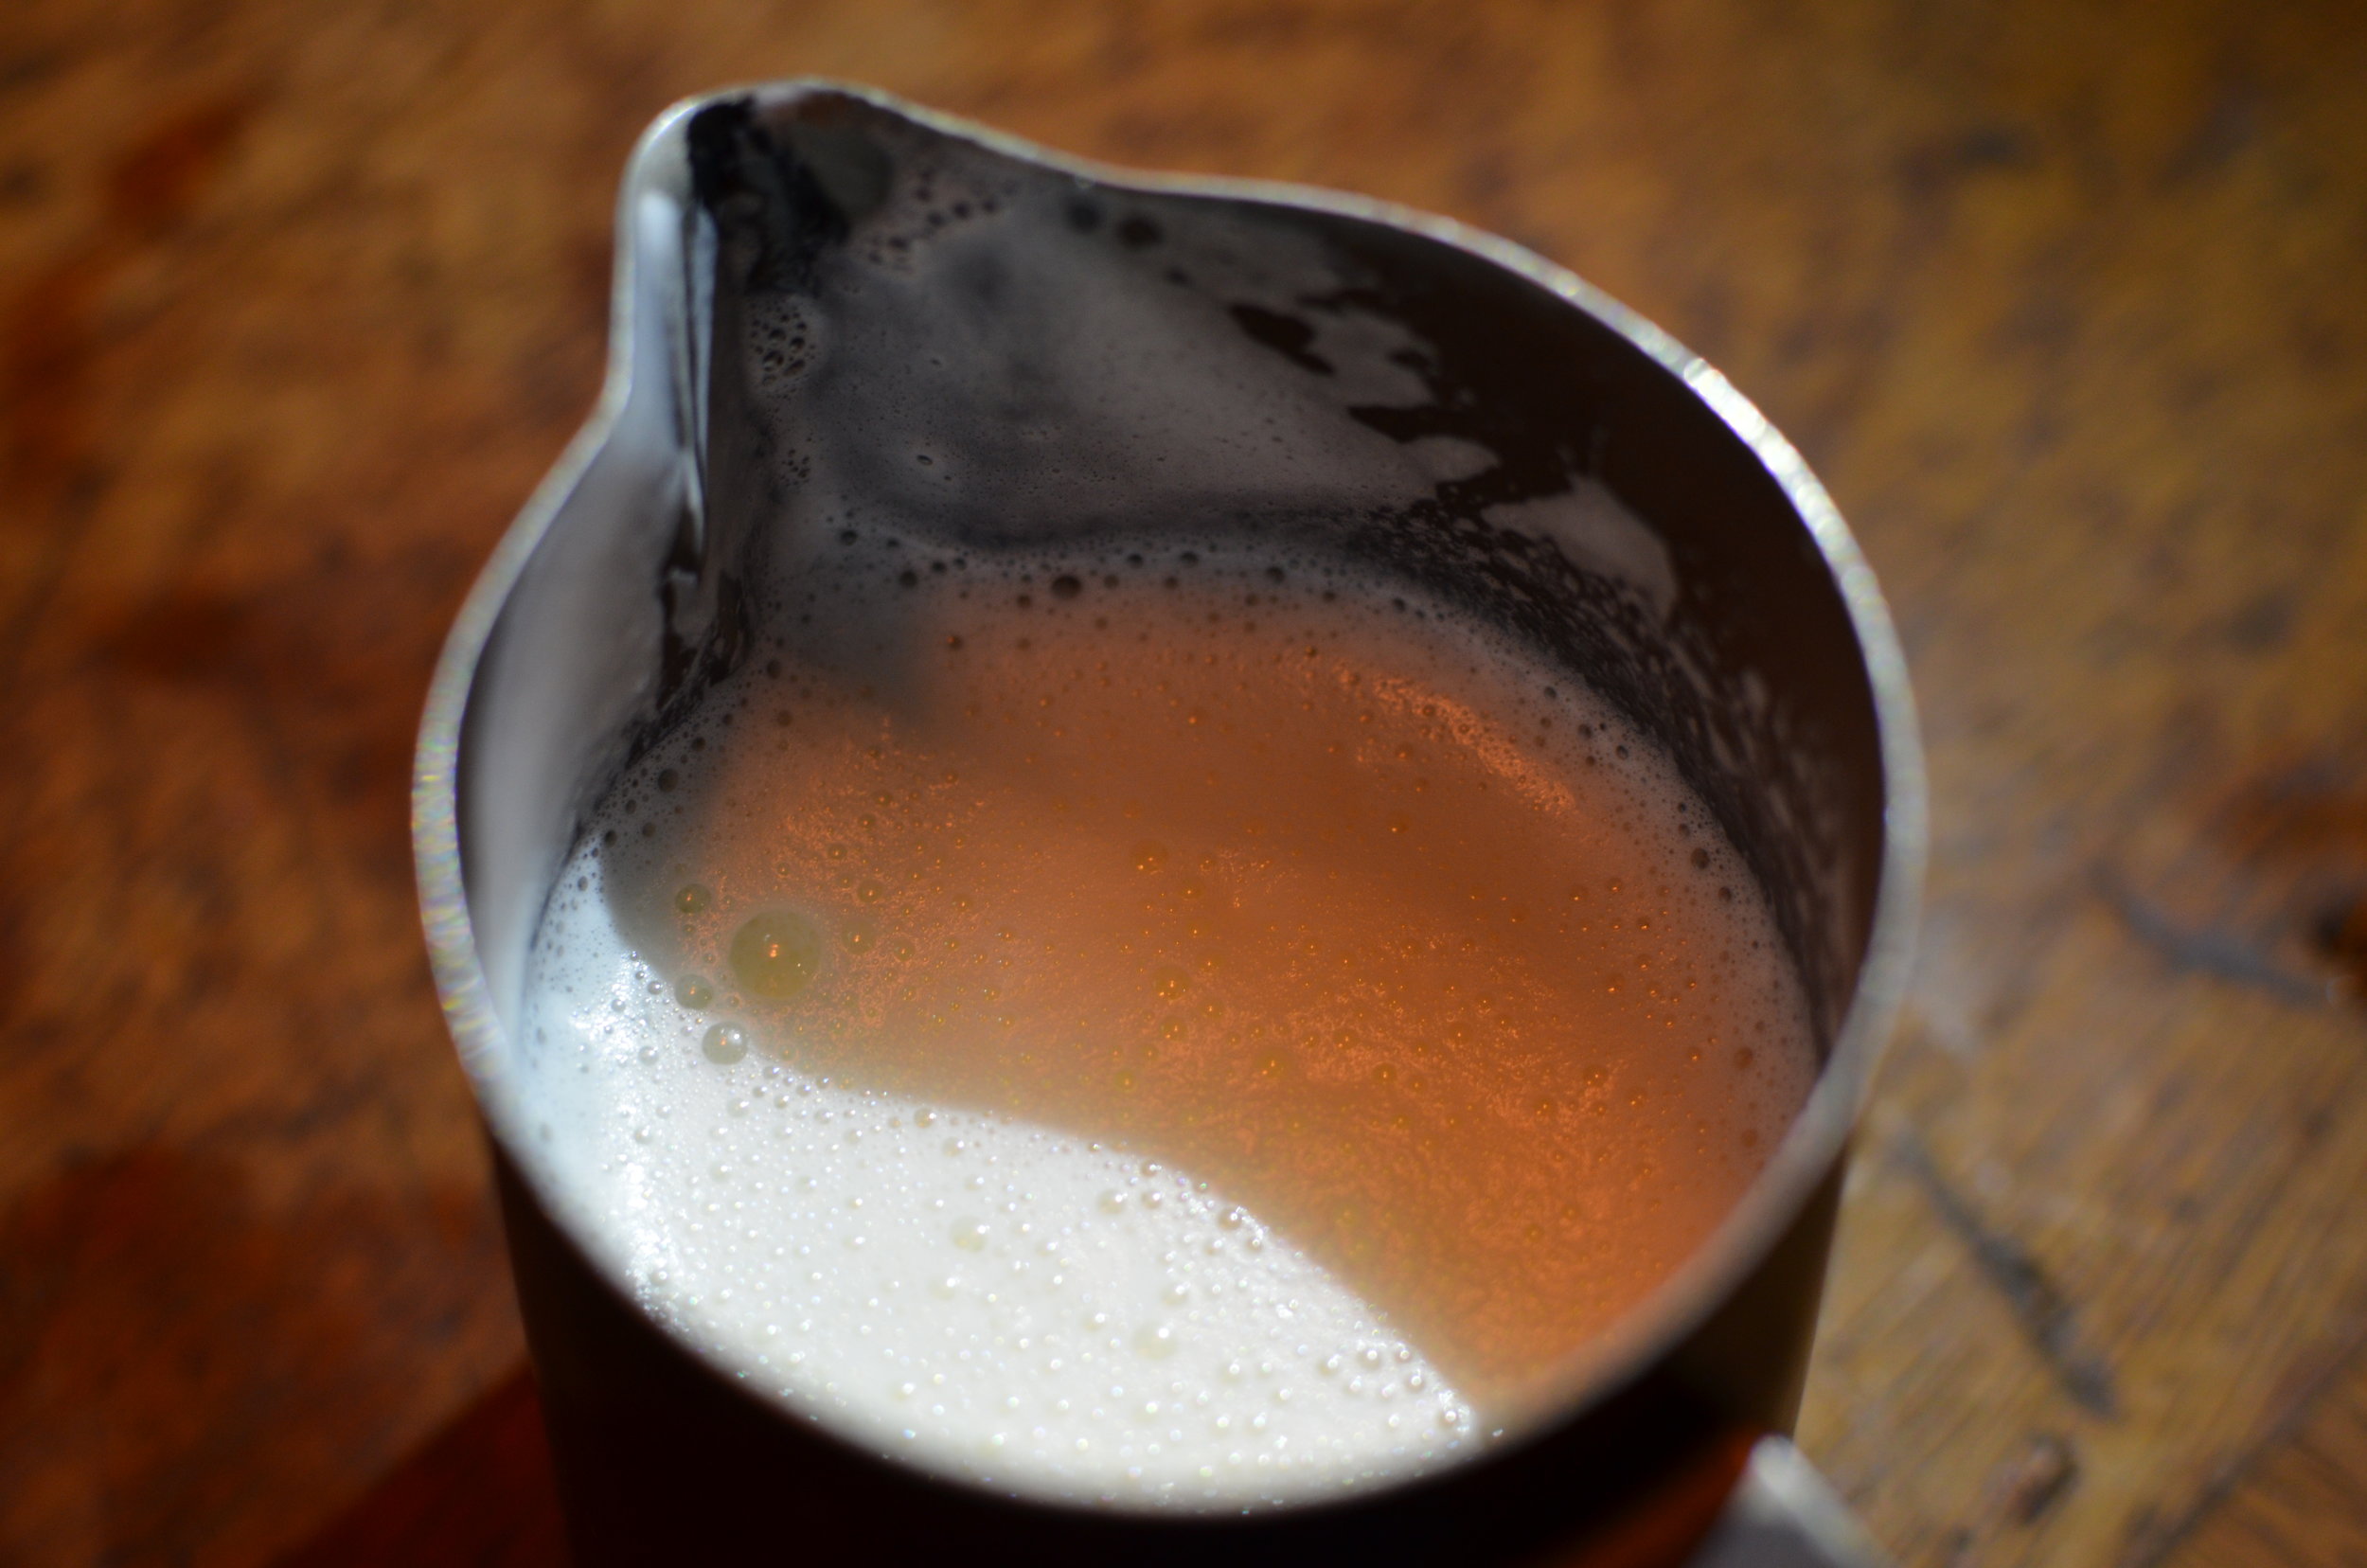
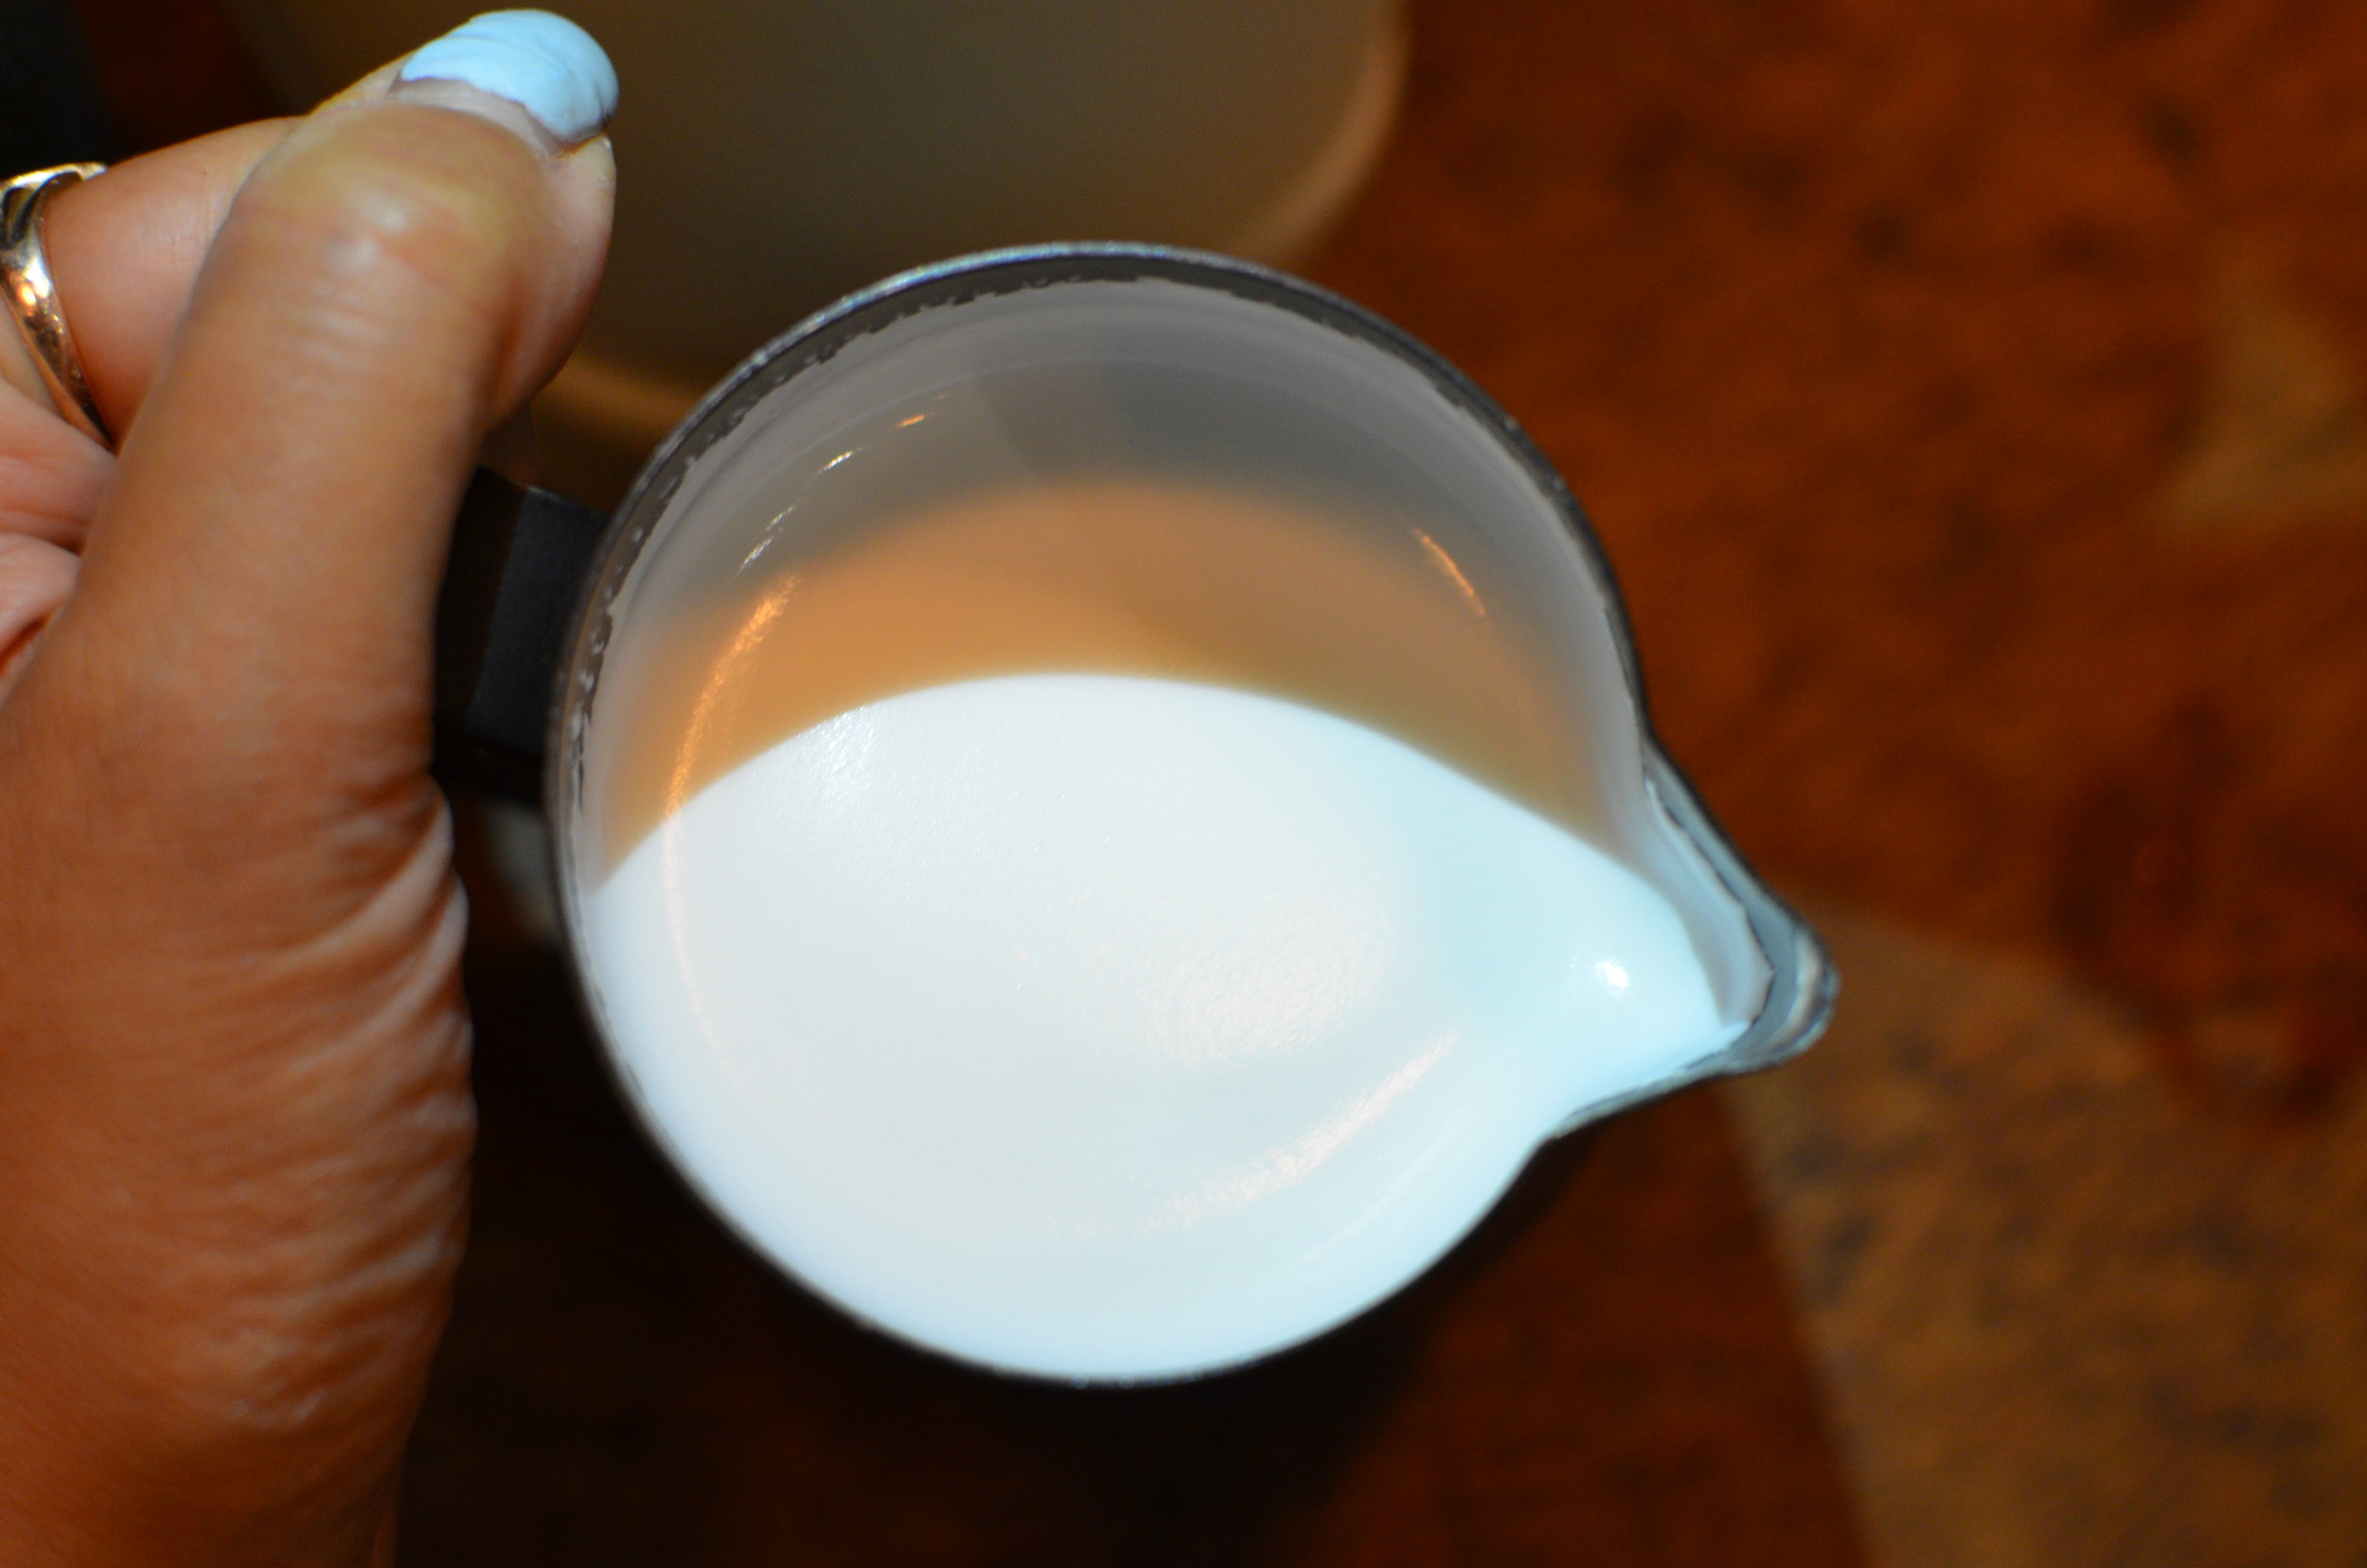
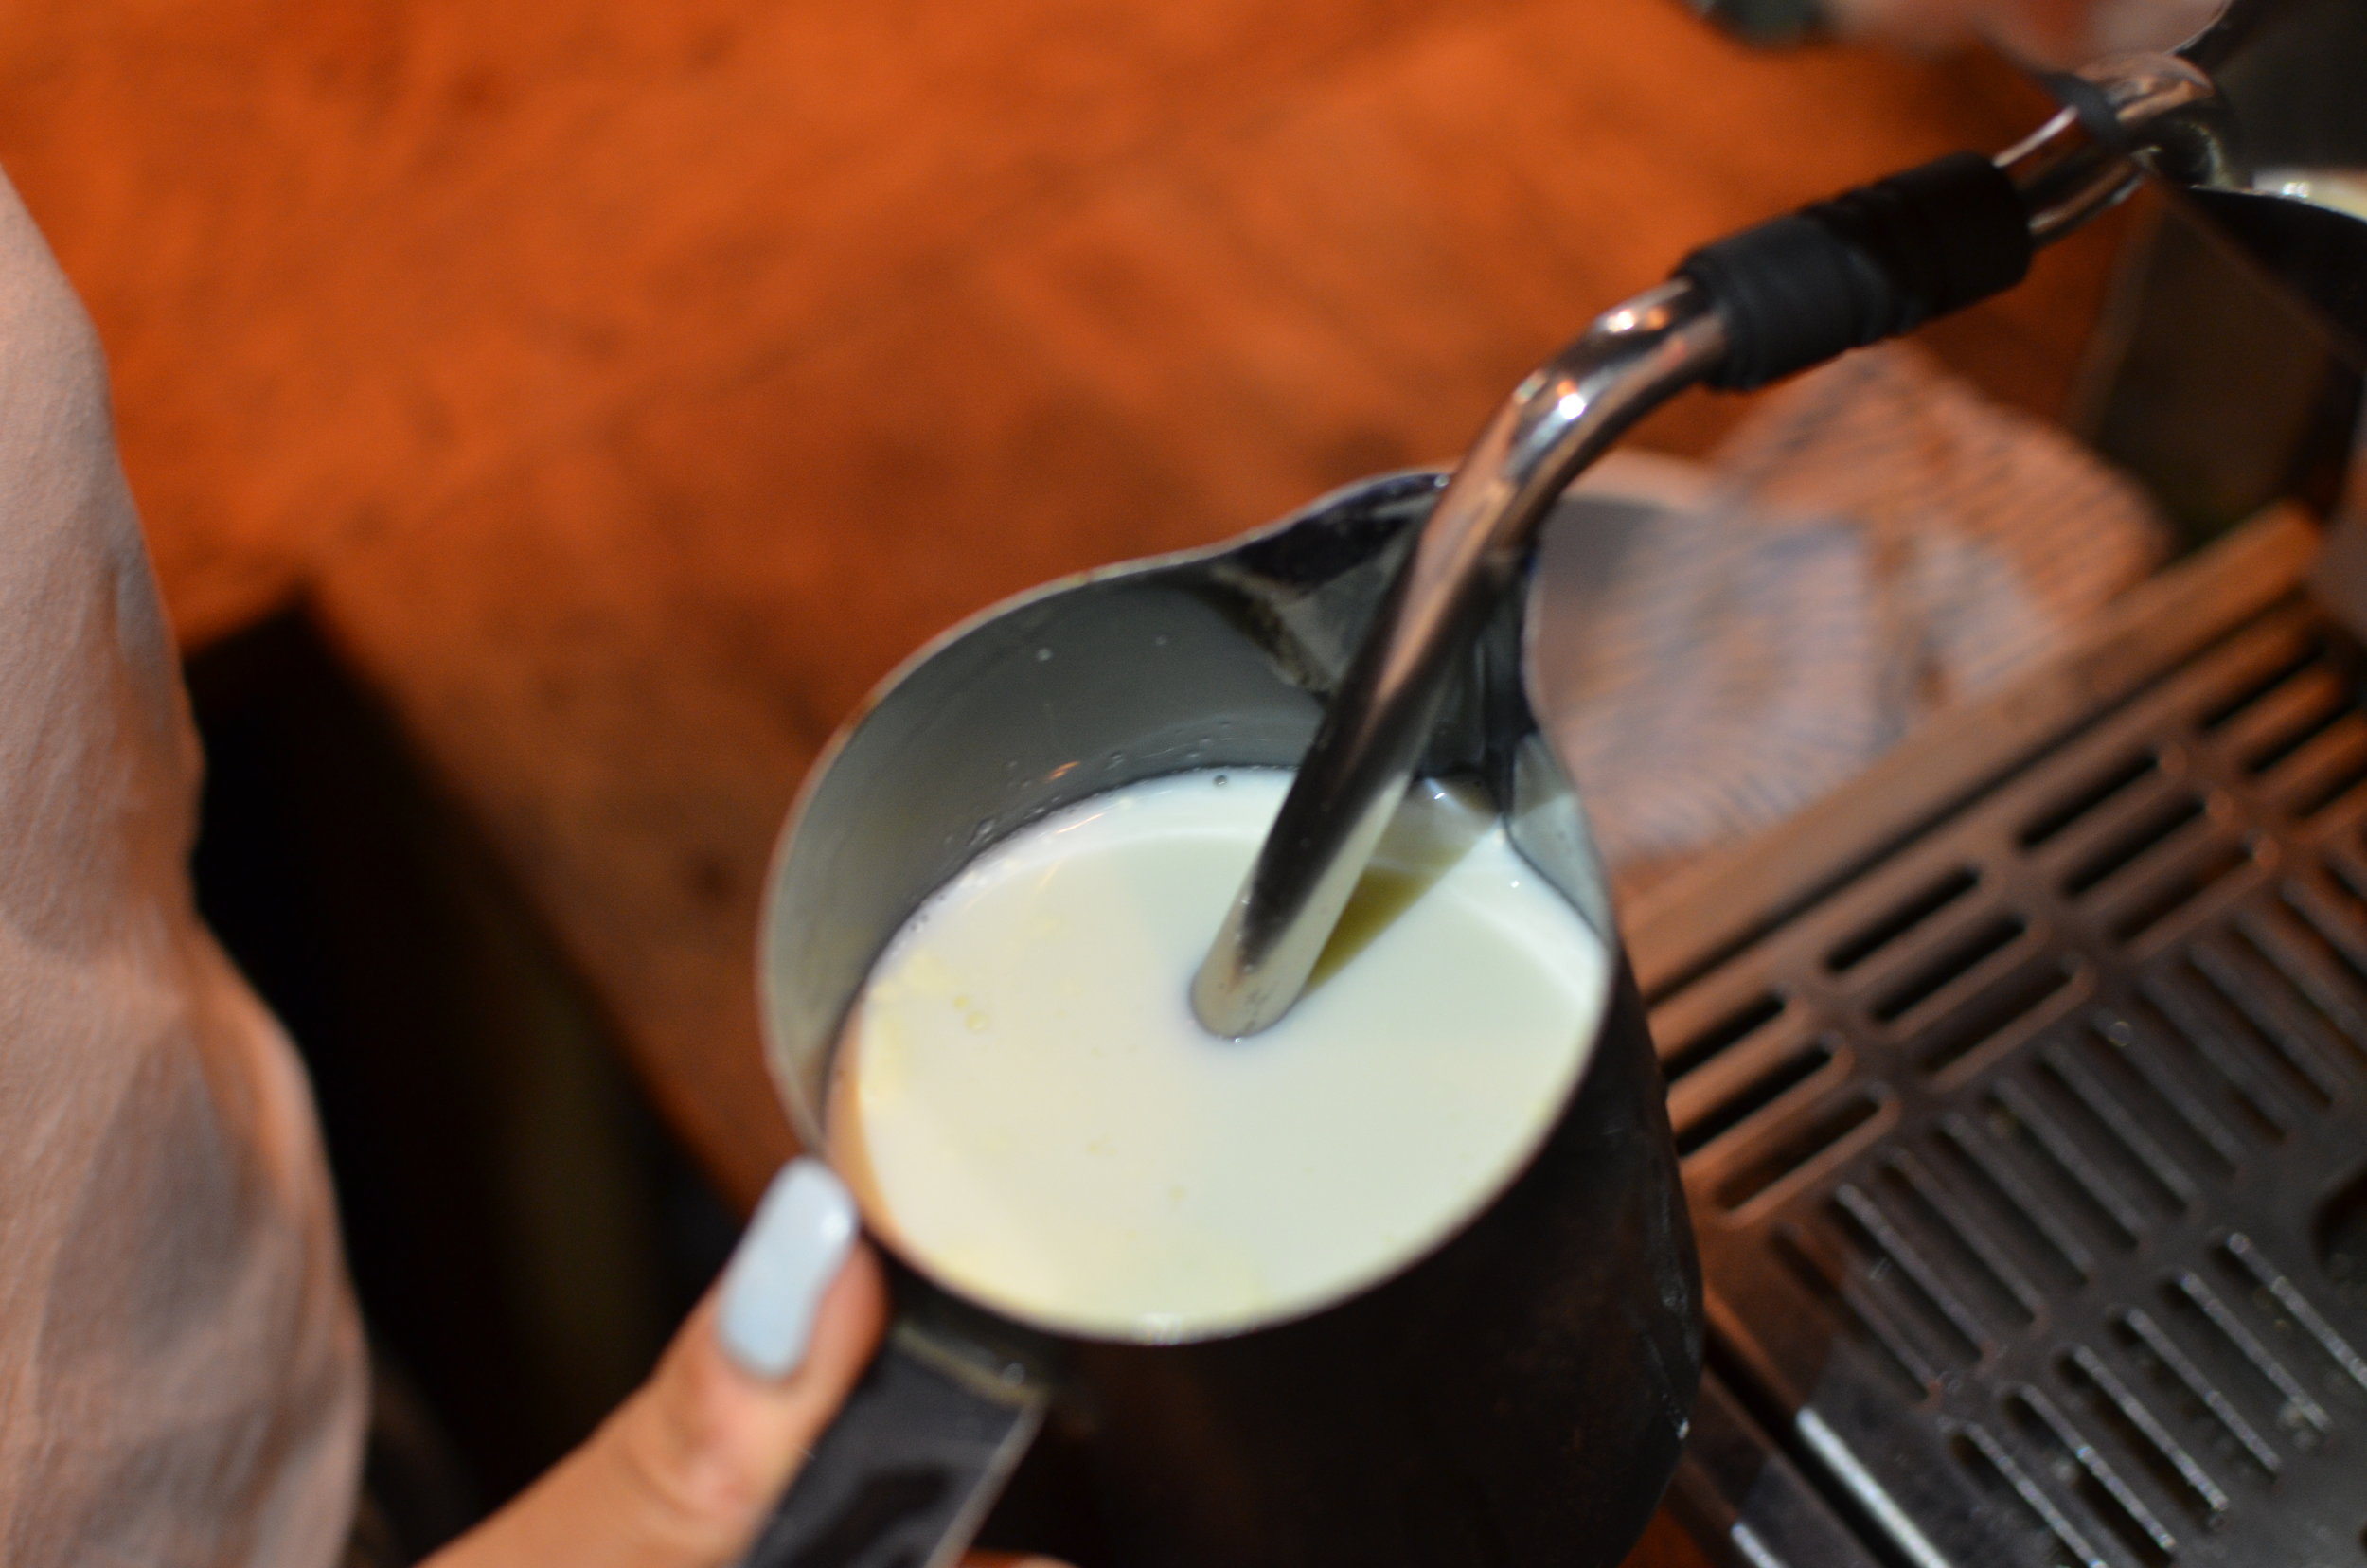
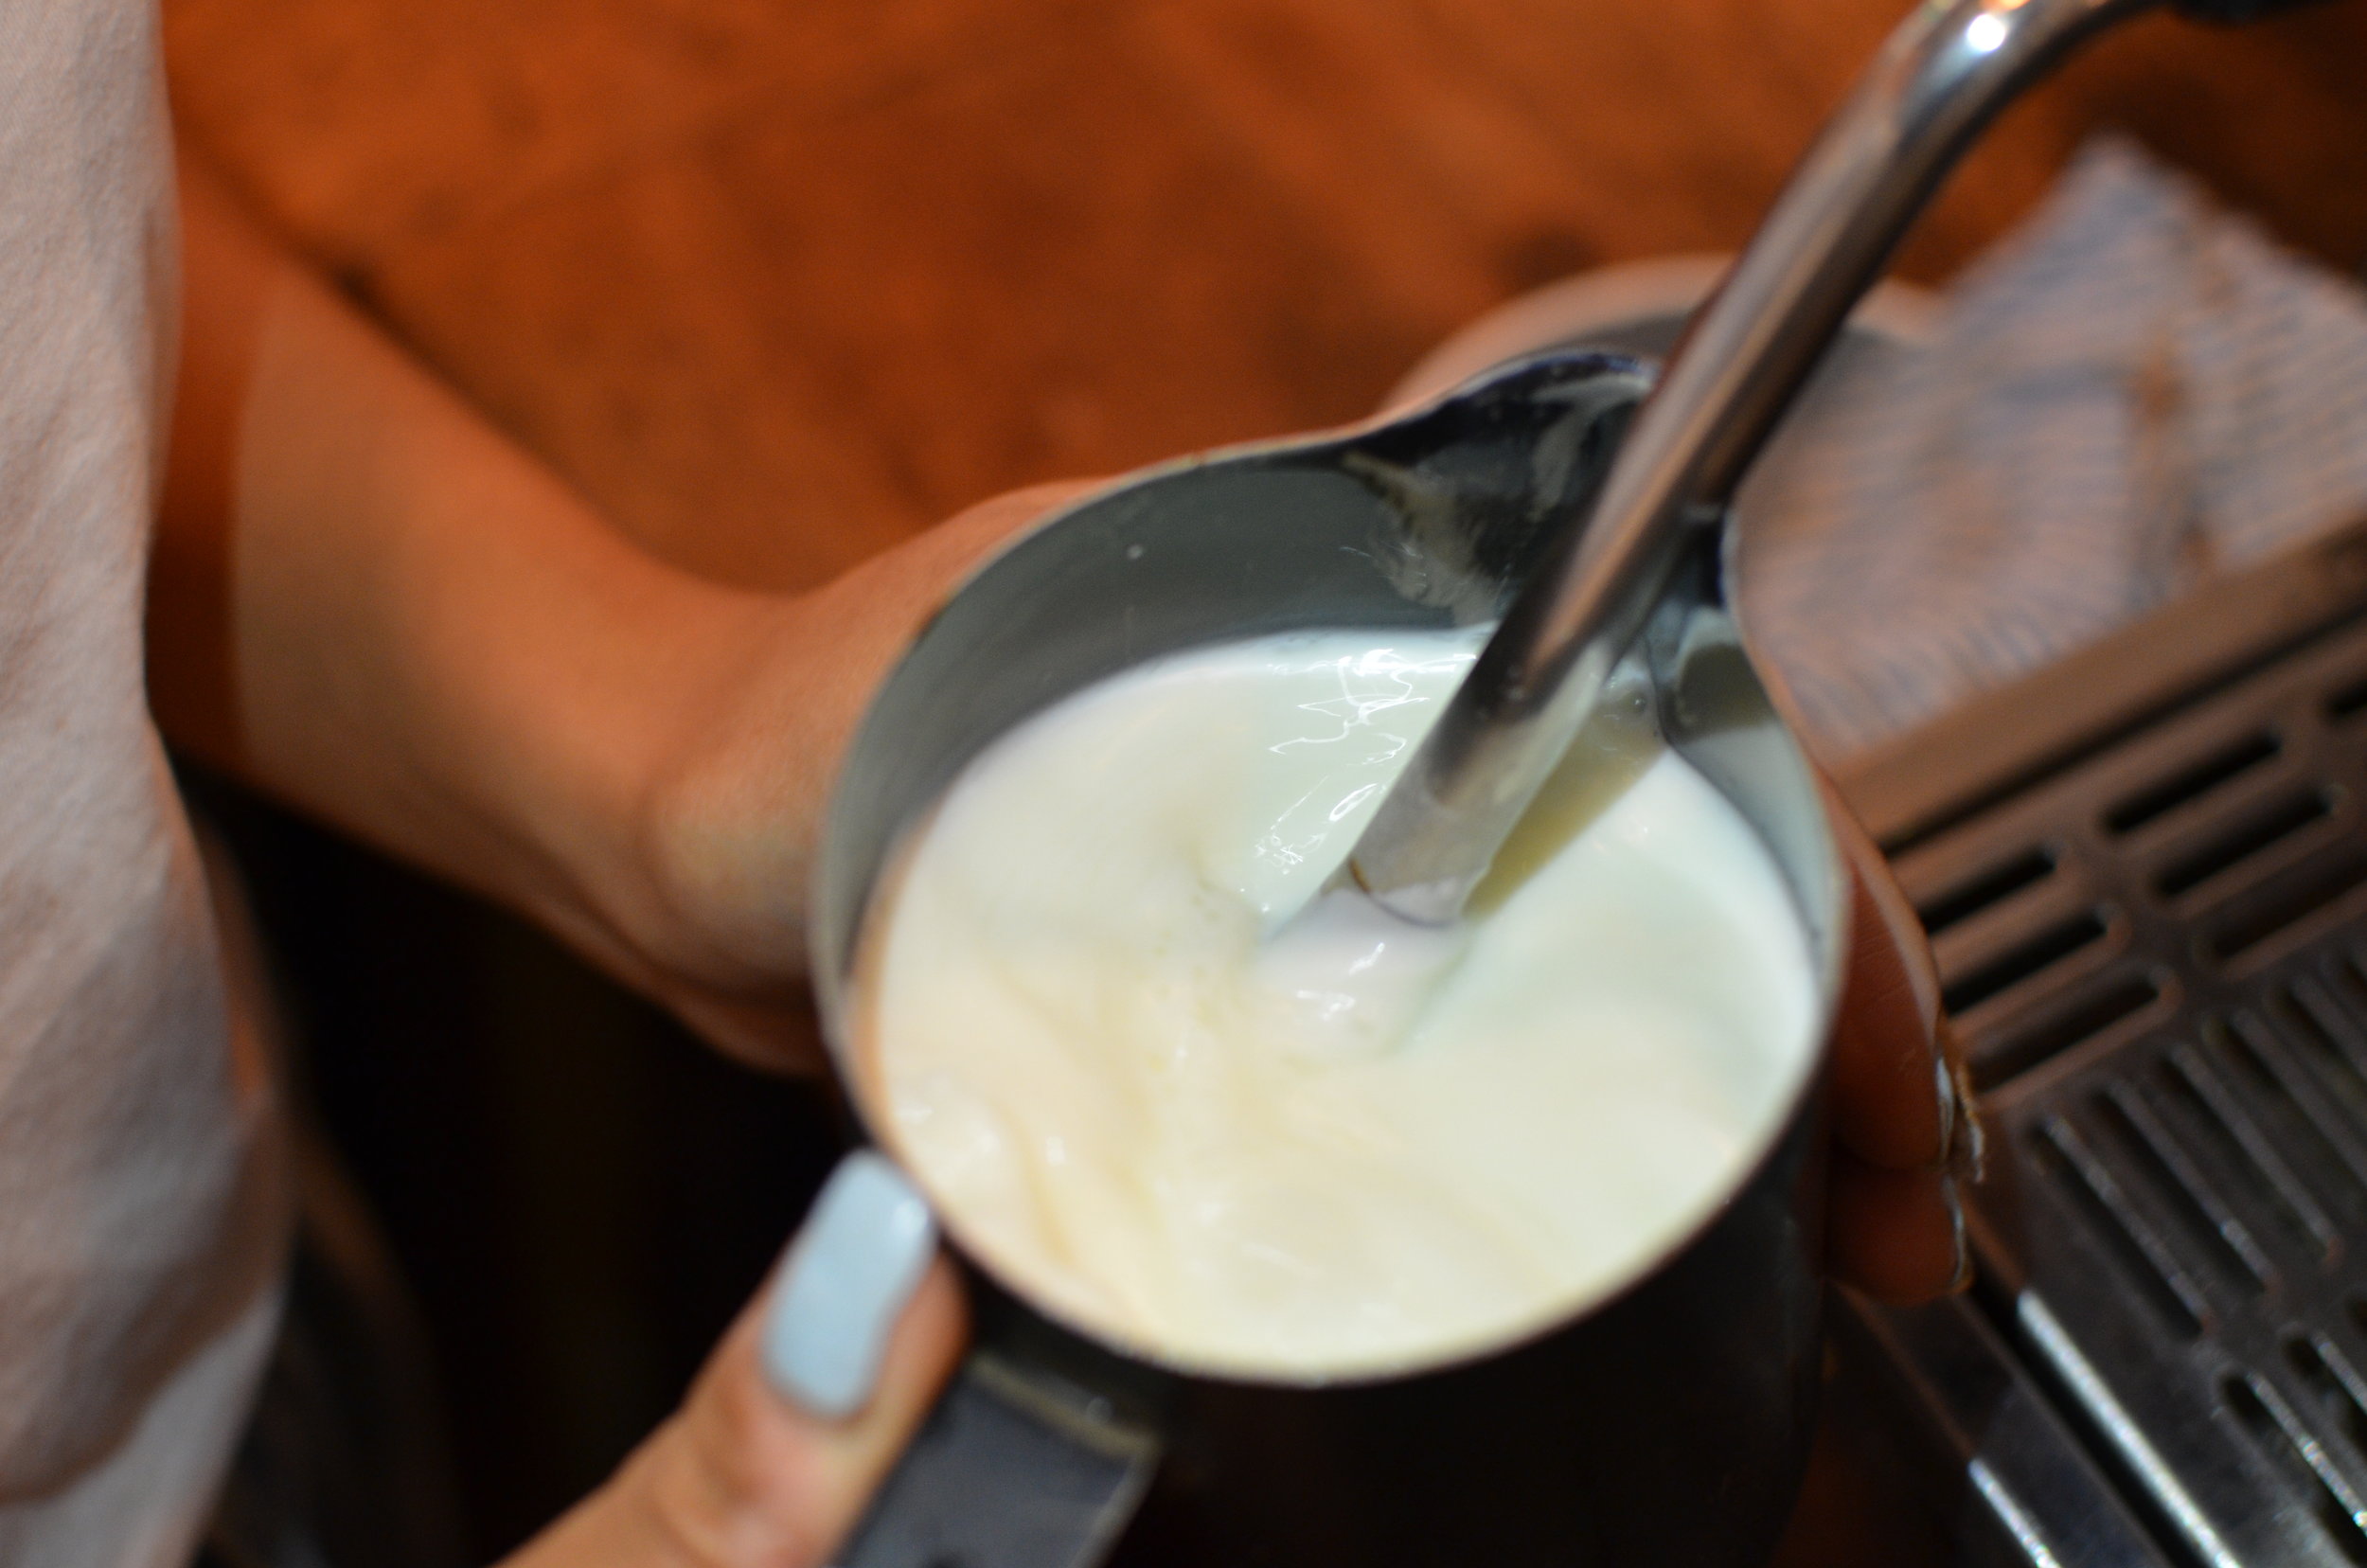
Above: Milk that is too bubbly & low stability Vs Beautiful silky smooth heated textured milk
To explain quite simply, milk is made up of fat, protein and carbohydrate (lactose) and when you heat it, the fatty acids begin to stabilise and that’s what gives you the ‘foam’. The higher the fat content, the better it will stabilise – ie: the foam will hold better. I’ve heard a lot of people say that they think skinny milk is better to foam, but whilst it might seem ‘easier’, I tend to disagree. It is thinner and less viscous.
What you are aiming for are micro bubbles (yes, like in the McDonalds ad Ha!) - tiny bubbles that are joined together to form a density to your milk foam. If you let too much air in, the bubbles will be bigger and weaker – think back to 80's & 90's styled Italian cappuccinos full of cold foam scooped on top that was really airy and had no texture (look up pictures, but be sure not to drink one!). You want all the little bubbles to be nicely packed together like they’re in a dance club shoulder to shoulder, sweating it out ,having a great time and jumping up and down on clouds in unison.
When I’m training new baristas I often draw them a MILK JUG DIAGRAM. It really helped me visually when I first started learning, to understand what was happening when I was steaming milk.
Below, I got my friend Joanne to draw a much nicer rendition as I’m a terrible drawer!

To get hot, ‘wet’ milk (thinner, ‘flatter’ foam – like in a flat white) position the wand nearer (but not touching) the base of the jug. This position also heats the milk much faster, so keep an eye on the temperature.
To get “latte” milk (smooth and creamy) position the wand under the surface about 2/3rds of the way down.
To get “Cappuccino” milk (thick and creamy) position the wand closer to the surface of the milk. Be careful not to let the wand escape the surface of the milk otherwise it will make and awful hissing sound and also a mess. You’ll let too much cold air in and it’ll make your milk weak and bubbly.
Many people have their own “tricks” but to get that milk silky-smooth, here are just a few pointers I’d recommend to focus on:

Use cold milk to steam
Start with cold milk.
If you’re using a little left over milk, make sure you dilute it with fresh cold milk to bring the temperature down, and so you’re not using all second-hand heated milk. It’s totally fine to use a small amount of milk from the last batch, providing it hasn’t been over heated (over about 65degrees). Though it does mean that you need to look at your milk wastage. You can concentrate on steaming the exact amount after you’ve mastered your milk texture!

Start with jug well under surface
Position
Position your steam wand well under the milk surface when you turn on the steam. This will prevent any unnecessary weak milk bubbles on top – which only makes it harder to get smooth milk and draw with.


Aim to swirl the milk, slowly.
It’s really tempting to turn the steam on to capacity to heat it faster, but I’d suggest starting out with the steam wand about ¾ of the way in the milk. That way you’ll have more control and it’ll give you more time to get your wand into a position where the milk can “spin” smoothly and consistently. Make sure you turn the wand pressure up high, not necessarily all the way to the highest pressure when you are learning as it will heat the milk too fast. But many people just turn the steam wand marginally and you will get very low heat and pressure. So you need to be brave and turn it up!
Create a whirl pool effect.
Place the steam wand closer to the side of the jug (but NEVER touching) will allow the steam jets at the end of the wand to ricochet off the side of the jug to create that swirl. This will allow the fatty acids to bond as they heat. My 'whirl pool' is usually anti-clockwise, but either way is fine.

“Stretch” the milk.
To create thicker foam slowly lower the jug so that the tip of the wand gets closer to the surface of milk (but never breaking the surface). Then submerge the wand again if its thickening too much. Some people do this too vigorously (up and down repeatedly and fast) but that inserts air too quickly. The motion needs to be smooth and fluid – almost undetectable to the naked eye.
(see my diagram)
Temperature
Ideally you should steam the milk to around 65-67 degrees Celsius. Although some people like it hotter and colder. But this is usually a good drinkable temperature to optimise the sugars and the texture.
Some people like to use a temperature gauge to begin with, which can help.
A general ‘rule’ I use when I’m training people is to place your left hand (or whichever hand is free) and place it firmly around the outside of the jug and count “1,2,3"“ and if your “4” is an "Ouch” then that is usually around 65 degrees! Not very scientific but I have tested it for myself and have been doing this forever, so my judgments are consistently accurate! Try it!


ART:
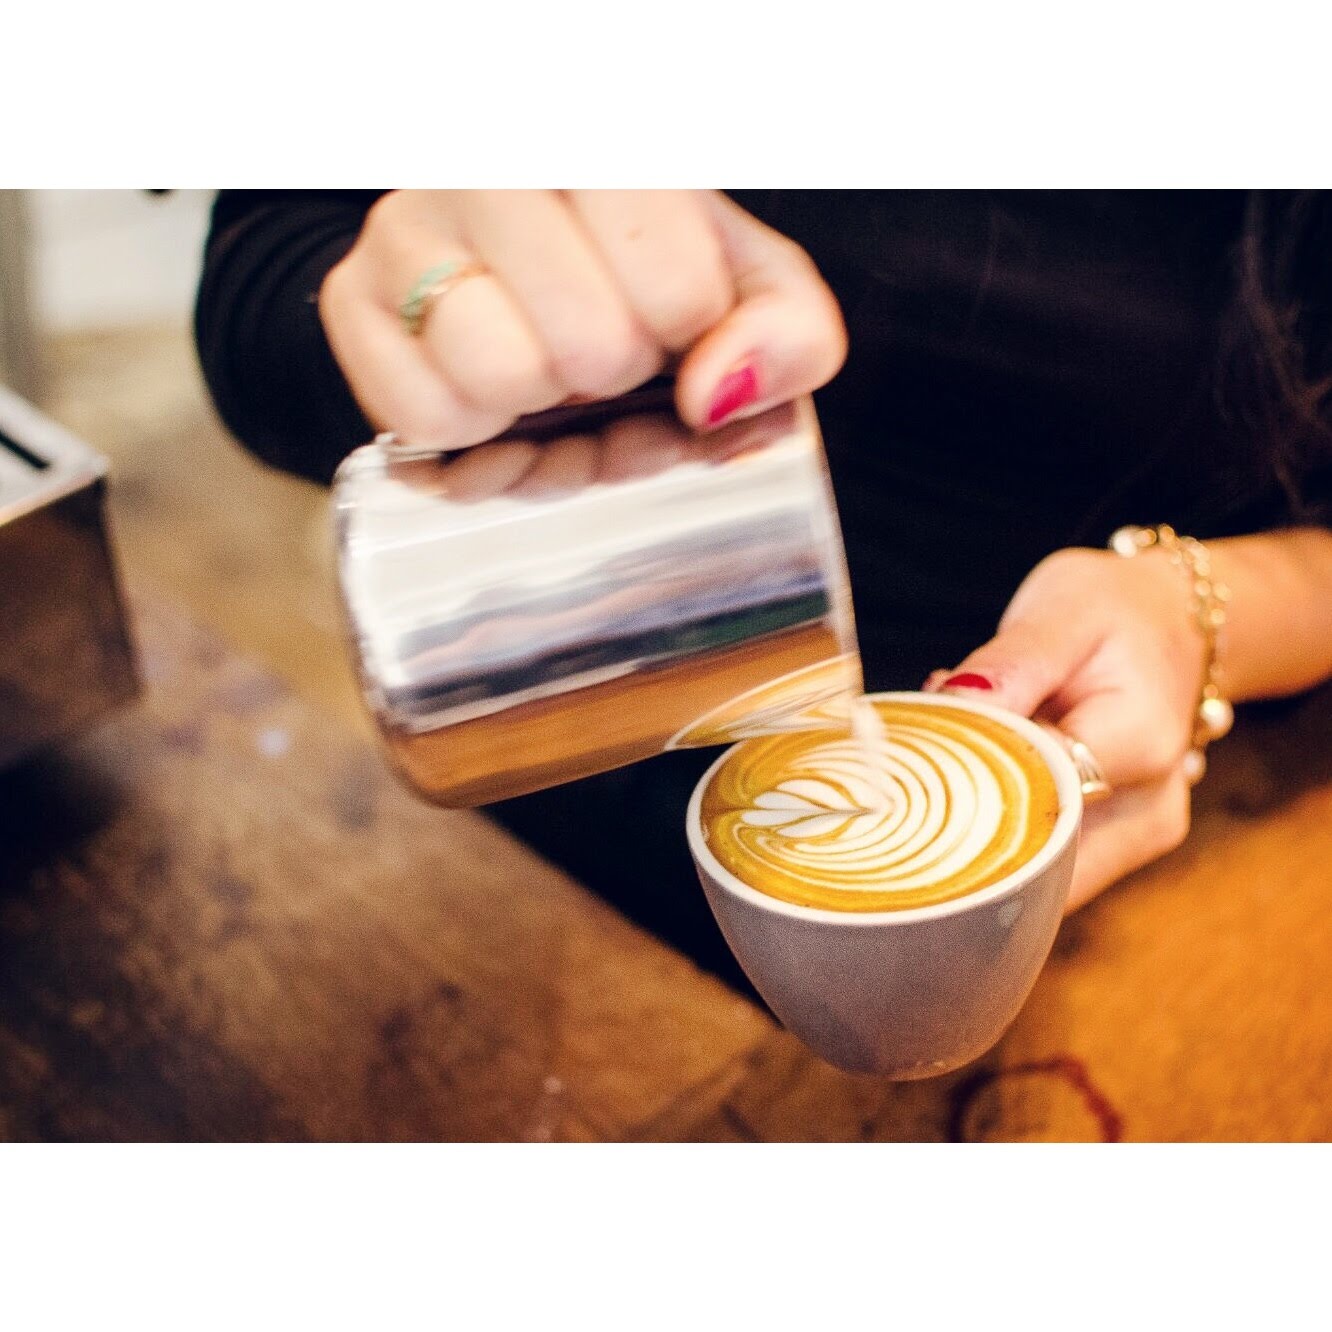
It’s important to experiment. Hold your jug near the centre of the cup (with espresso) and practice pushing the tip of the milk jug down, so that the ‘butt’ of the jug moves upwards - as if it’s but is in the air.
You will begin to see how the ‘wet’ milk is heavier and stays at the bottom, and the frothy milk will cascade over the top. Practice just watching what happens when you do one pour movement from jug to cup, both slow and fast, without wriggly movements.
Have a look below for some pouring tips from my Youtube channel.
Once you have seen how this works you can start wiggling… but I think thats for my next blog!!
Latte art has become a separate subset of coffee making with Latte art smack downs and competitions all over the world. No doubt being able to be artistic, creative and have a steady hand under time and audience pressure is exciting and fun. Here are a few instagram handles of people who are killing it in the latte art department to inspire your milk steaming skills.
I’d love to know if these tips helped so please contact me through my instagram
Or my website www.thegirlinthecafe.co.uk
