Aeropress Guide - TGITC simple Recipe
I love the Aeropress because it’s quick, no fuss, easy to clean and tastes great. So I'm going to share a fool proof method that should work for most coffees.
Aeropress coffee involves using air pressure in a cylinder chamber to push water through the coffee to extract. There is a filter at the base of the Aeropress that the coffee is able to go through. I find the Aeropress has more body than a v60, so its great when I feel like a nice strong tasting and fuller mouth-feel coffee. V60’s are in comparison a little more delicate tasting in my opinion.
Lots of people make a really strong Aeropress coffee by putting in a higher amount of coffee and less water but this recipe below is closer to the strength of a filter coffee like a v60.
There are many recipes, but the one I’m going to share with you here is a good one to start with.
Inverted Aeropress Method:
I enjoy this method because I like that it doesn’t start releasing through into the cup until I turn the Aeropress upside down.
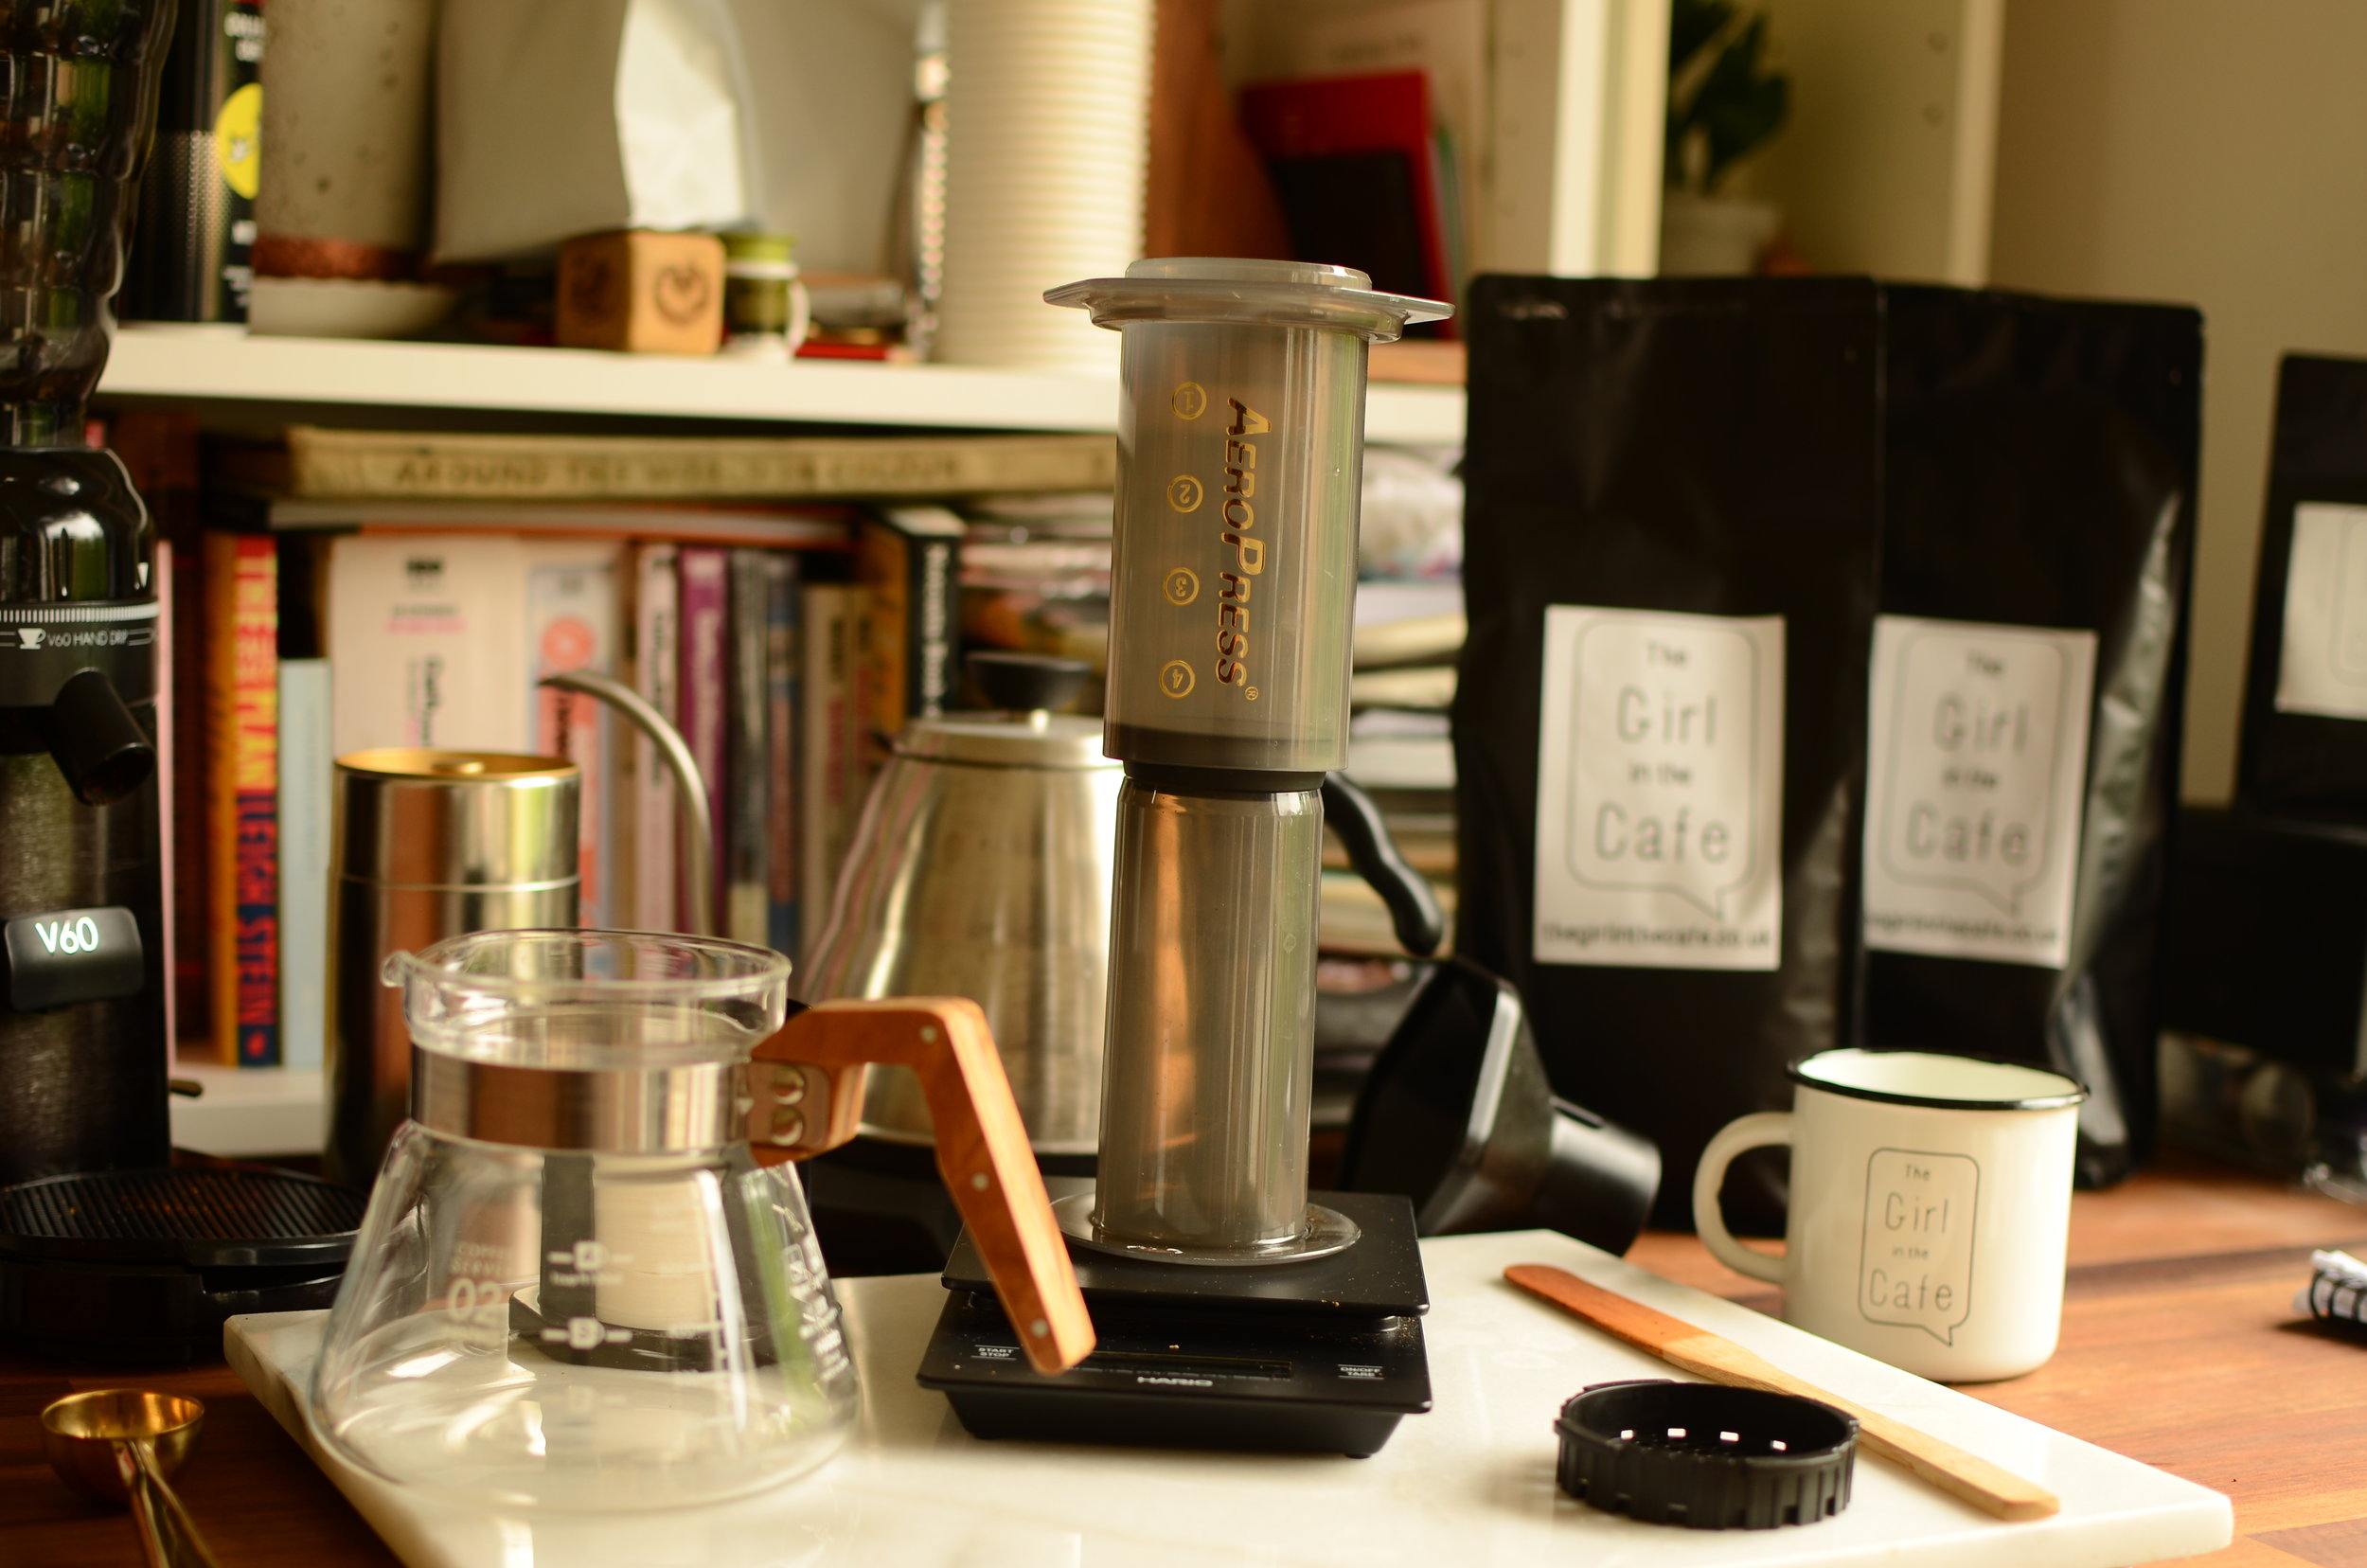
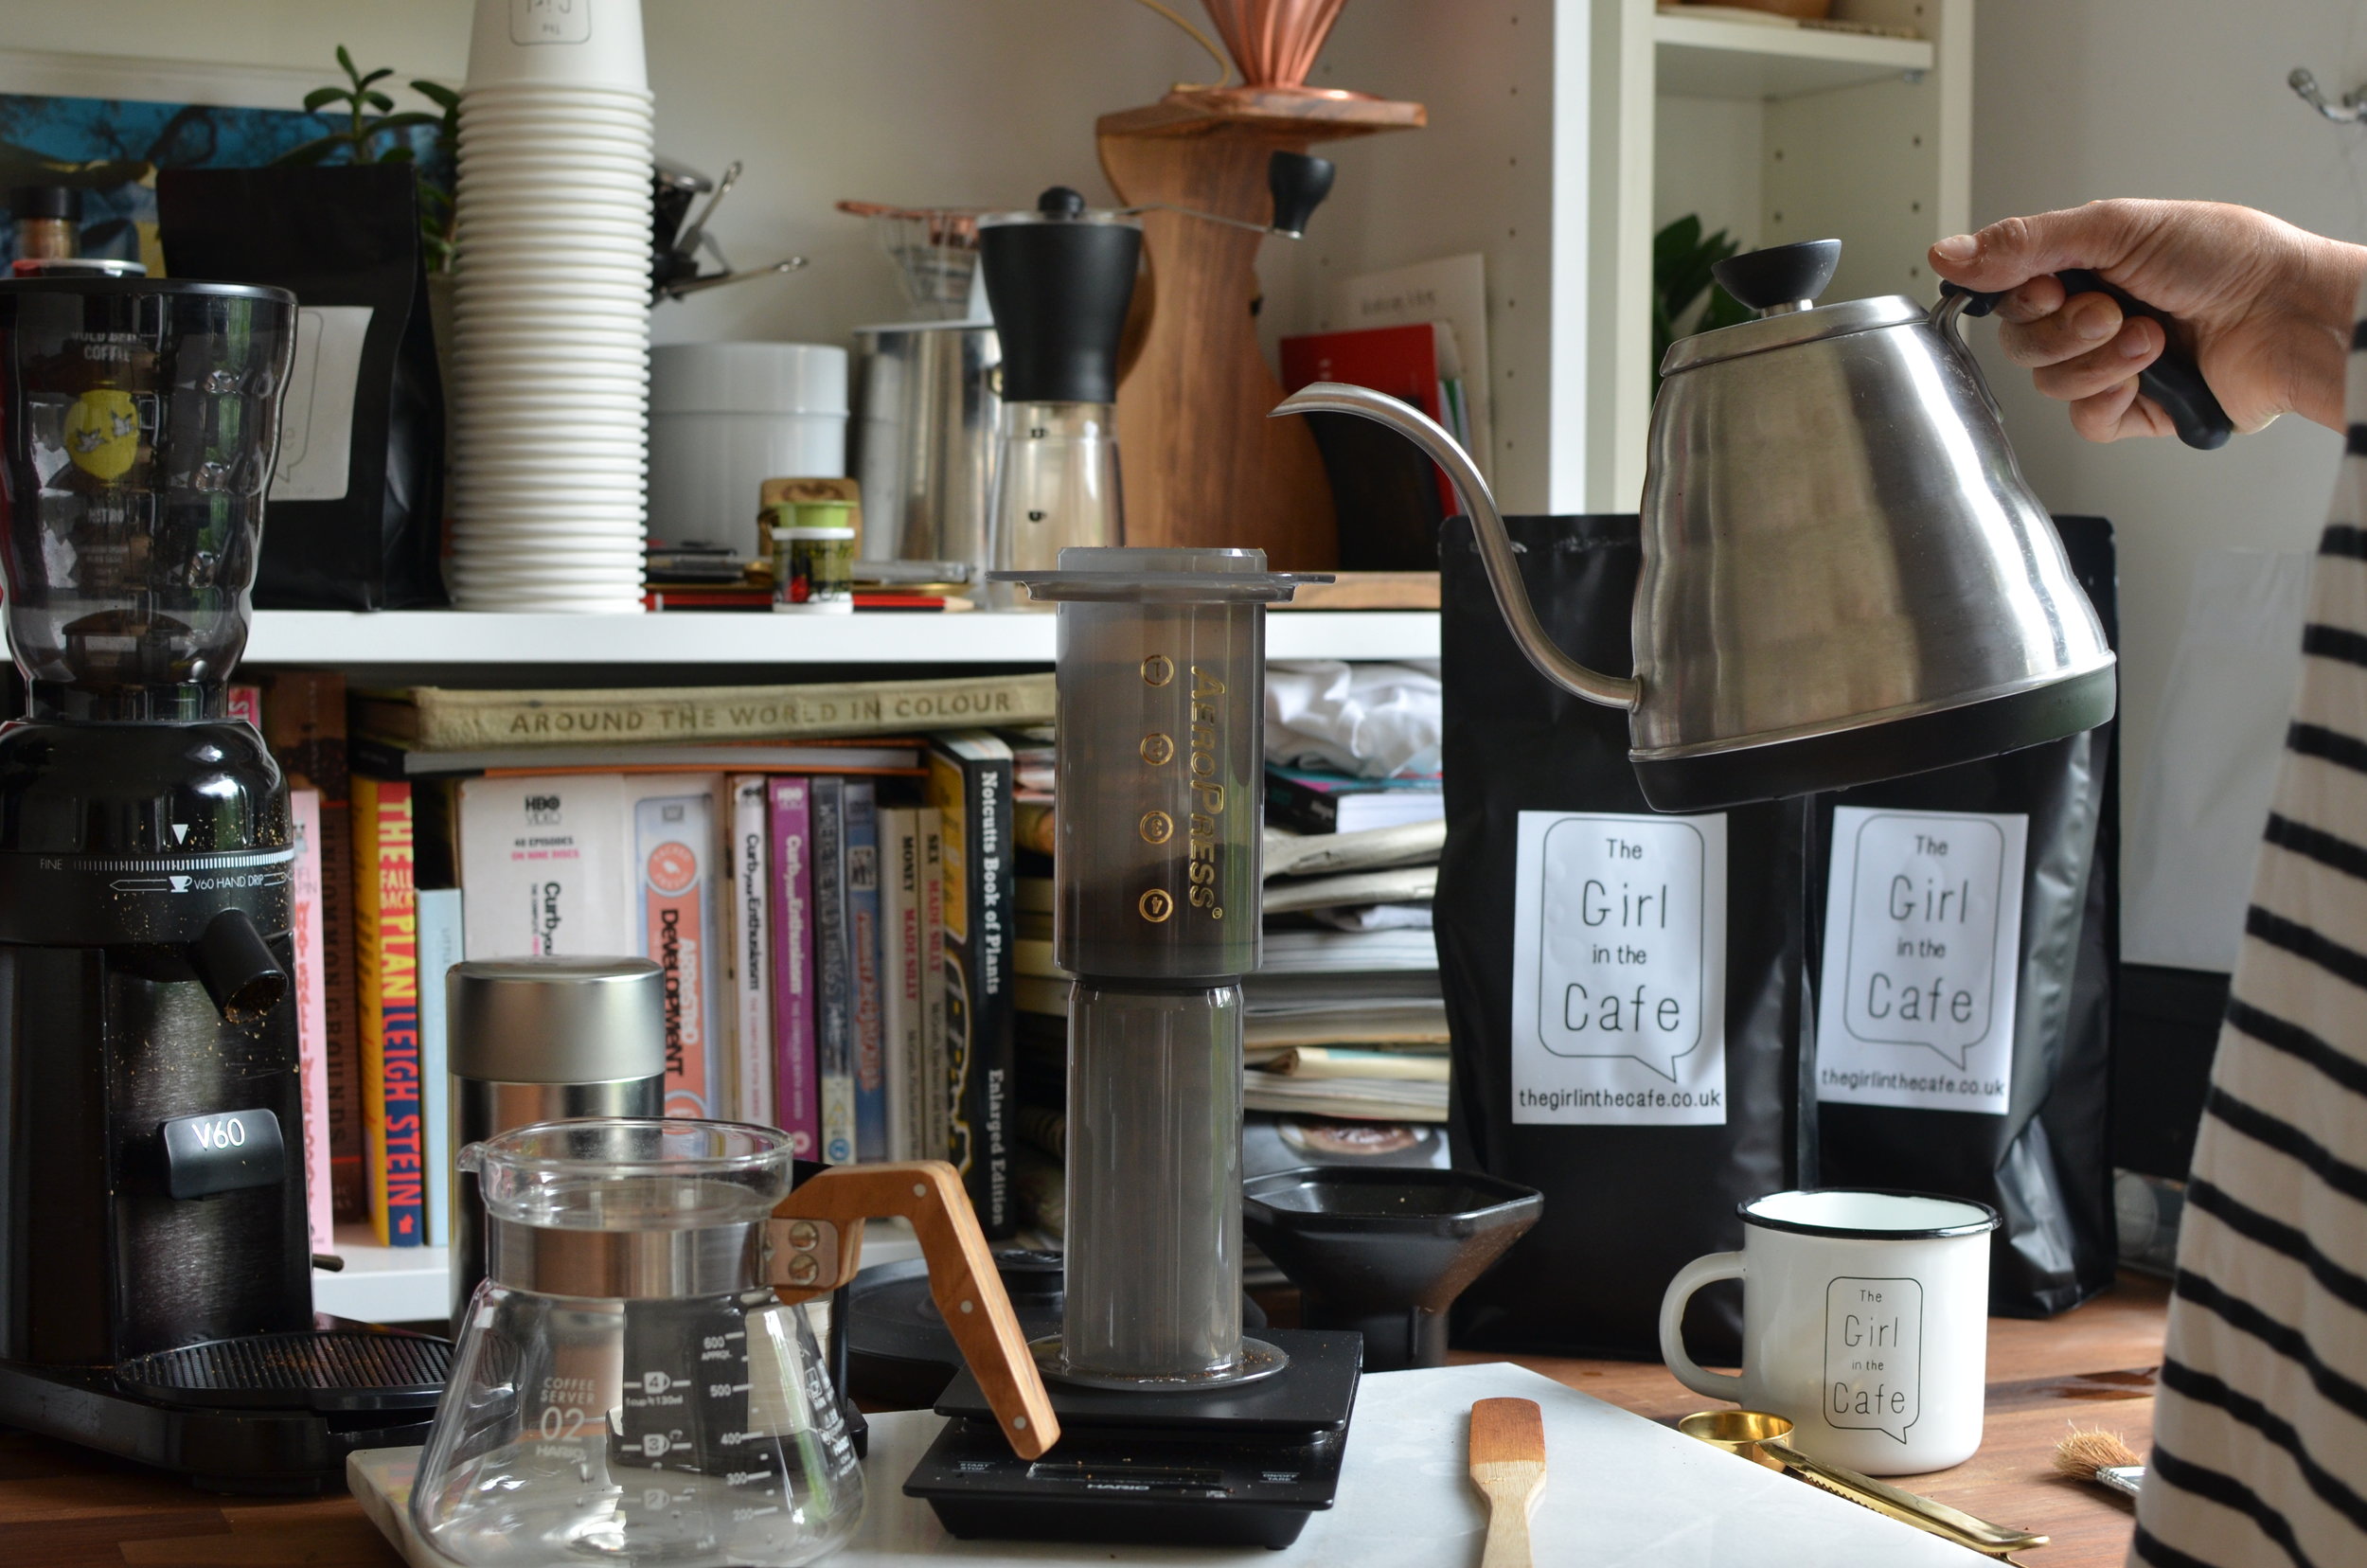
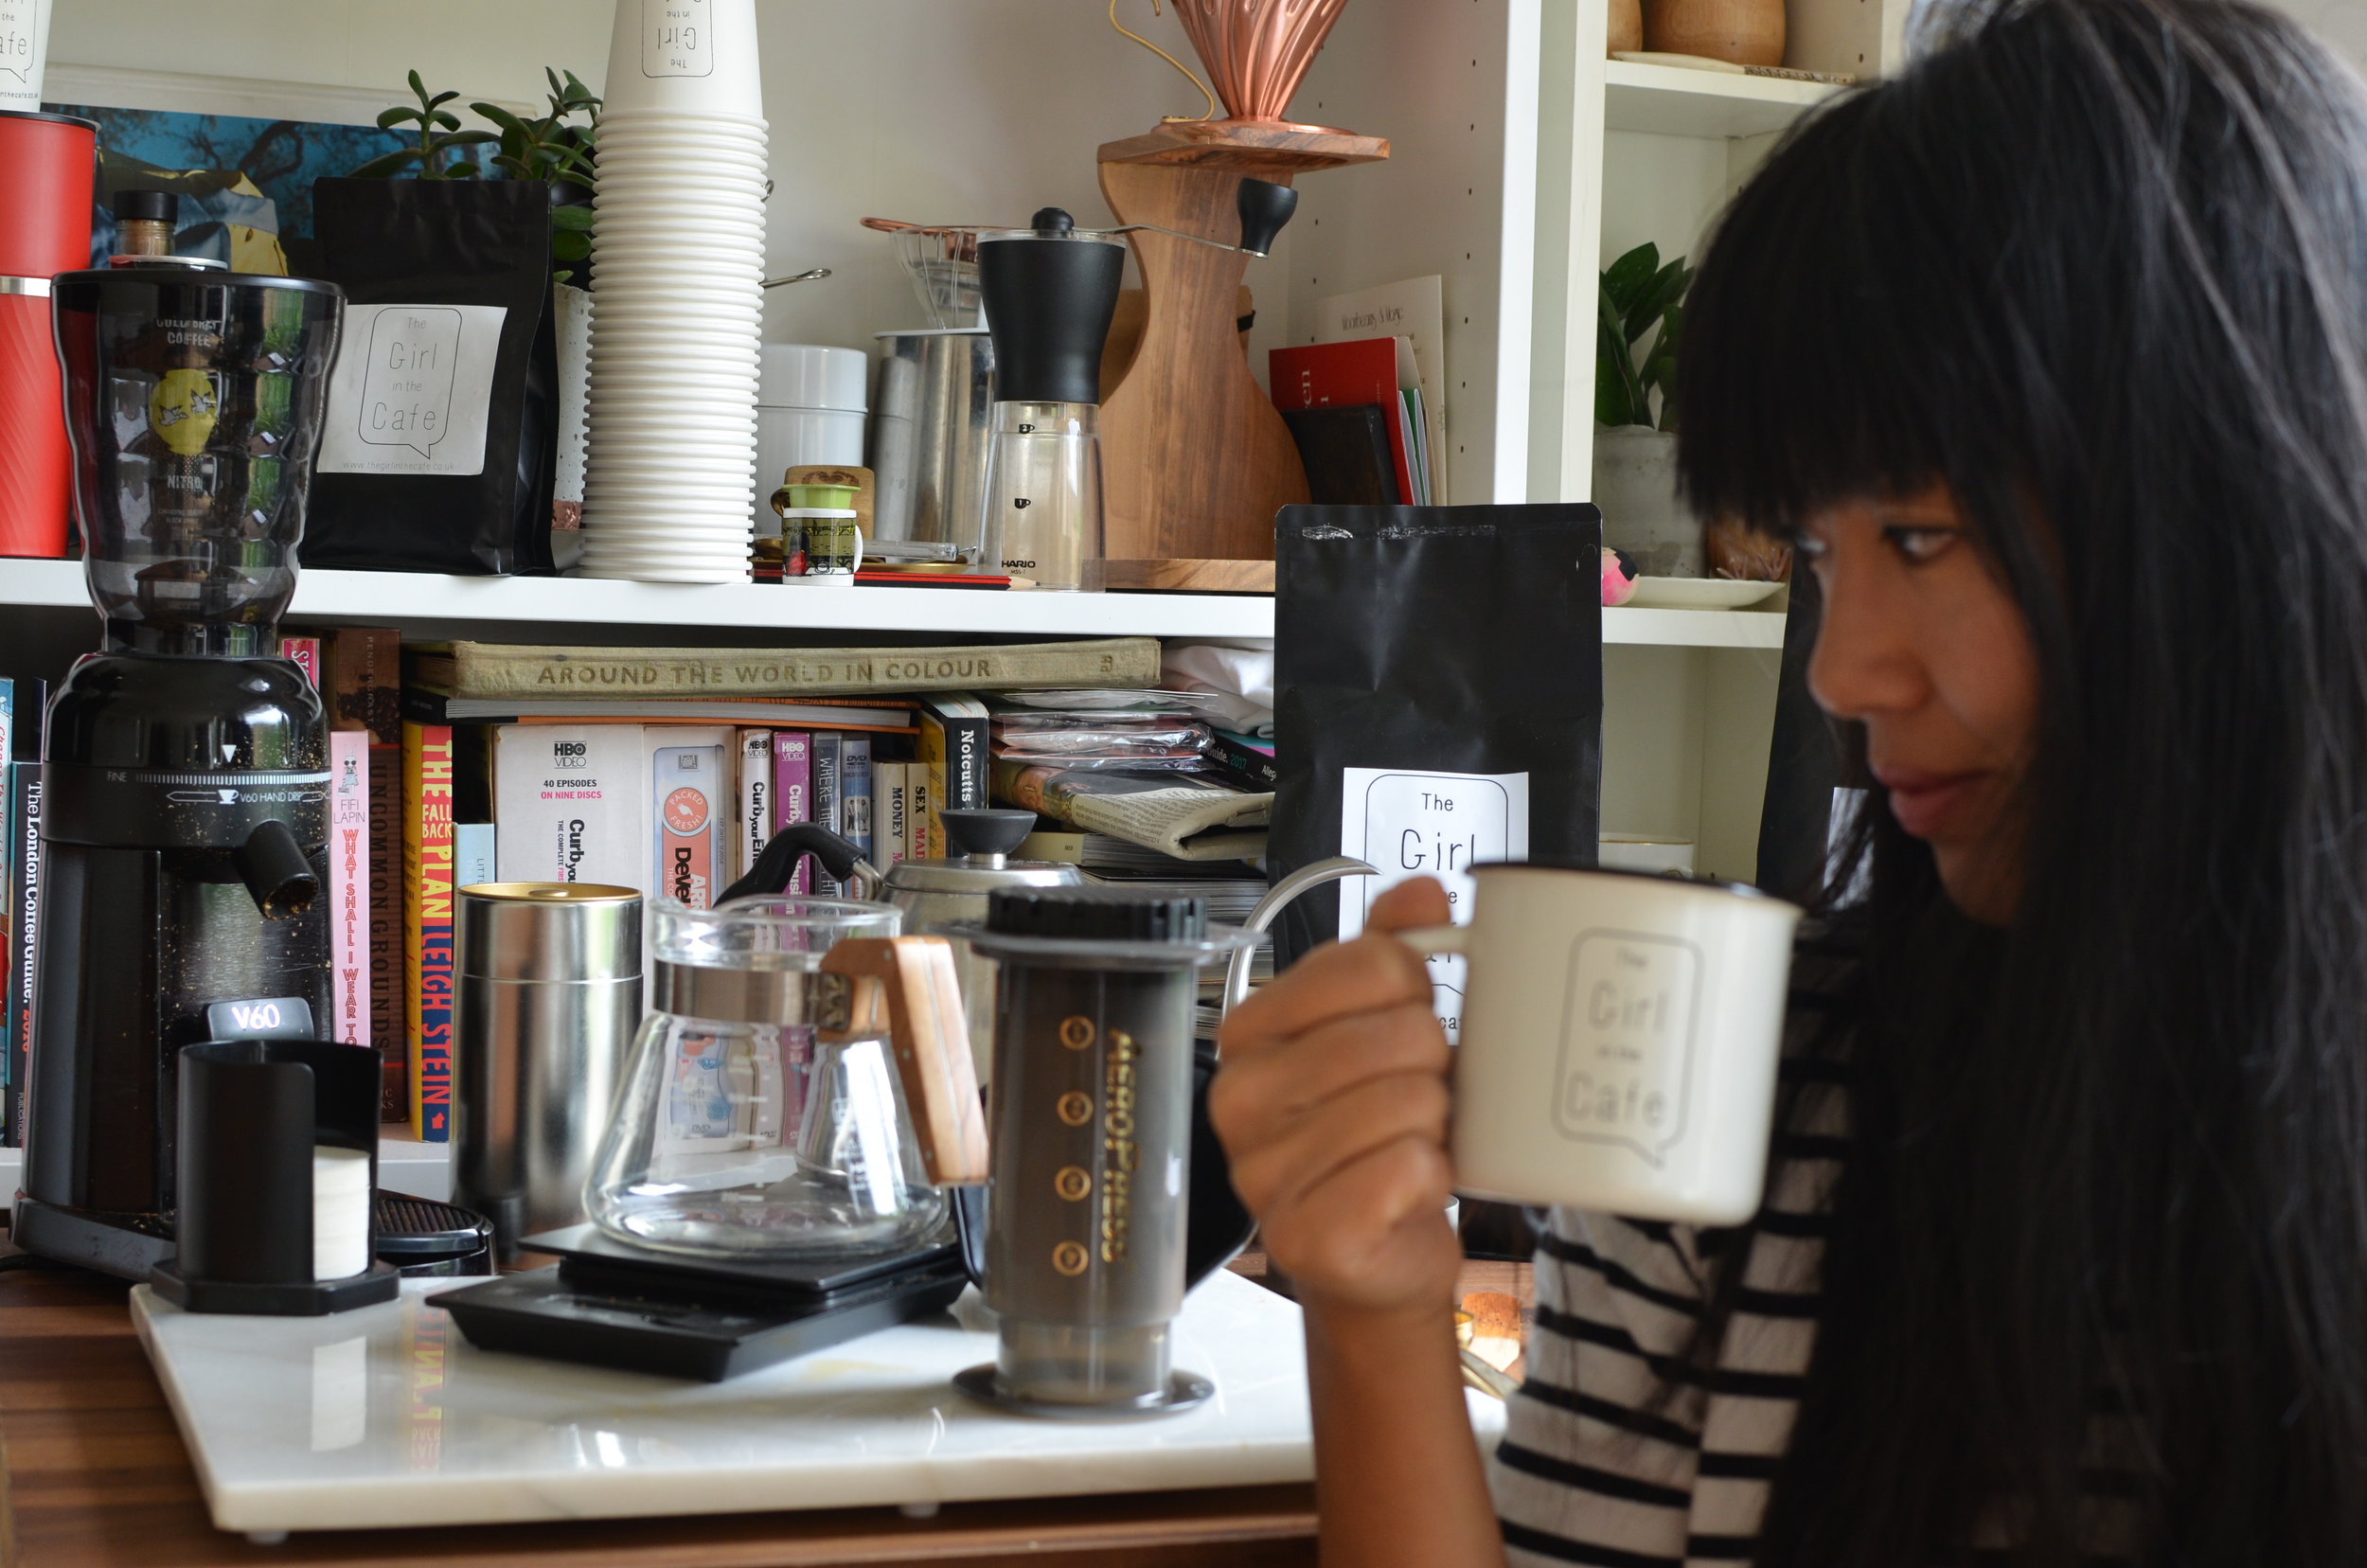
Things you will need:
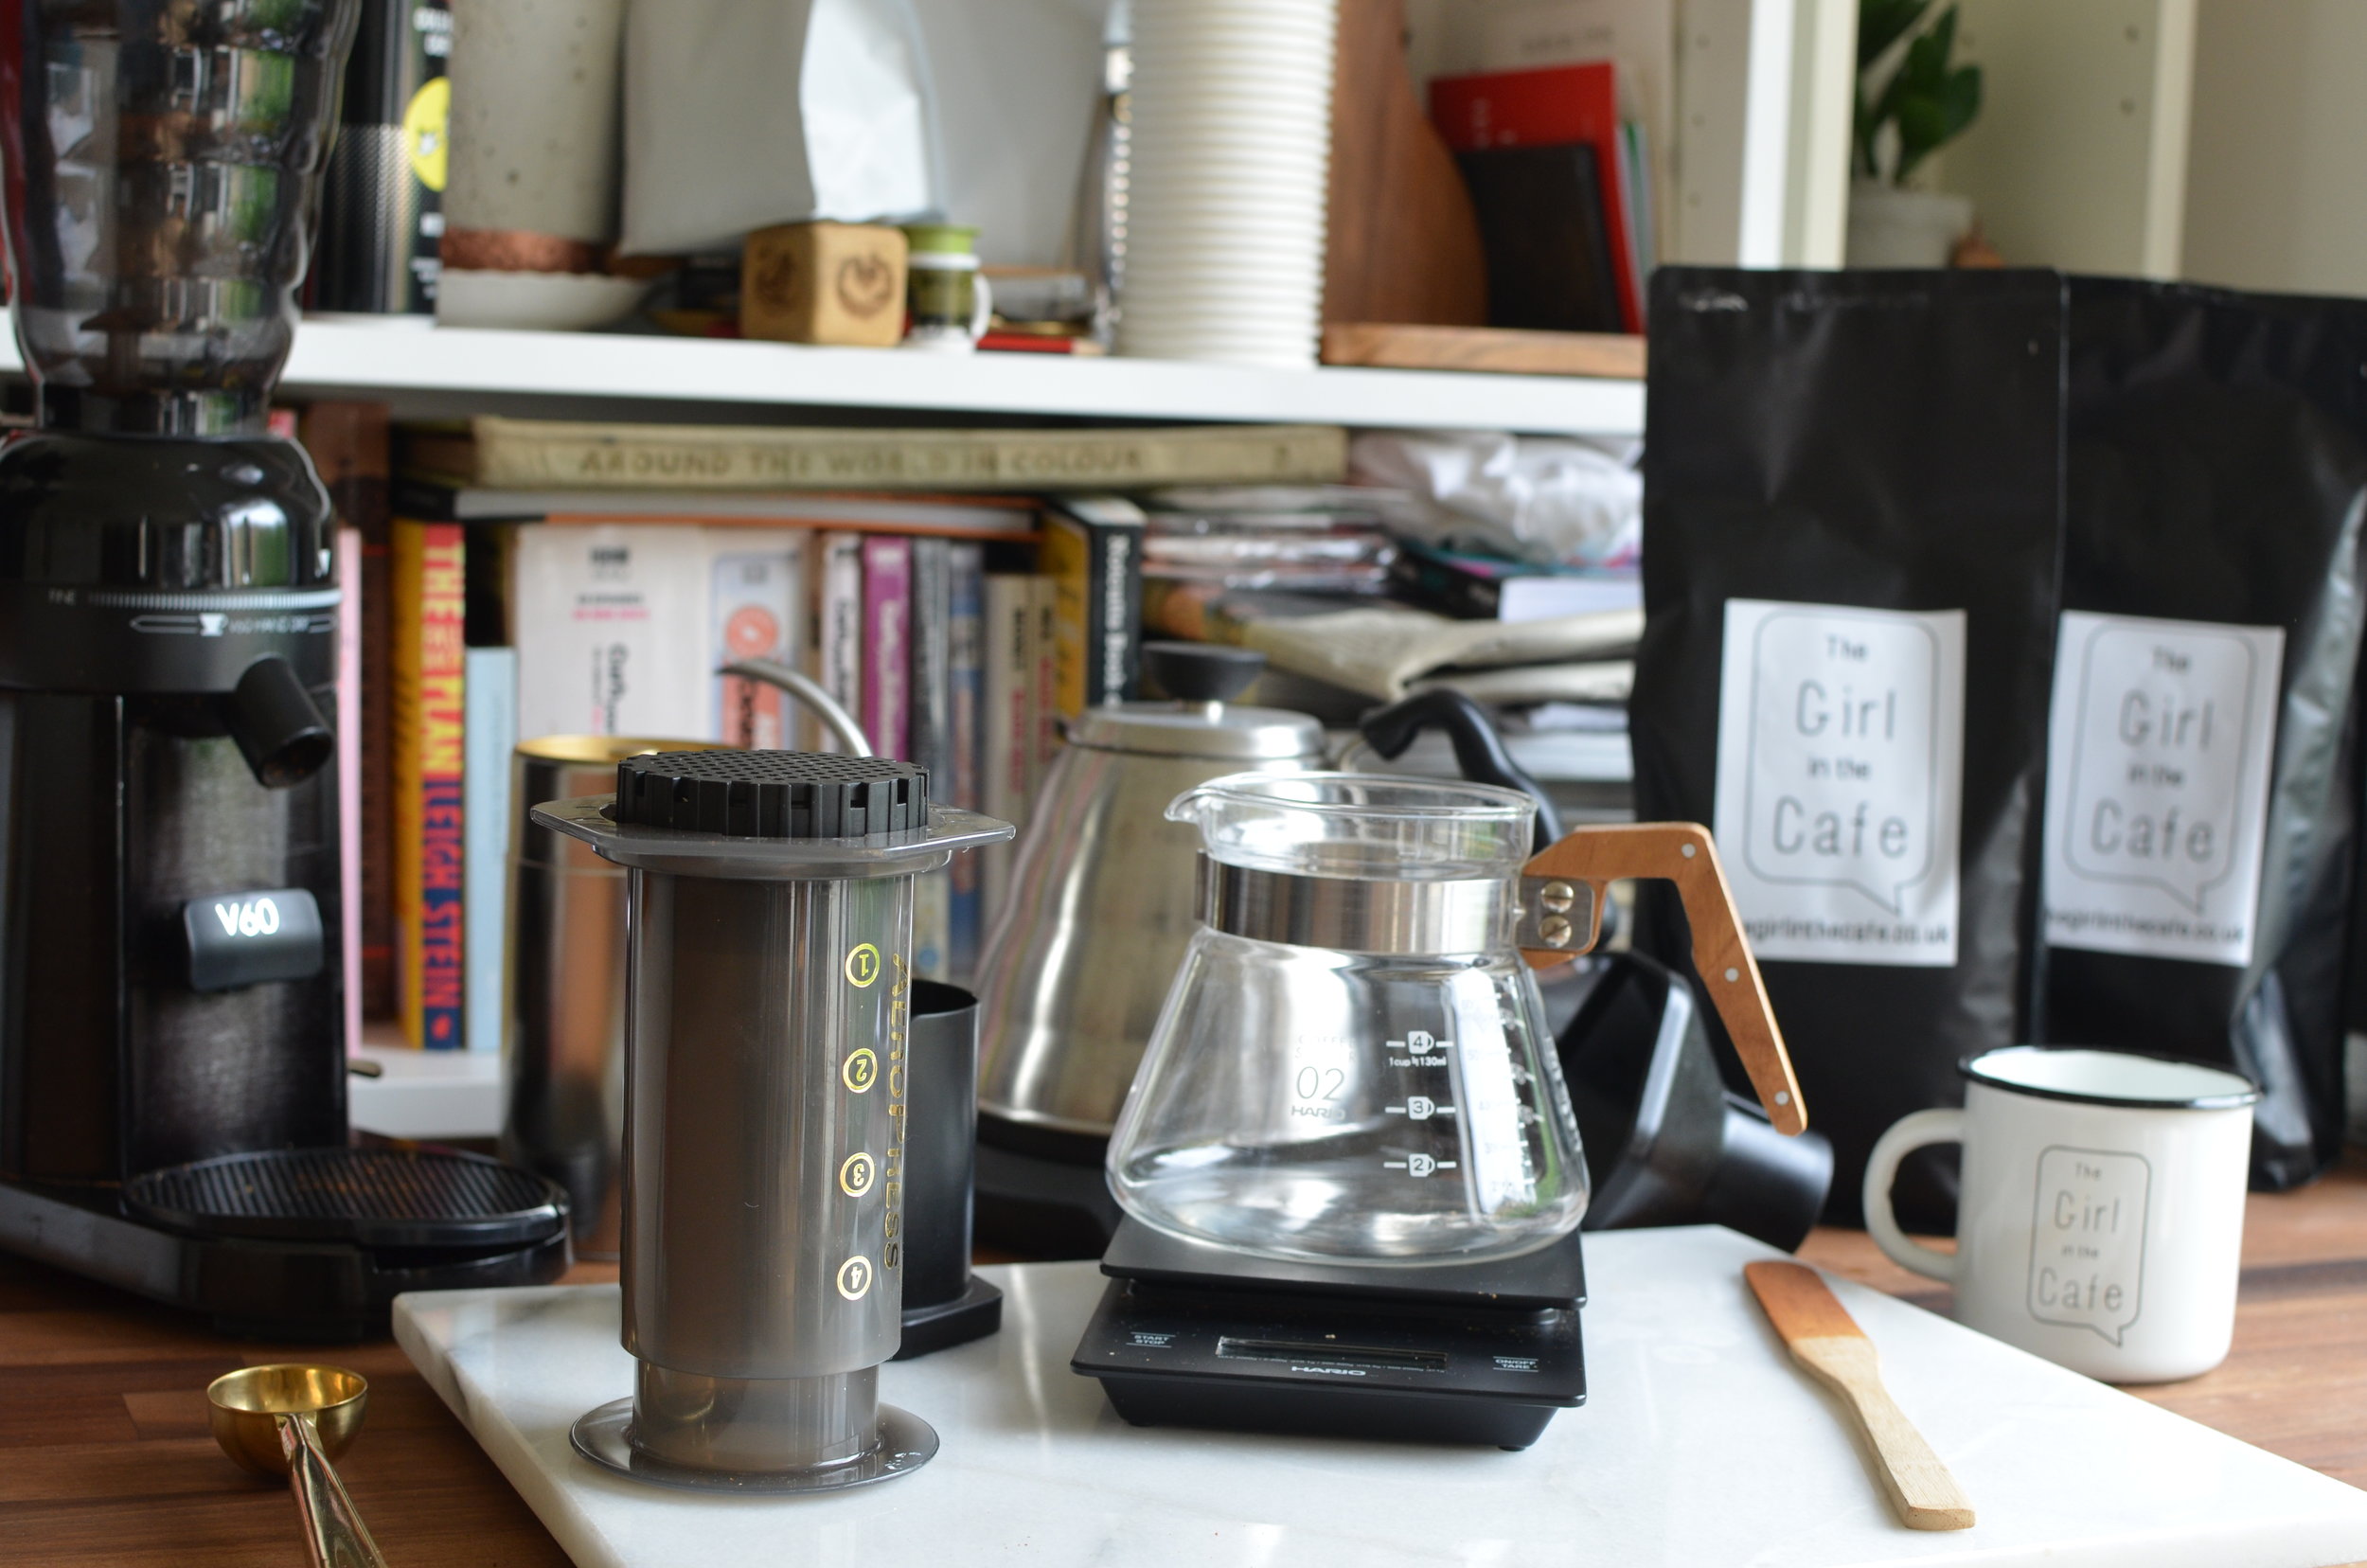
Cup/Jug to catch the coffee
15-20g freshly ground coffee
Stirrer or spoon (one comes with the Aero press)
Hot Water
Scales (optional)
As you can see you don’t really need much to make an Aeropress which makes it great for travelling – because it’s also quite light. Though, I would suggest a grinder too!...
METHOD:
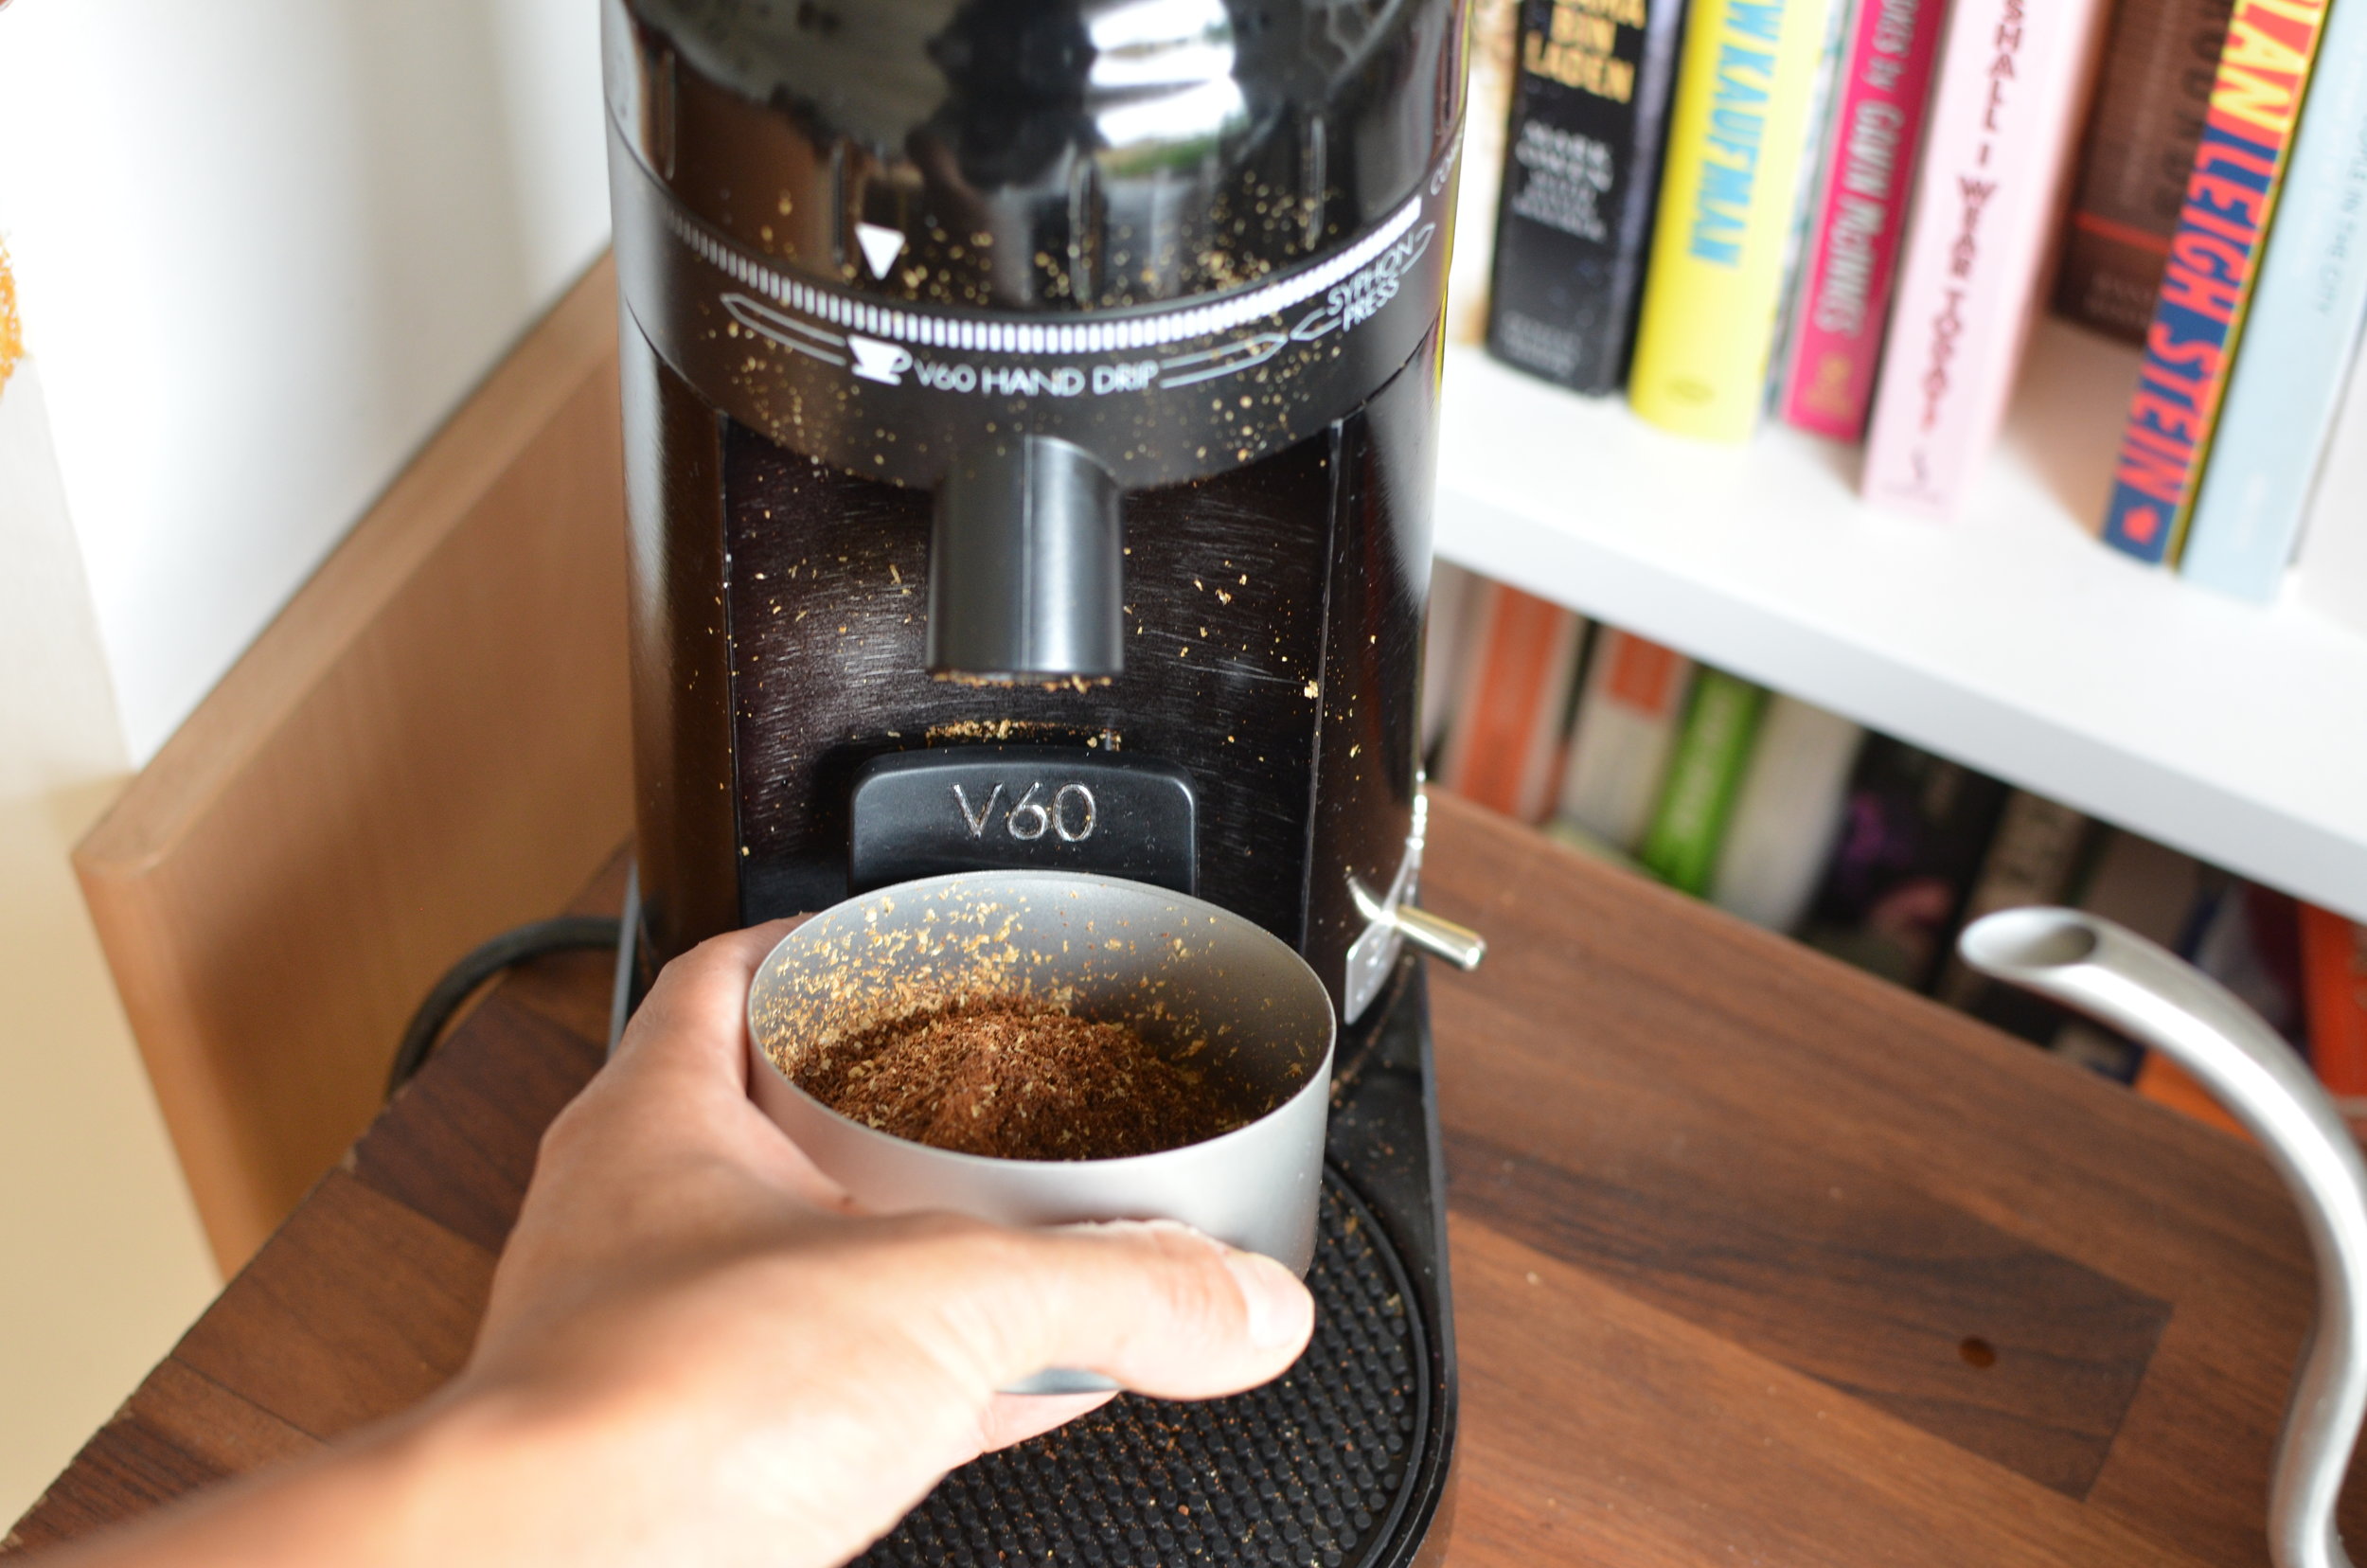
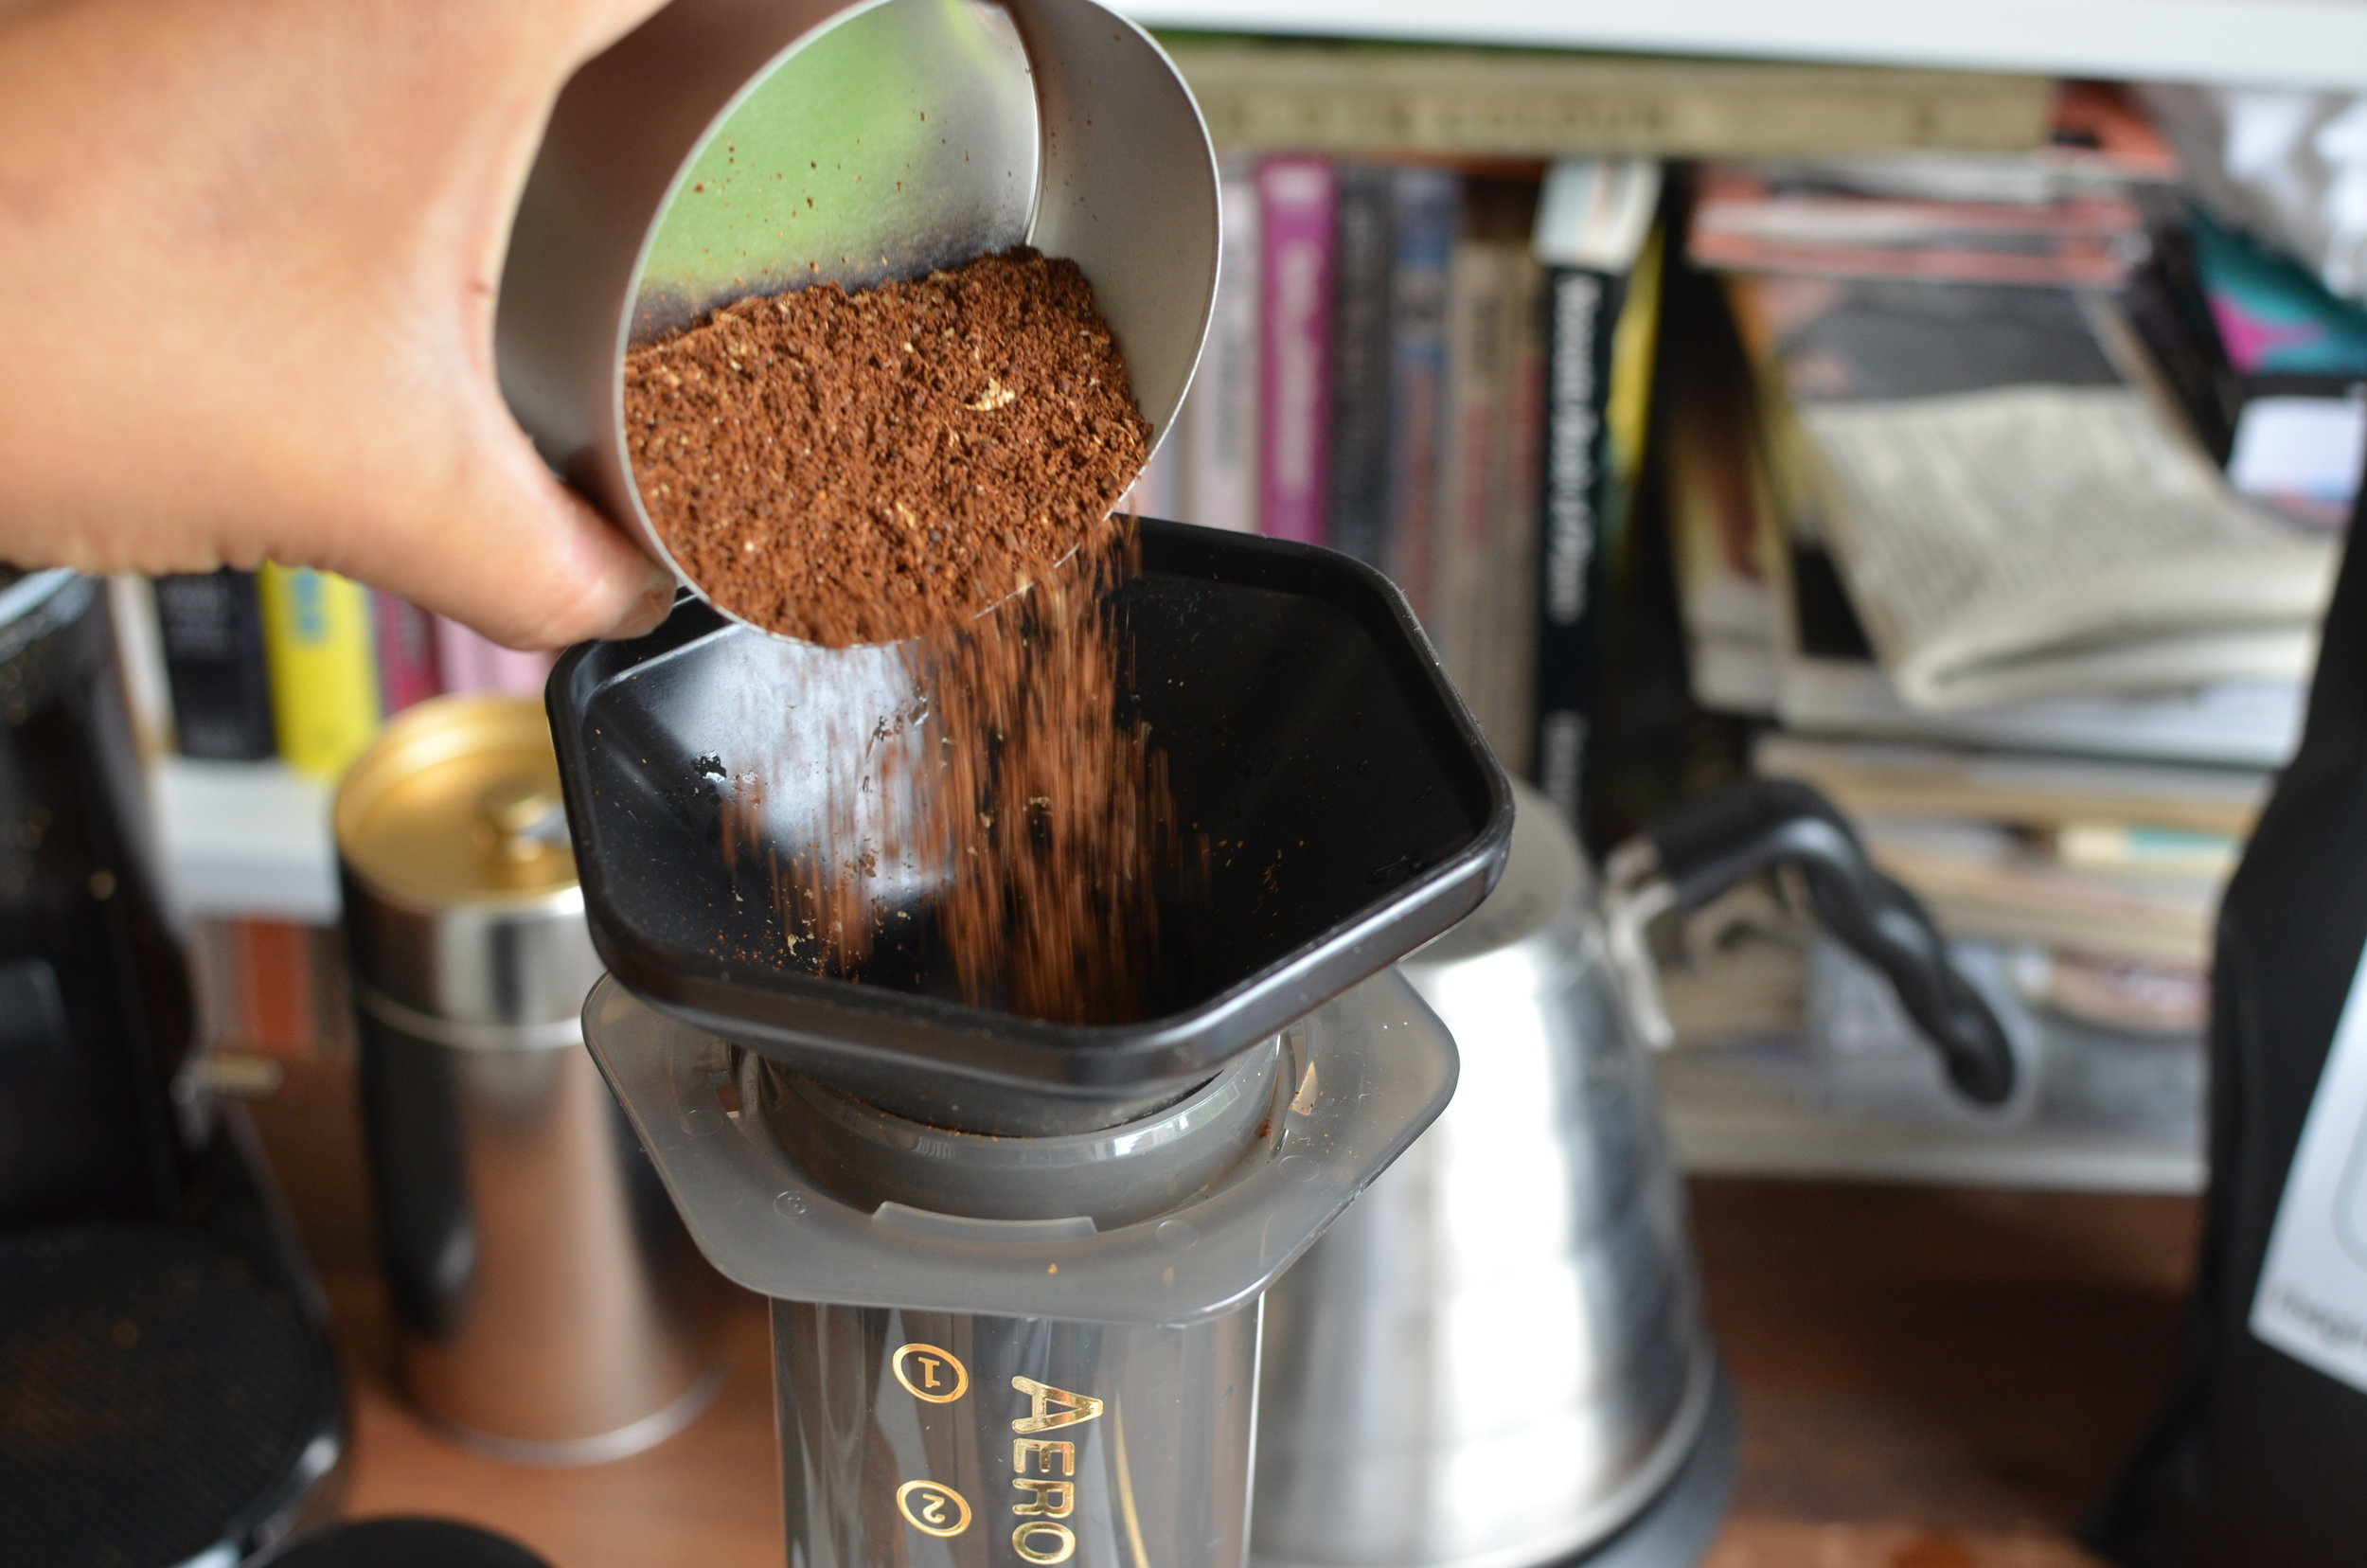
Weigh out your coffee. Here I’m using 18grams of freshly ground coffee. It’s always best to grind your coffee fresh.
Tip your ground coffee into the Aeropress. Sometimes I like to use the funnel that comes with the Aeropress because it’s effective when pouring ground coffee into the Aeropress neatly.

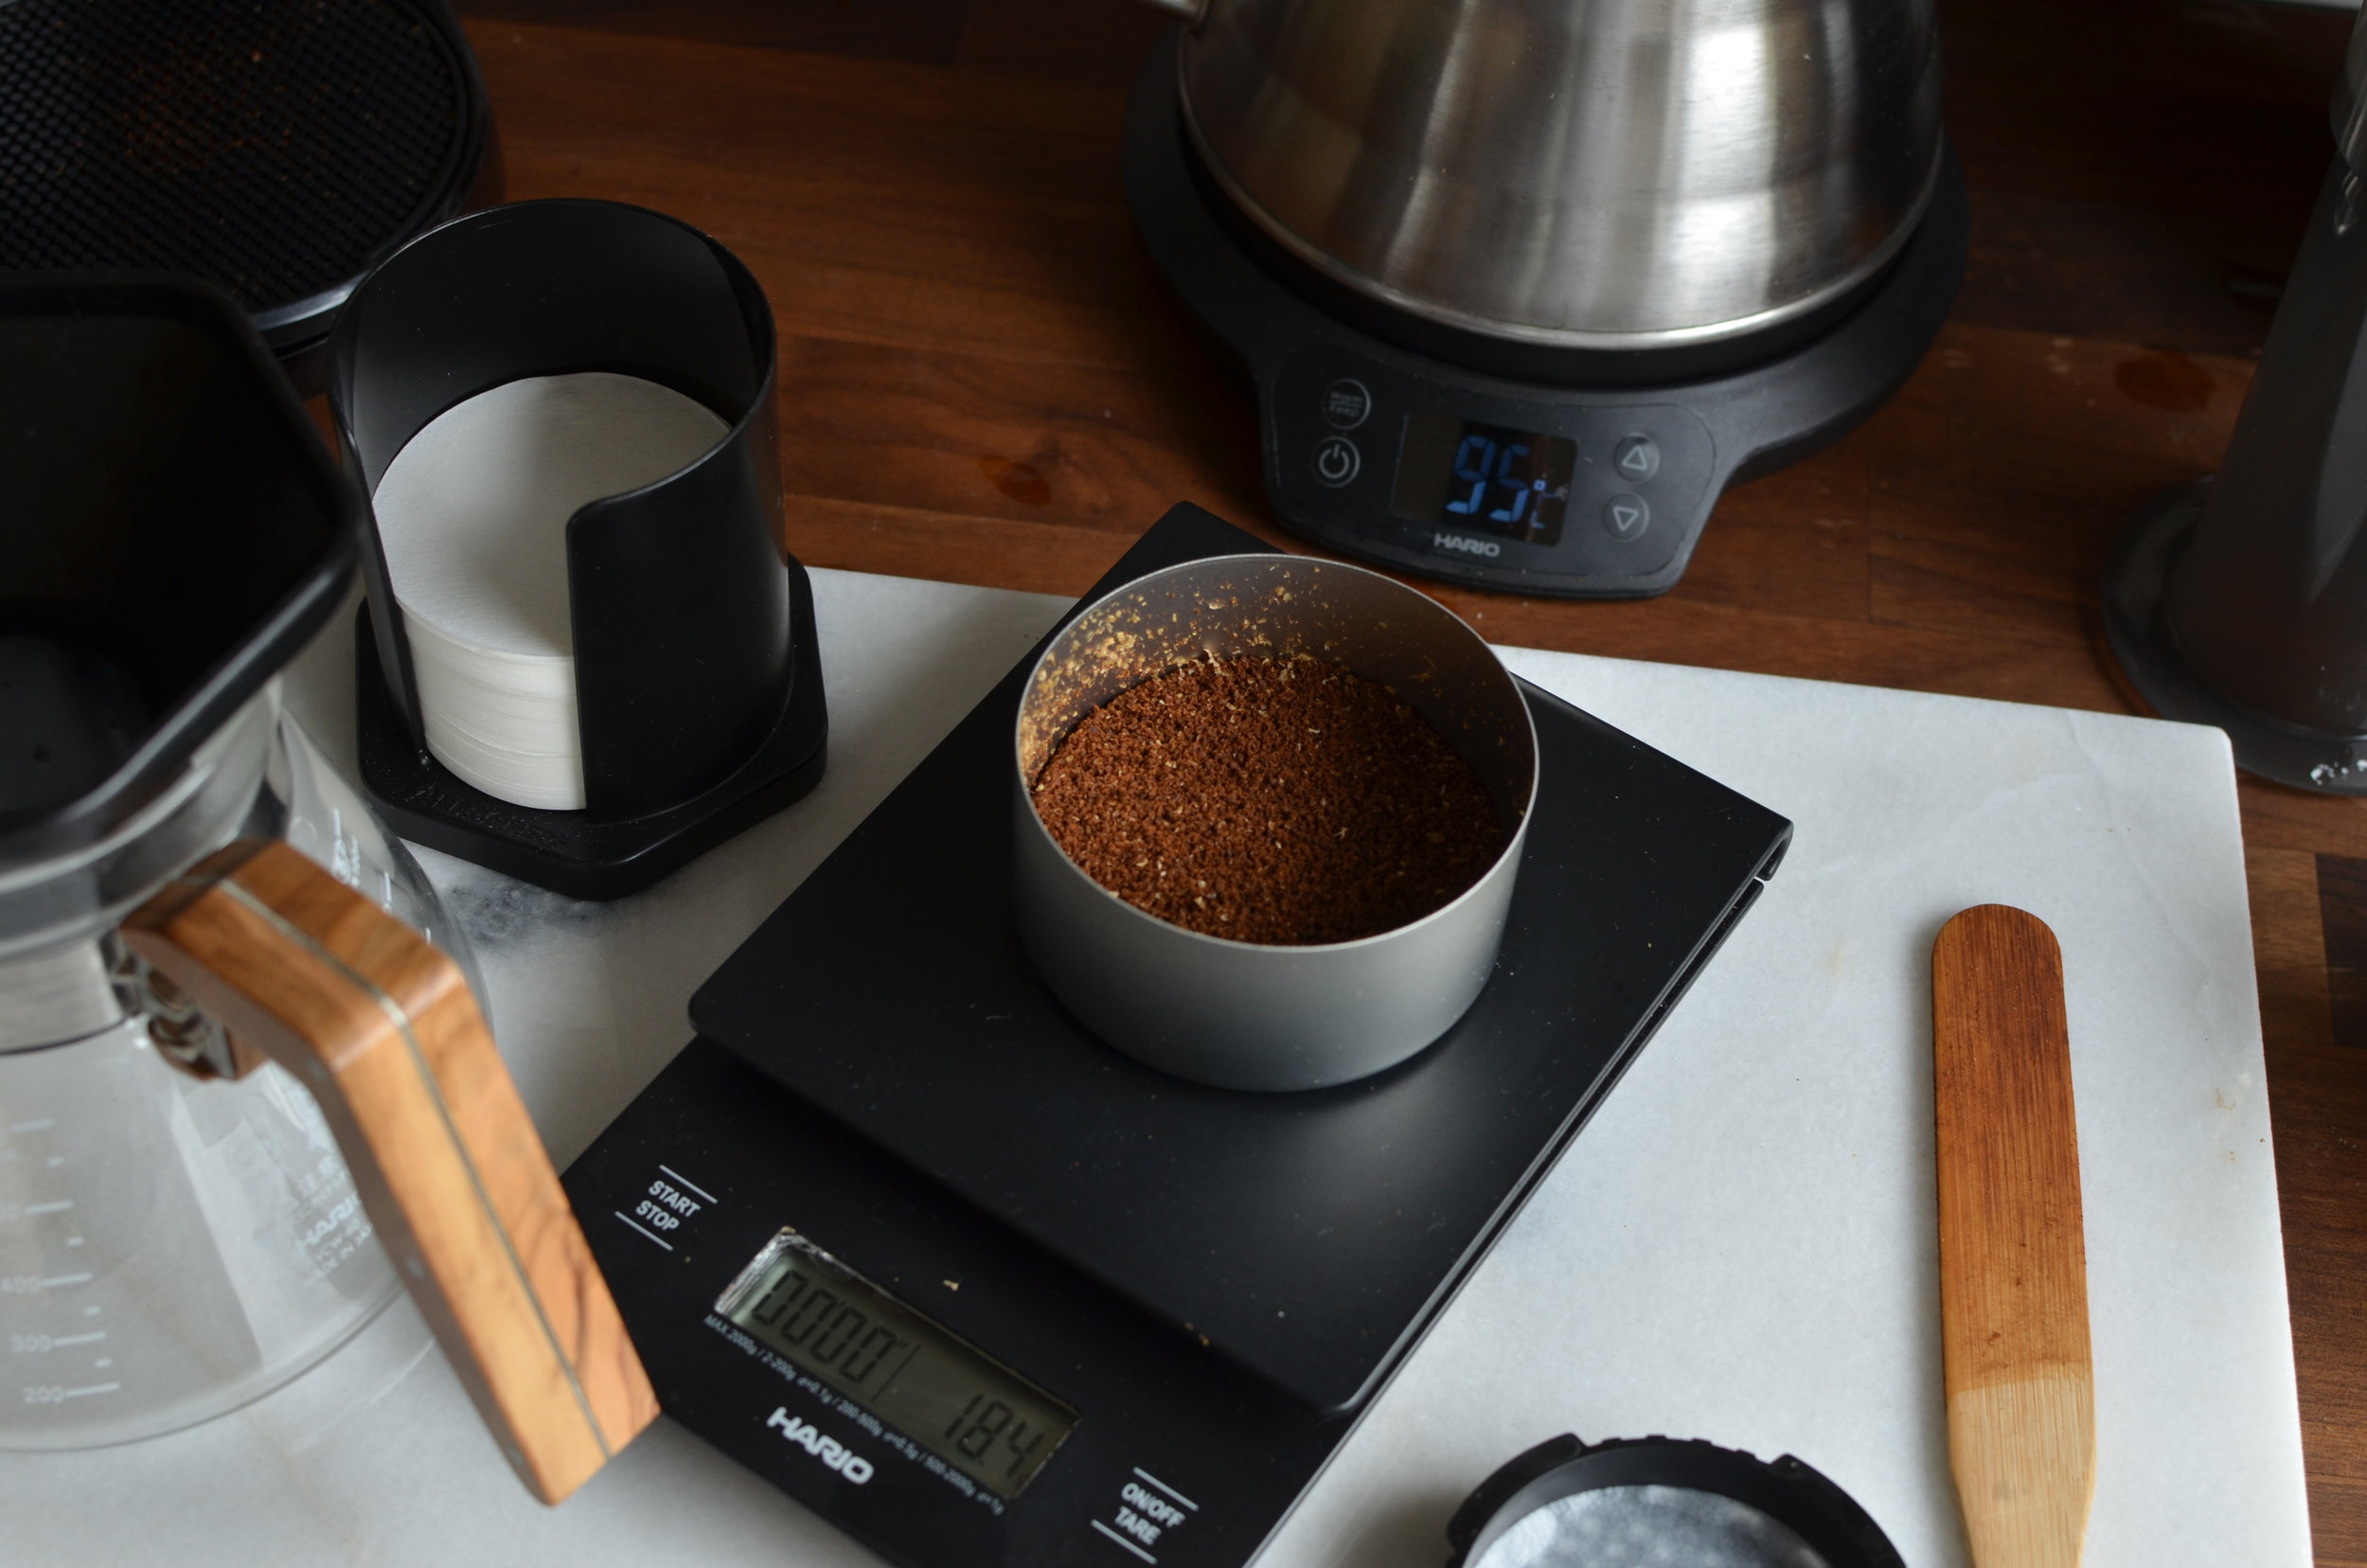
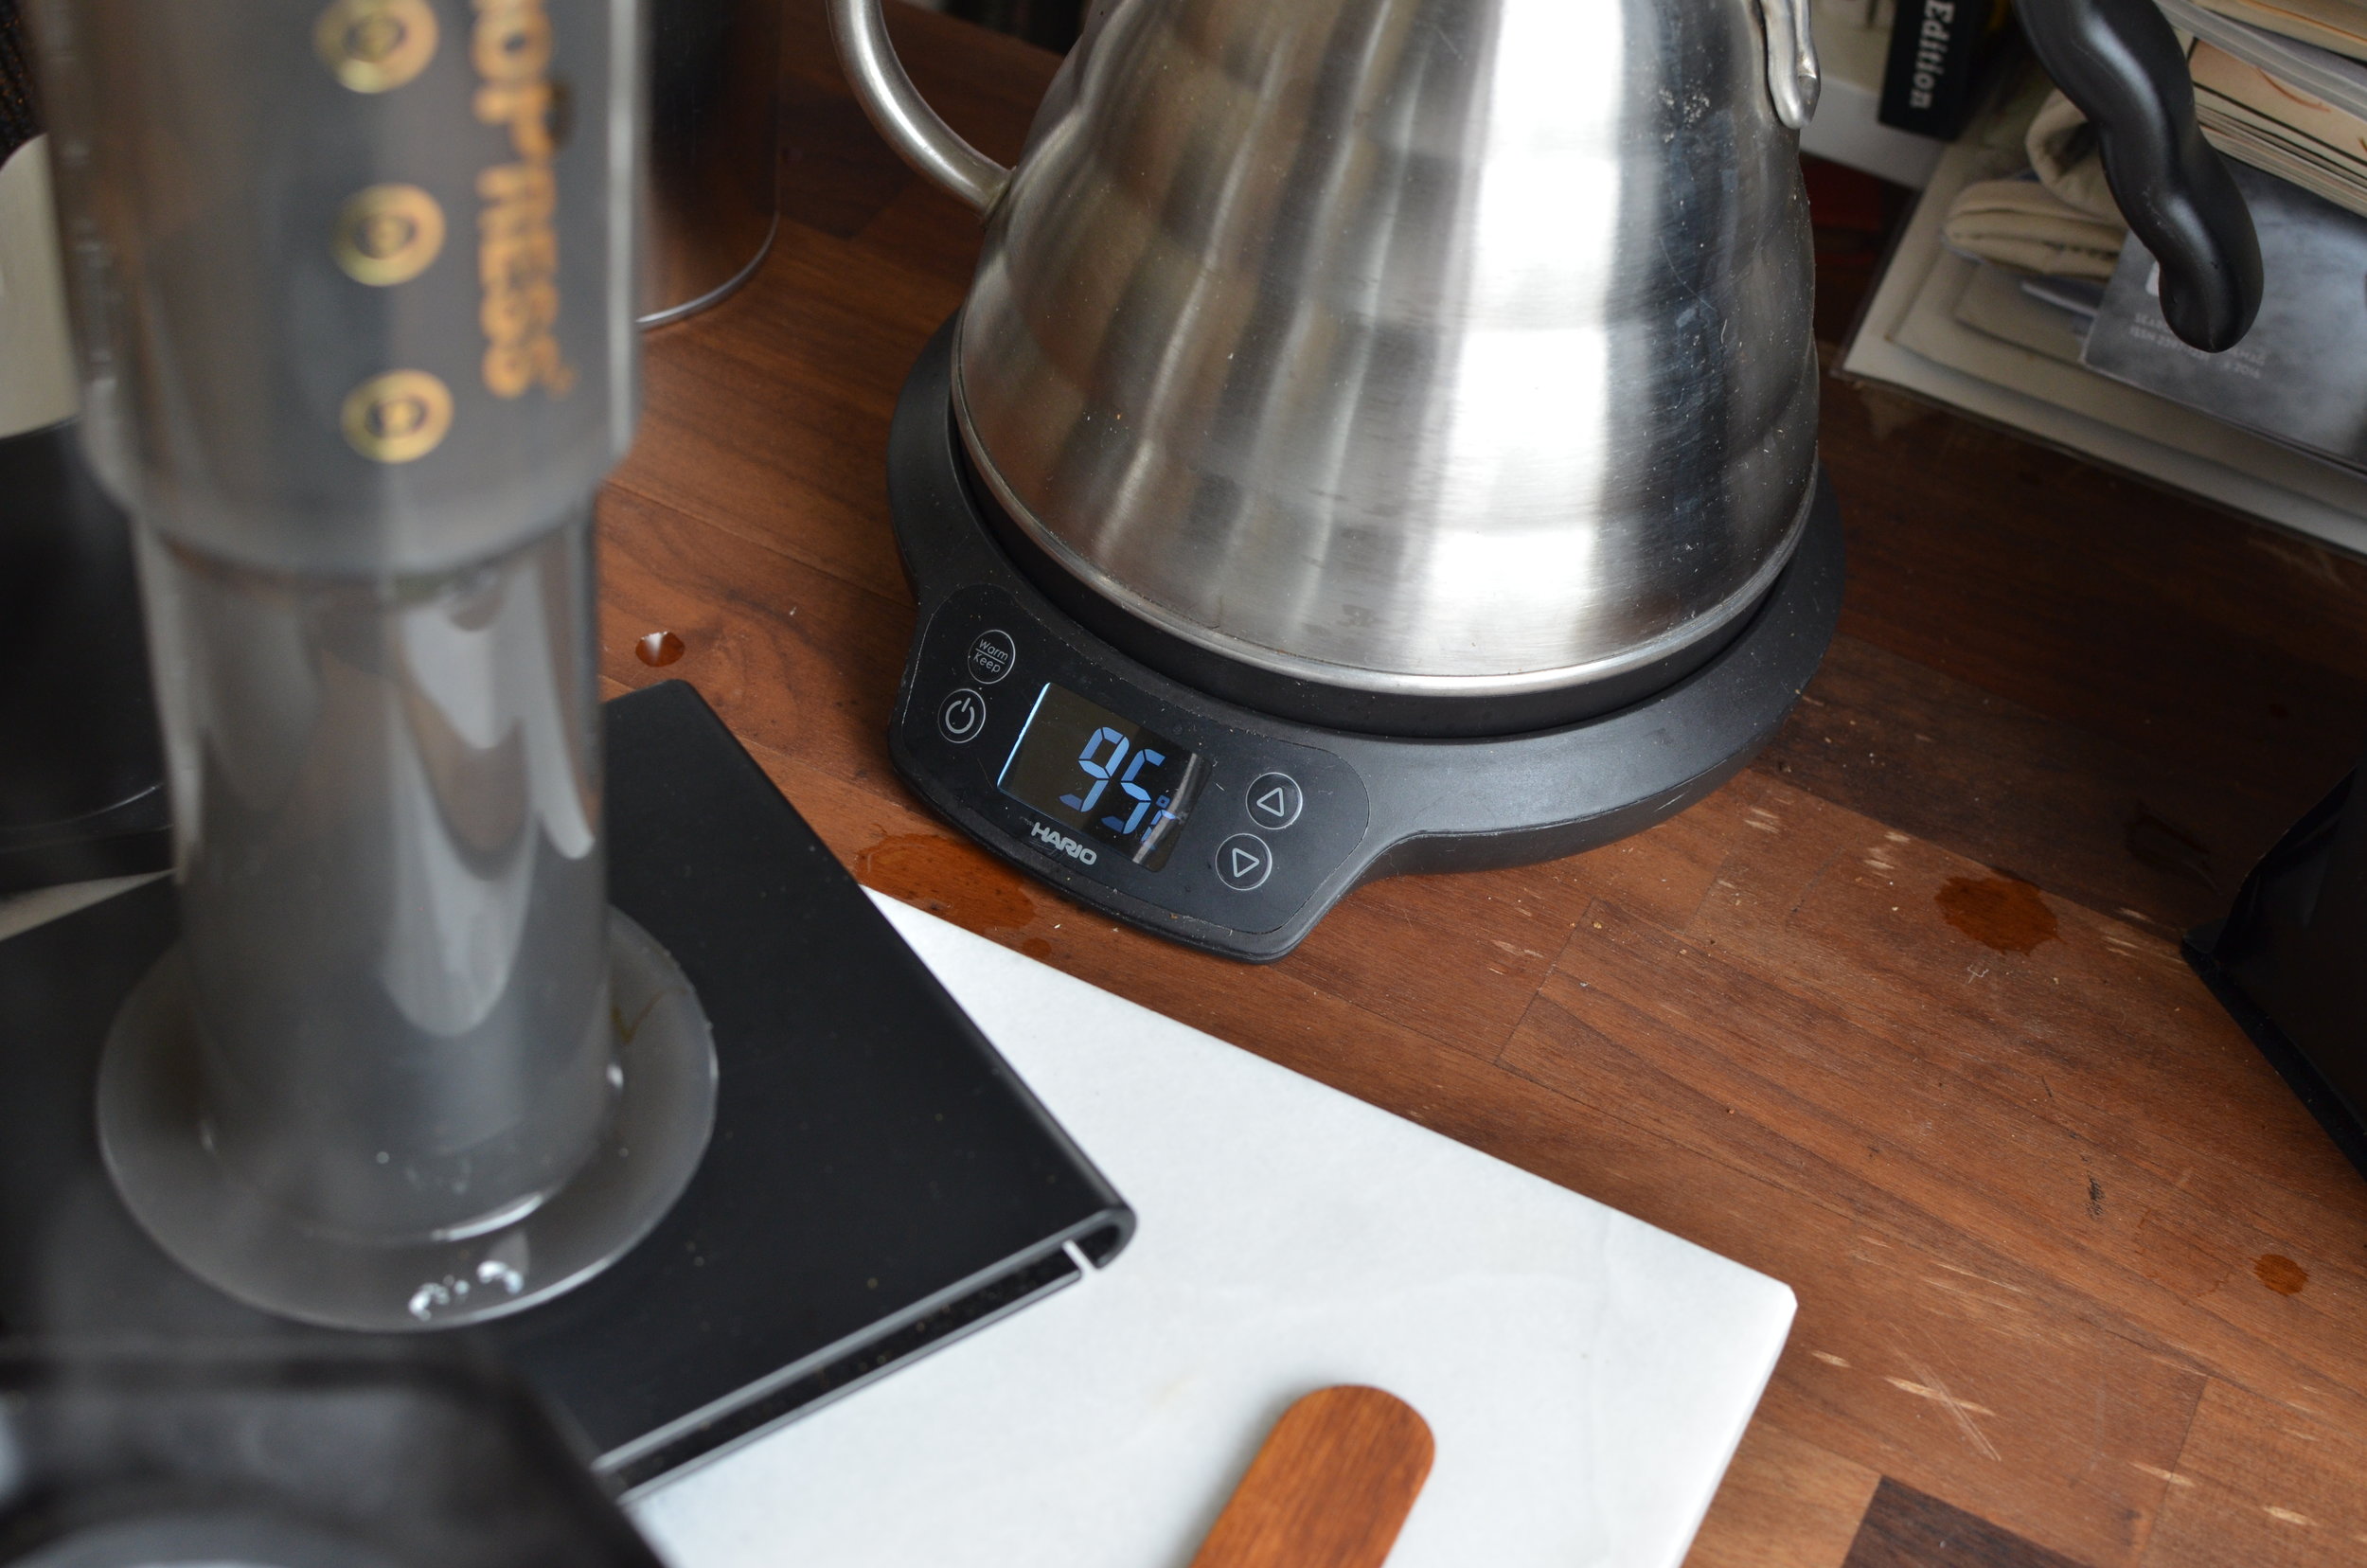
Boil your water. Ideally you want your water to be just off the boil, around 93-96 degrees Celsius. I have a Hario Buono electric kettle that is excellent because I can set the temperature exactly. But if you don’t have a thermometer or you’re out camping or have a regular kitchen kettle, you can just boil the water and open the lid for about 30 seconds to let it cool down a bit. You can check out my electric kettle here - it’s my favourite piece of coffee gear!
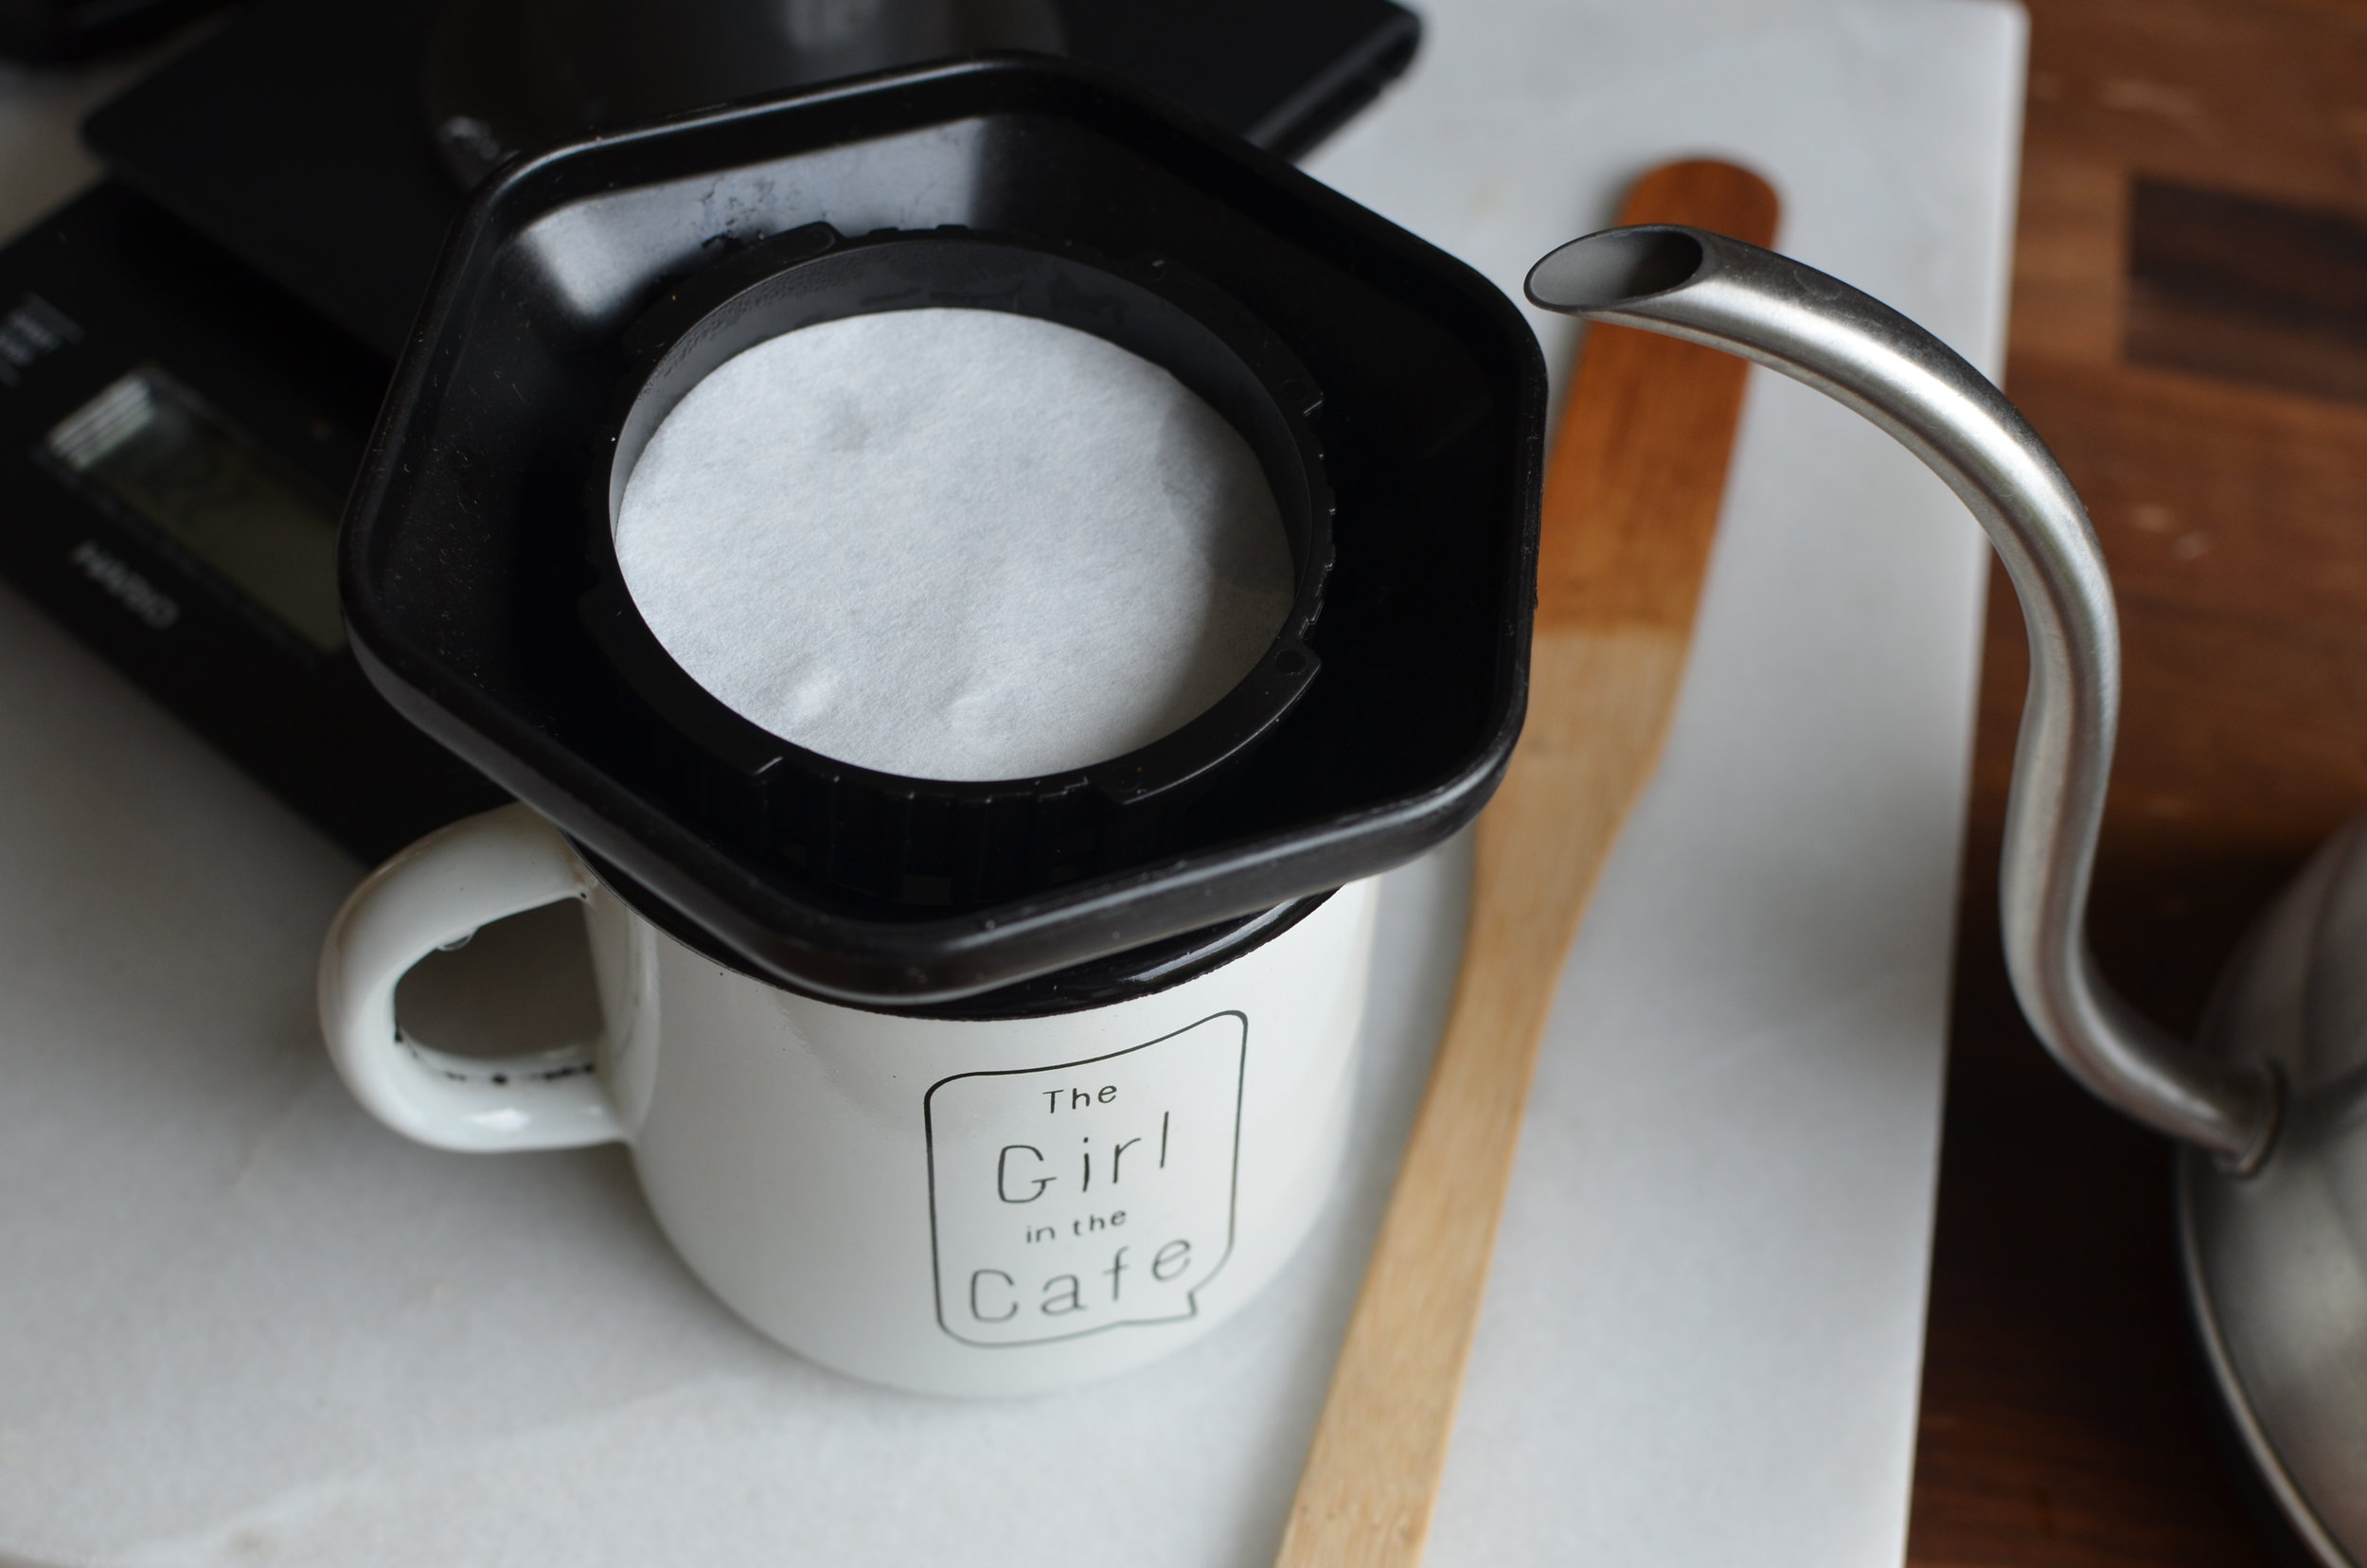
Get your filter paper ready. My little tip is to use 2-3 filter papers for a cleaner brew. You may or may not like to do this, but I definitely enjoy my brew like this! It will create slightly more resistance when pressing but not enough to make a difference.
People ask about metal filters but they can be a little annoying to clean and it doesn’t catch the ‘bad’ oils or very fine grinds. Over time it does work out cheaper if you're aeropressing daily, but I find it less convenient. It does seem to give a slightly fuller bodied flavour though. Personally I like using the paper filters.
Be sure to rinse the paper thoroughly first with hot water to get out any papery residue that may affect the taste of your coffee and set aside. It's also a good way to preheat your coffee vessel. Make sure you remember to discard the water before you start brewing though!

I suggest if it’s your first time using an Aeropress (and you have some scales around) do use them just so you’ll have a visual marker of where to fill it to when you don’t have a scale handy.
I like to have mine on a scale to double check the amount of coffee and water. But one of the great things about the Aeropress is that it comes with a spoon that measures whole beans to about 17-18g and the chamber itself takes about a maximum of 250ml of water, which is what we’re aiming for in this recipe anyway. So if you don’t use a scale, it’s not the end of the world. In fact you don’t really need it.
But incase you're looking for a good scale, here's a link to the Hario one I use - there are a few good scales around but I like this one for its design quality, simplicity and it's not too expensive. It has a timer and automatically switches off when not in use.
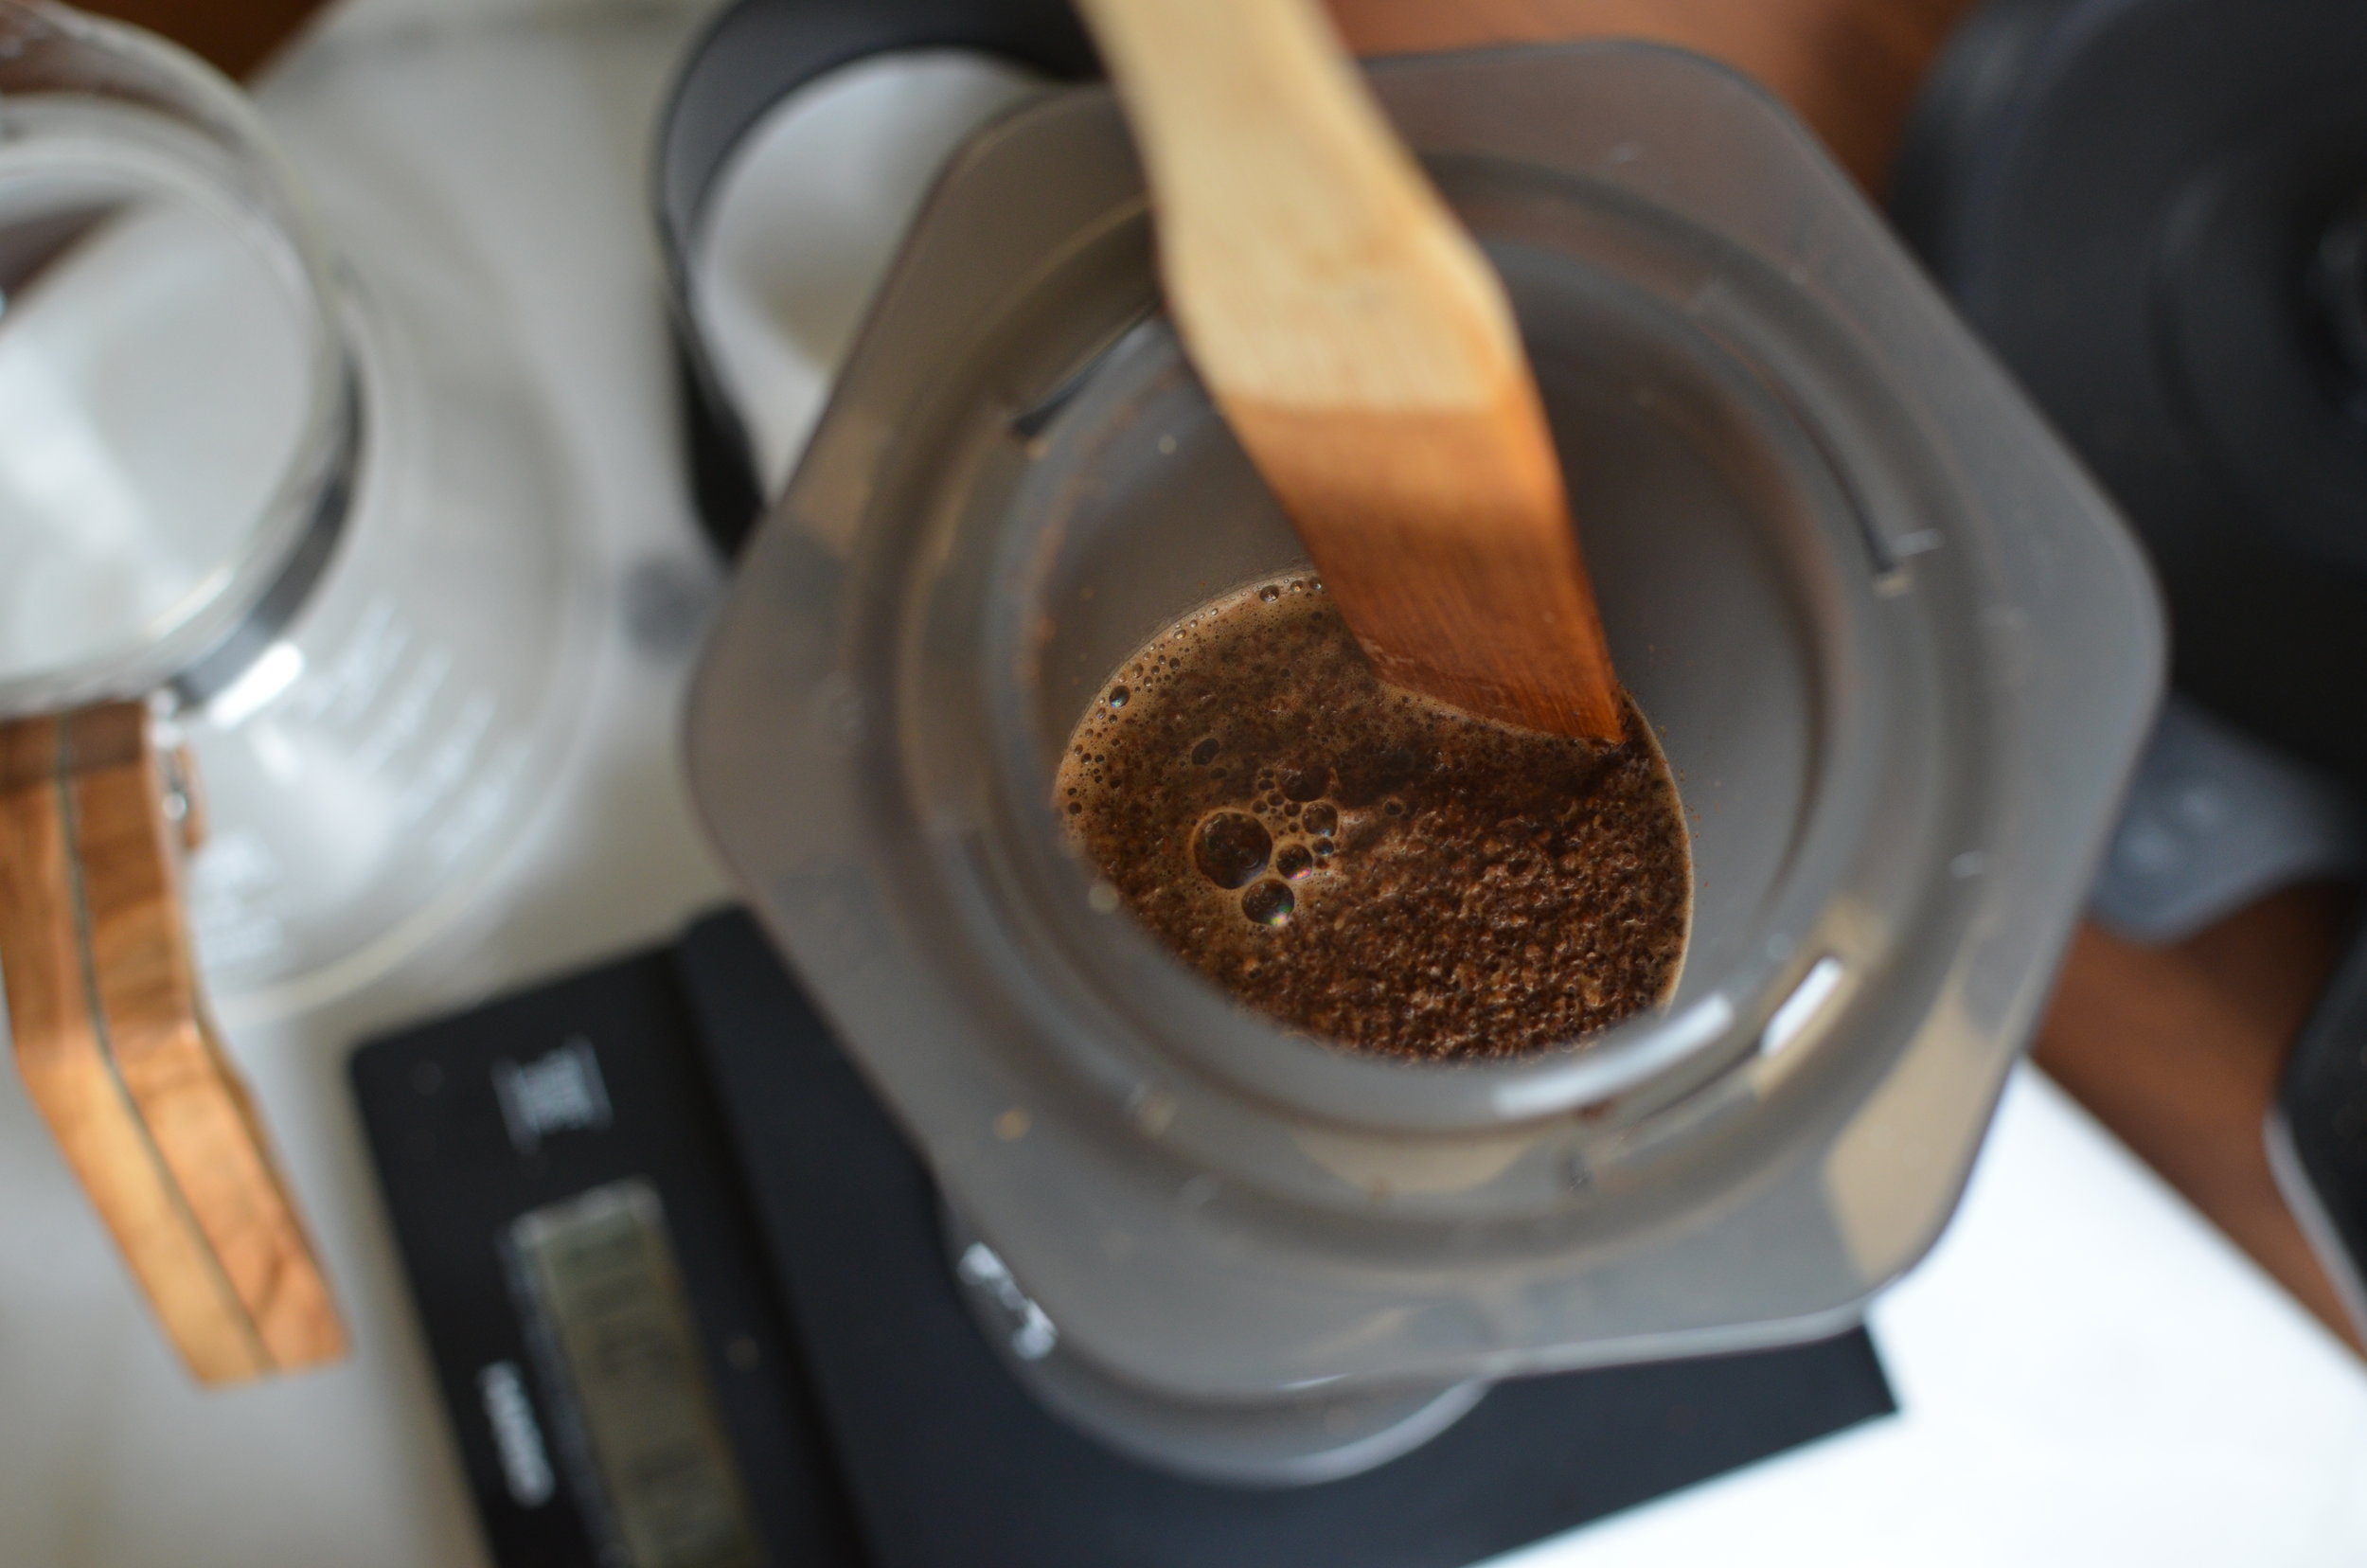
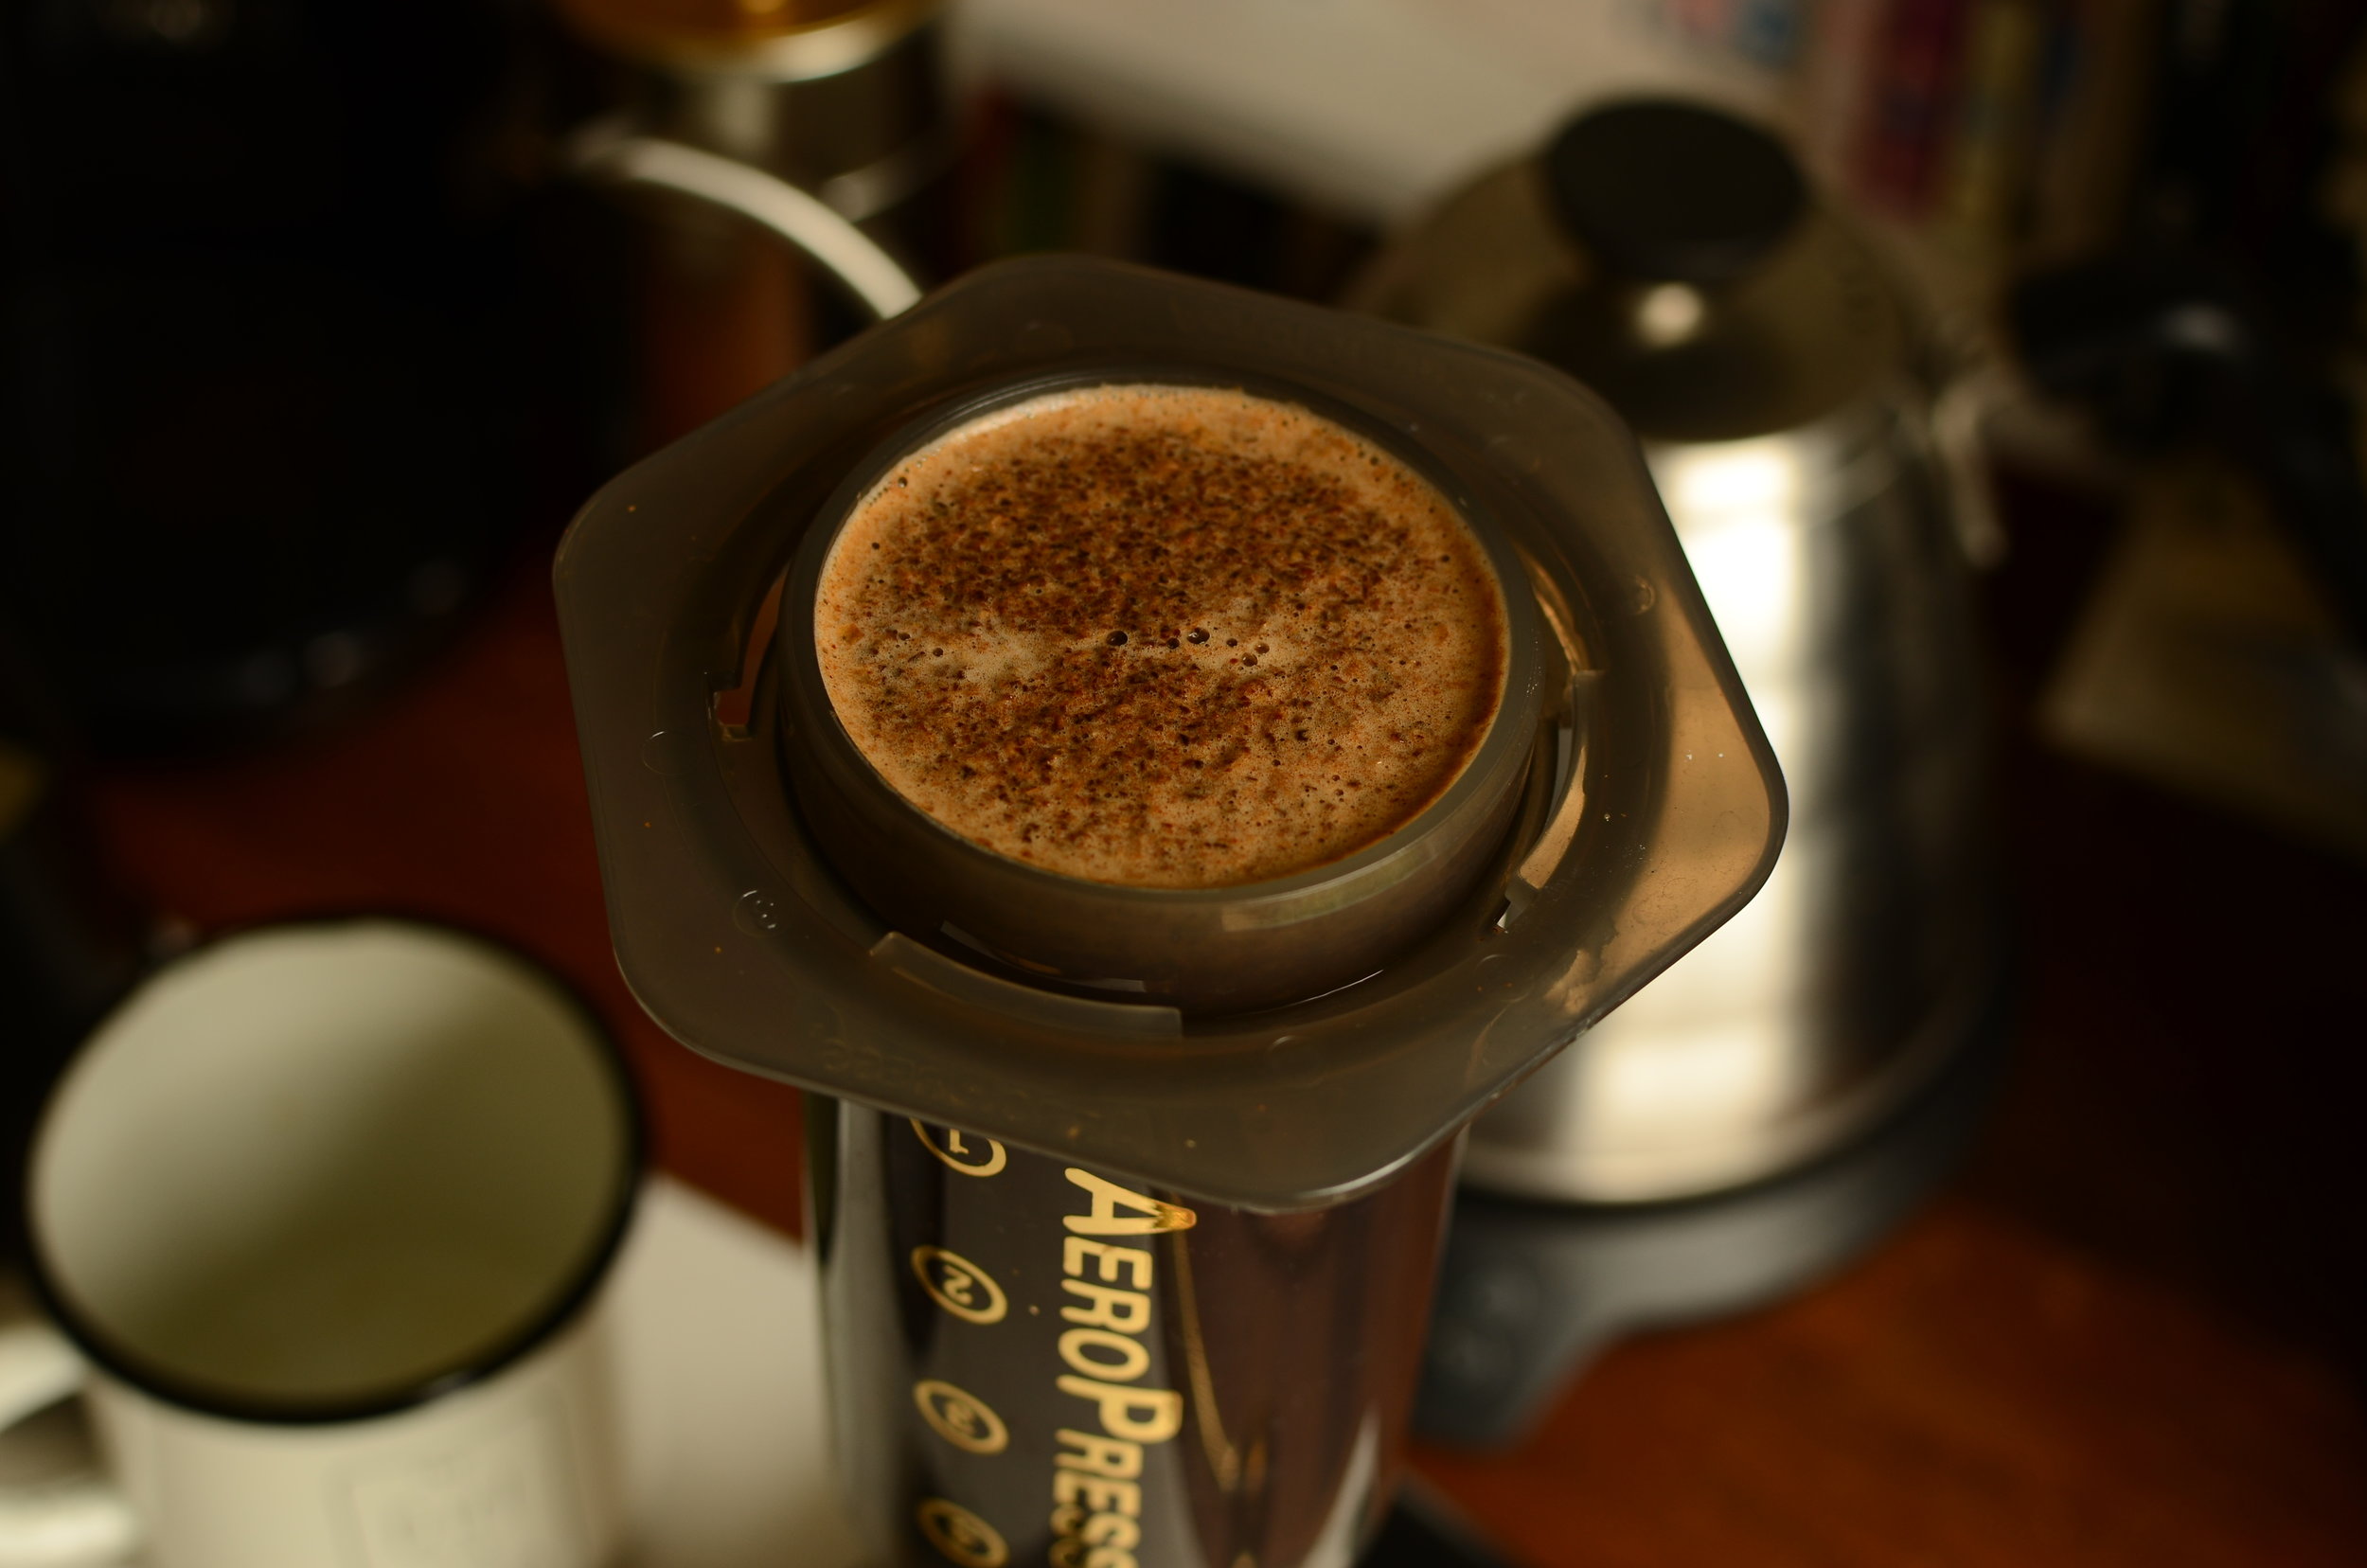
Hit the start button on the timer then pour water in slowly until the ground coffee is completely submerged. It should reach up to approximately 1/3 of the cylinder and let the coffee bloom for a few seconds.
Give it a light stir with a spoon, or the spatula that comes with in the Aeropress kit. You are agitating the coffee grounds here to make sure that all the coffee grounds are evenly saturated.
This should take about 20seconds.

Then continue to pour slowly until you almost reach the maximum level of the Aeropress (250ml) and give it another stir. (This is optional). If you don’t stir it again, thats fine, just fill it until it reaches 250ml.
Have a little smell of the aroma (not optional)
Wait until the timer reaches 1minute 30 seconds and it should be ready to press.
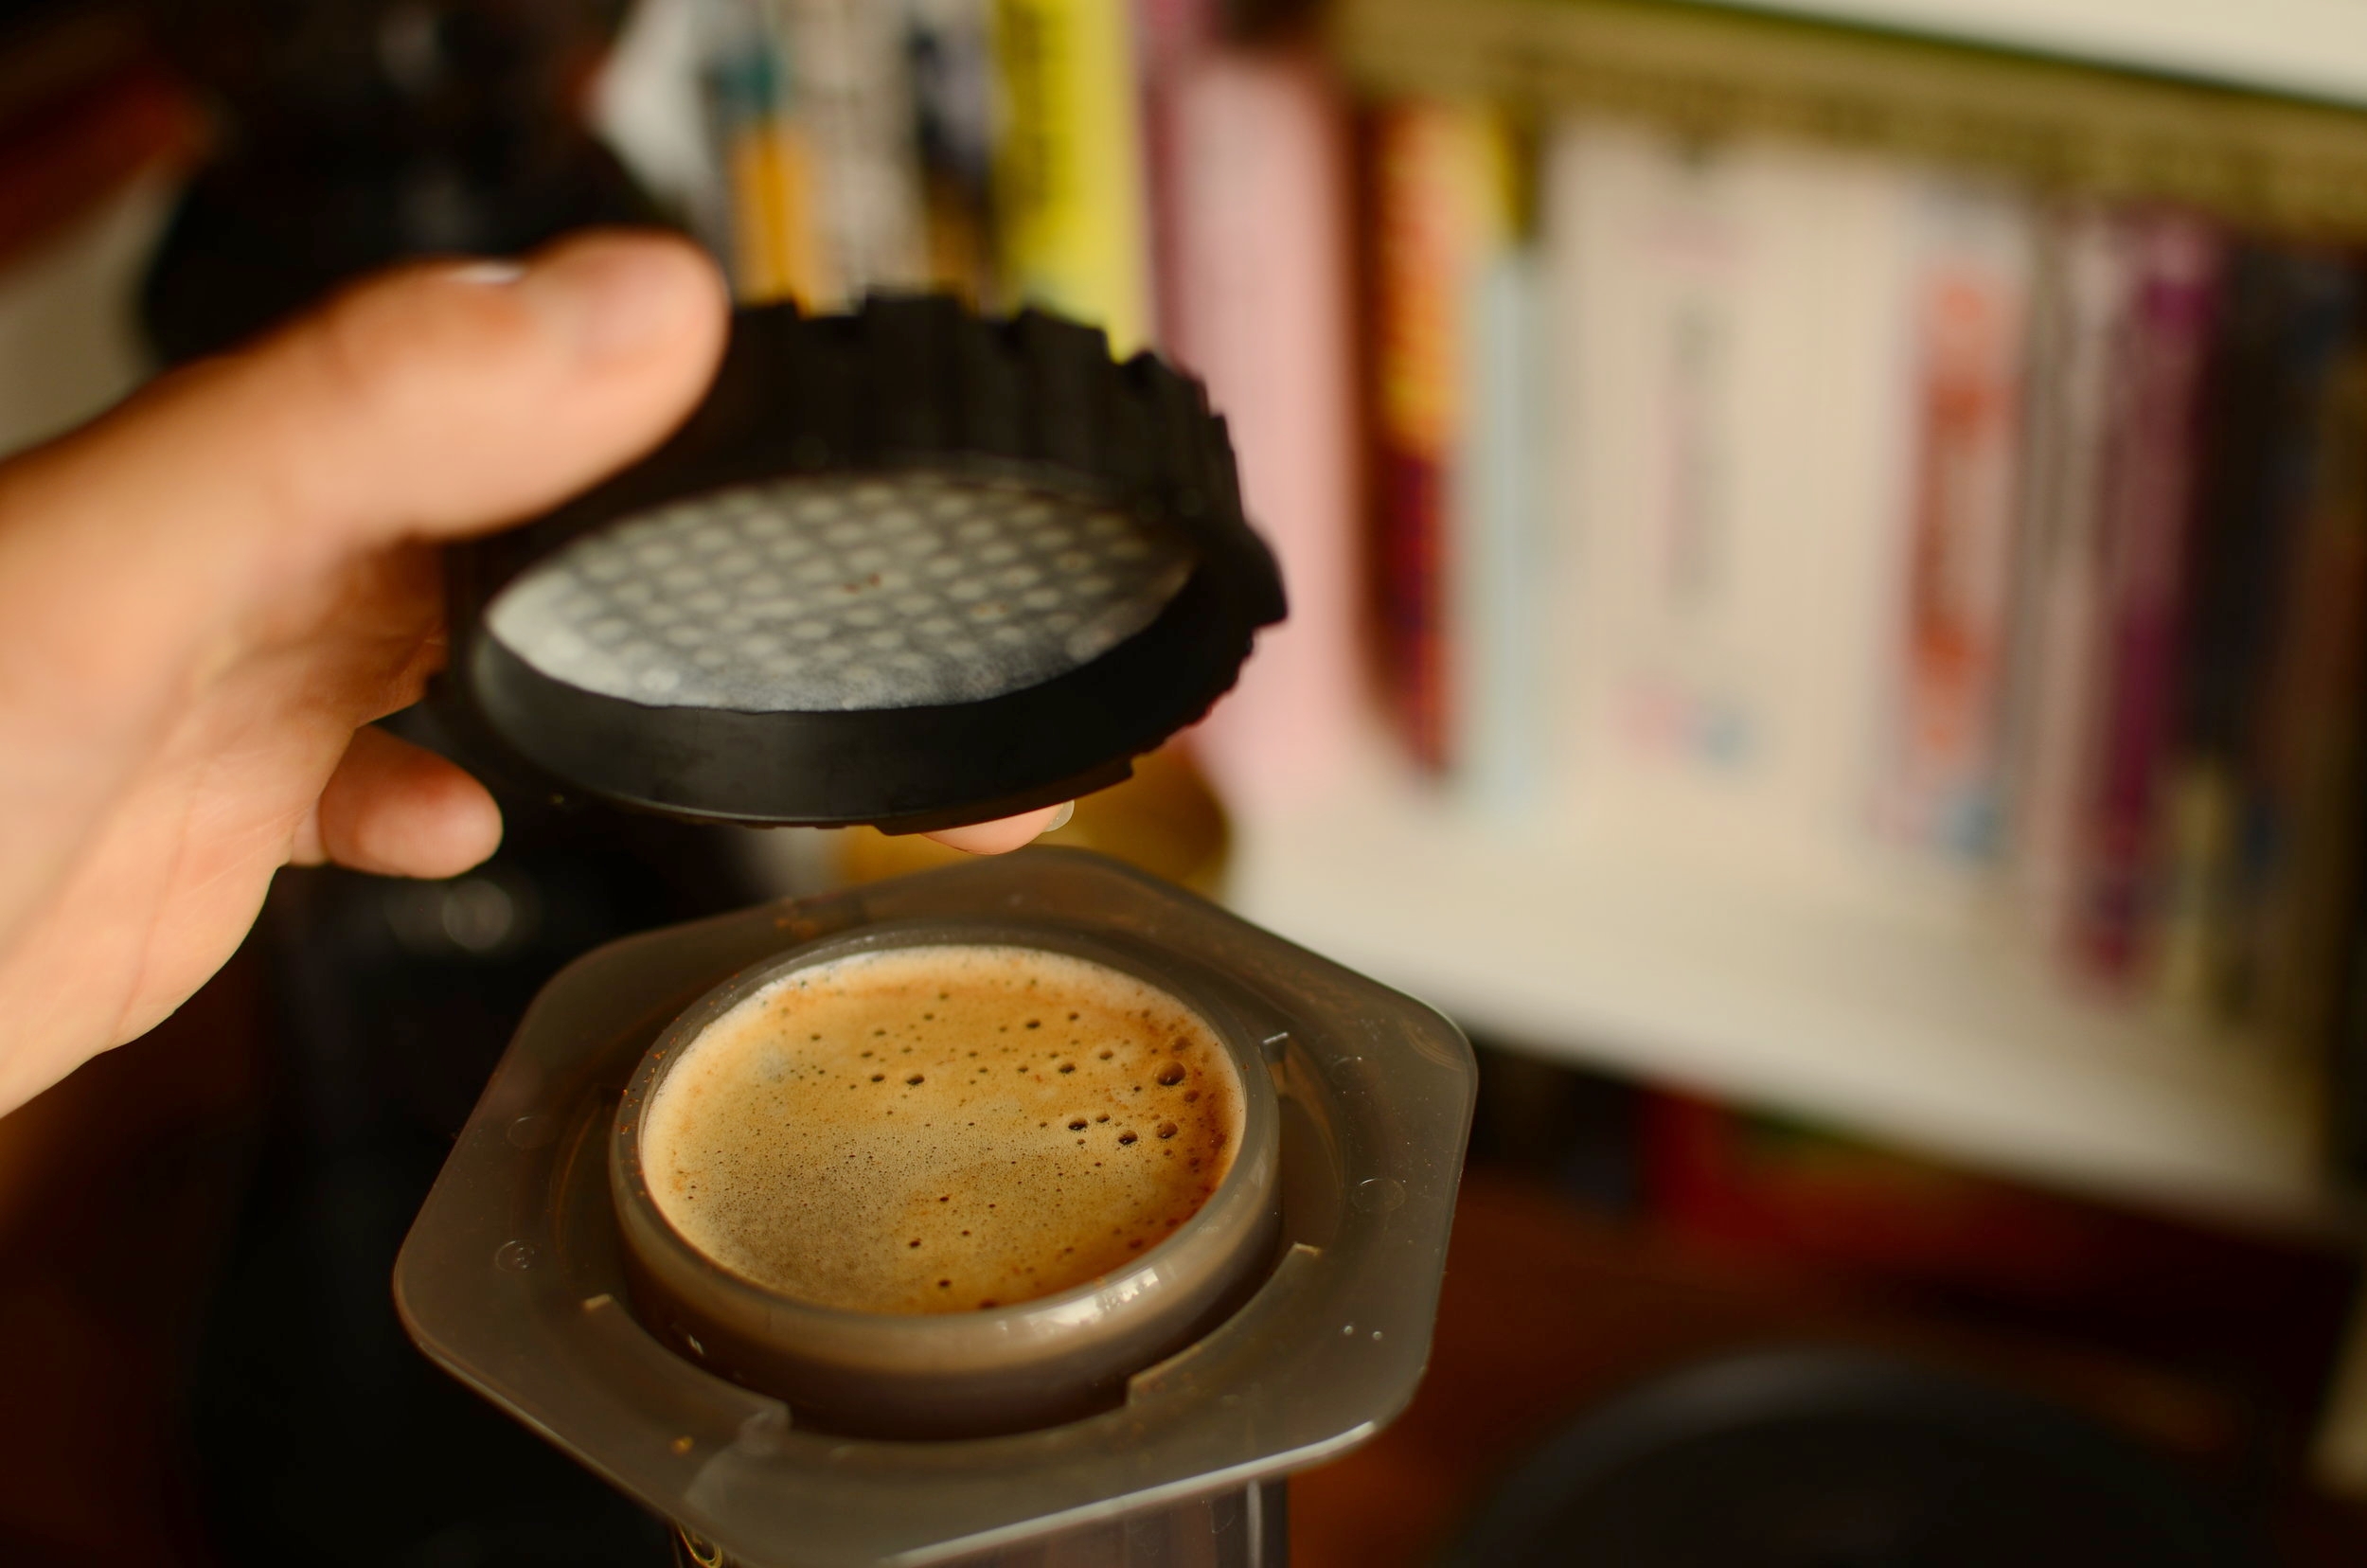
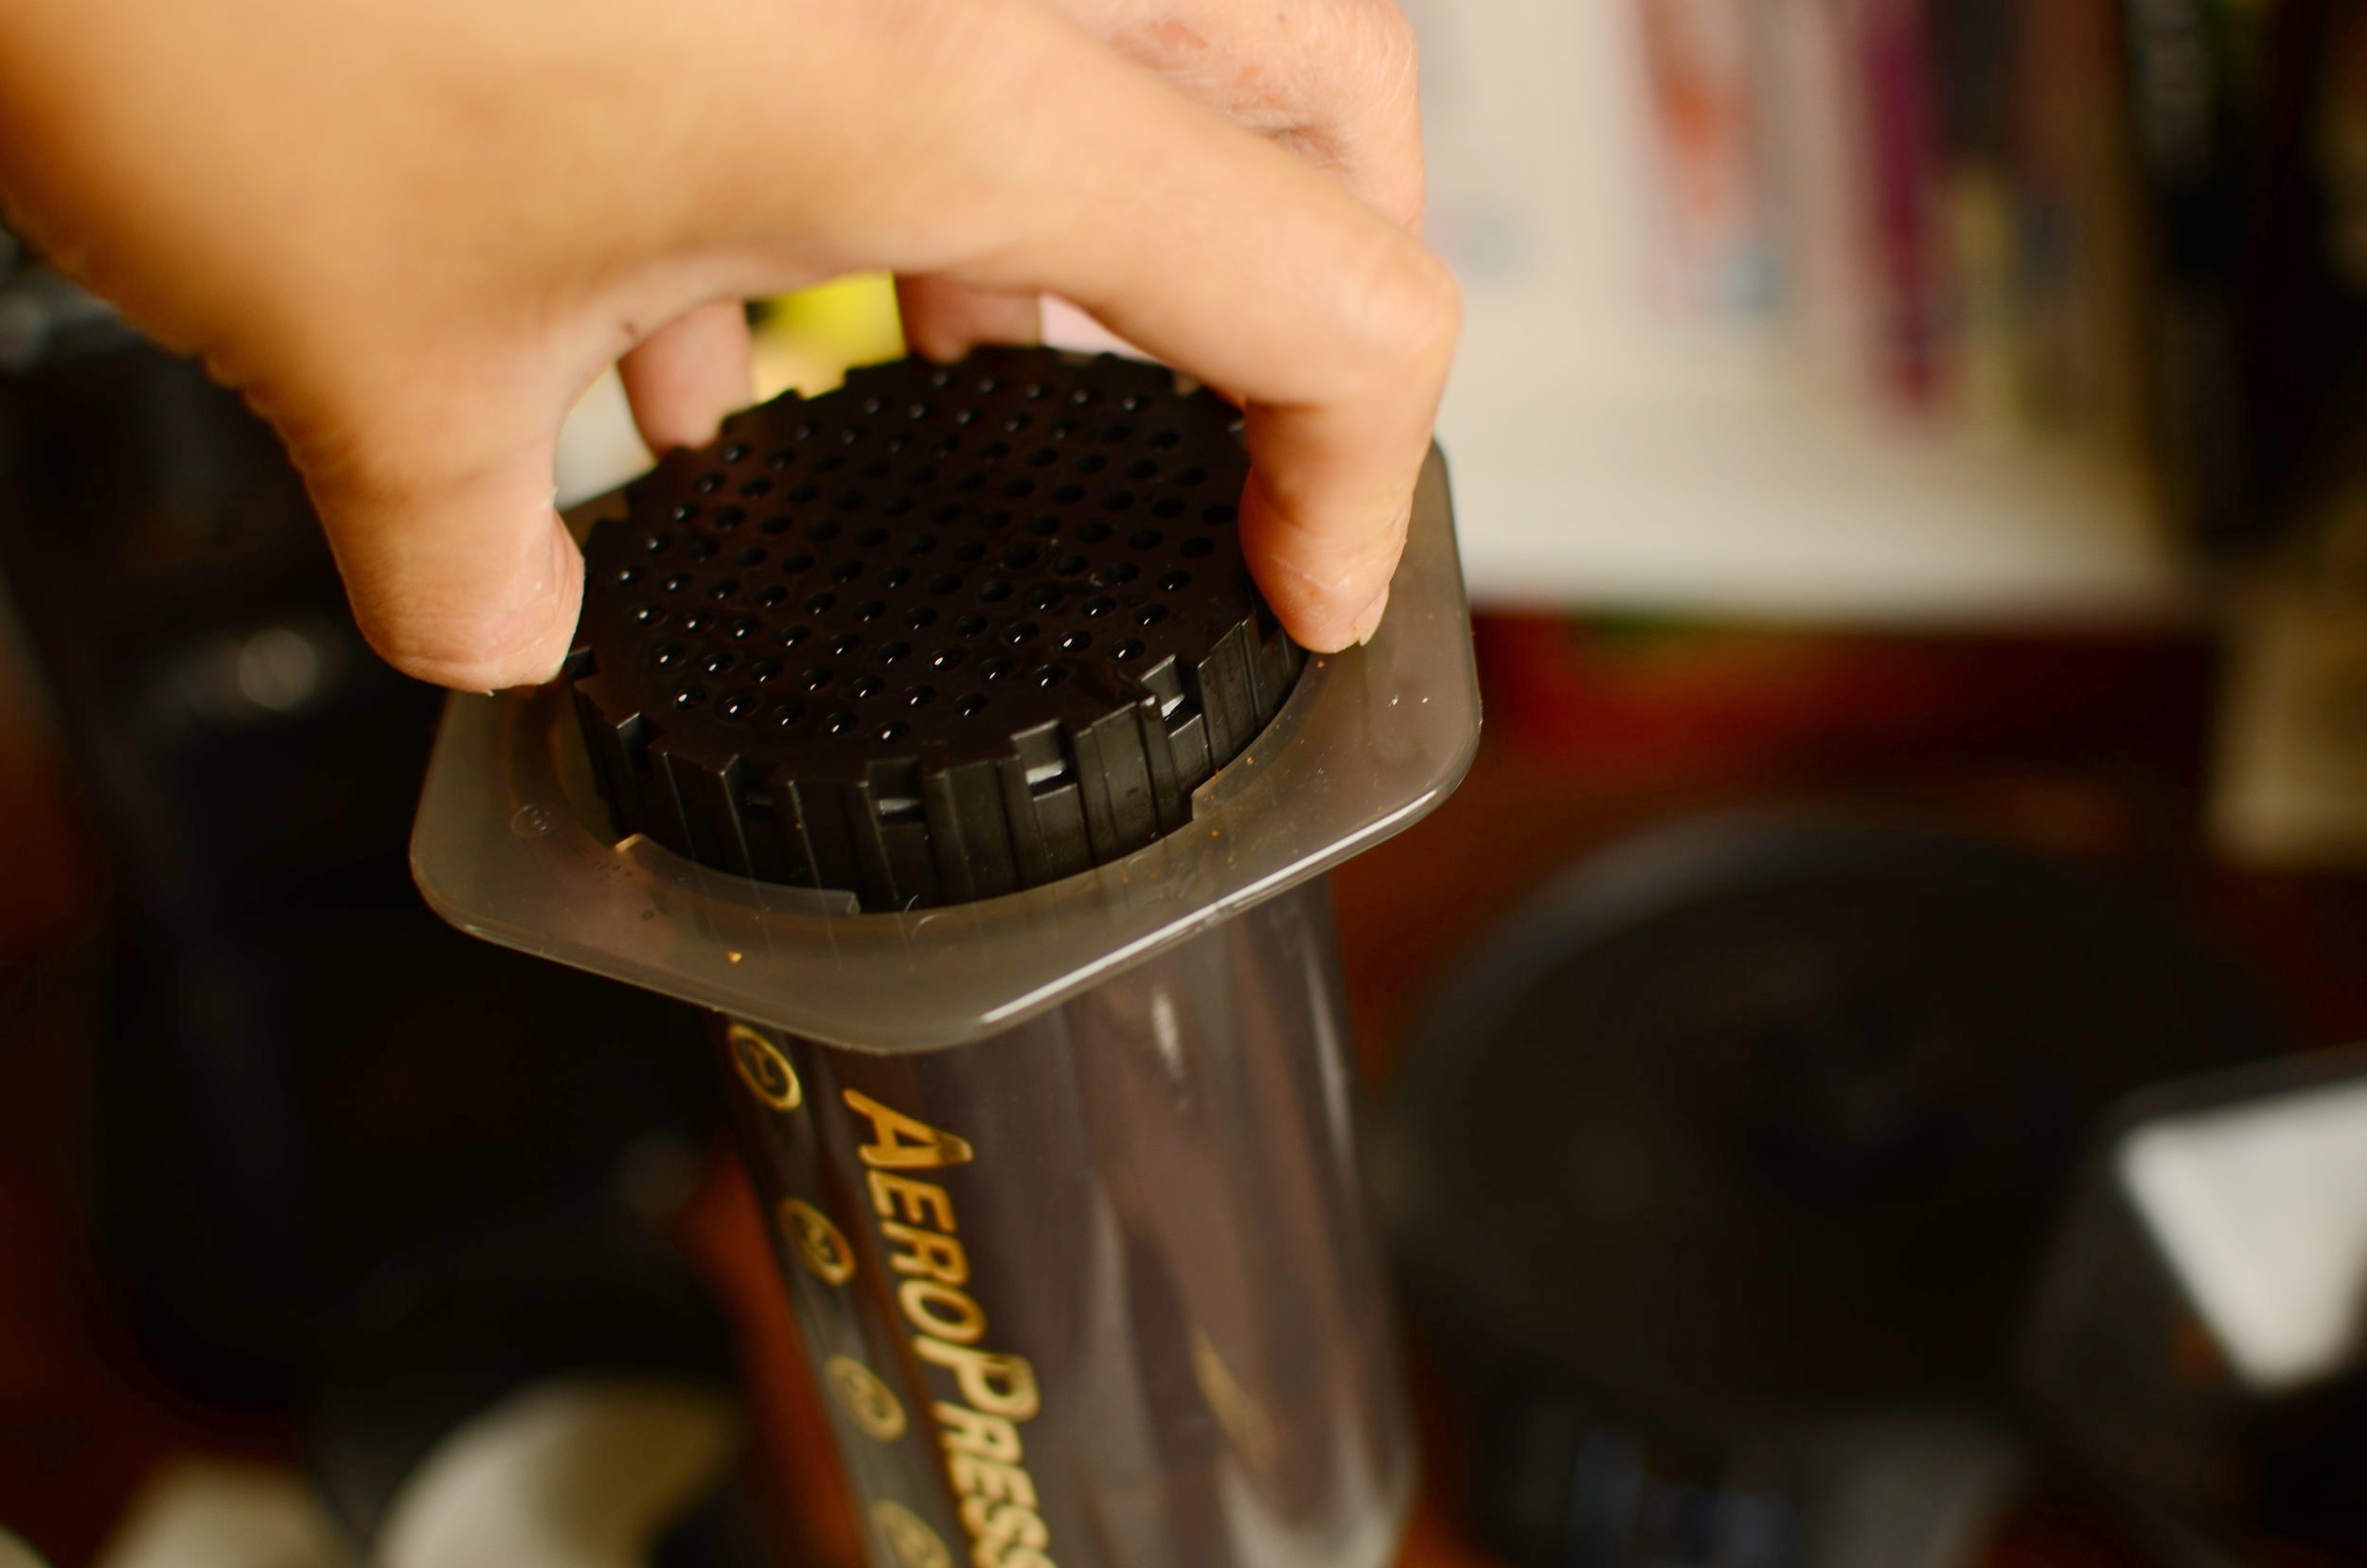
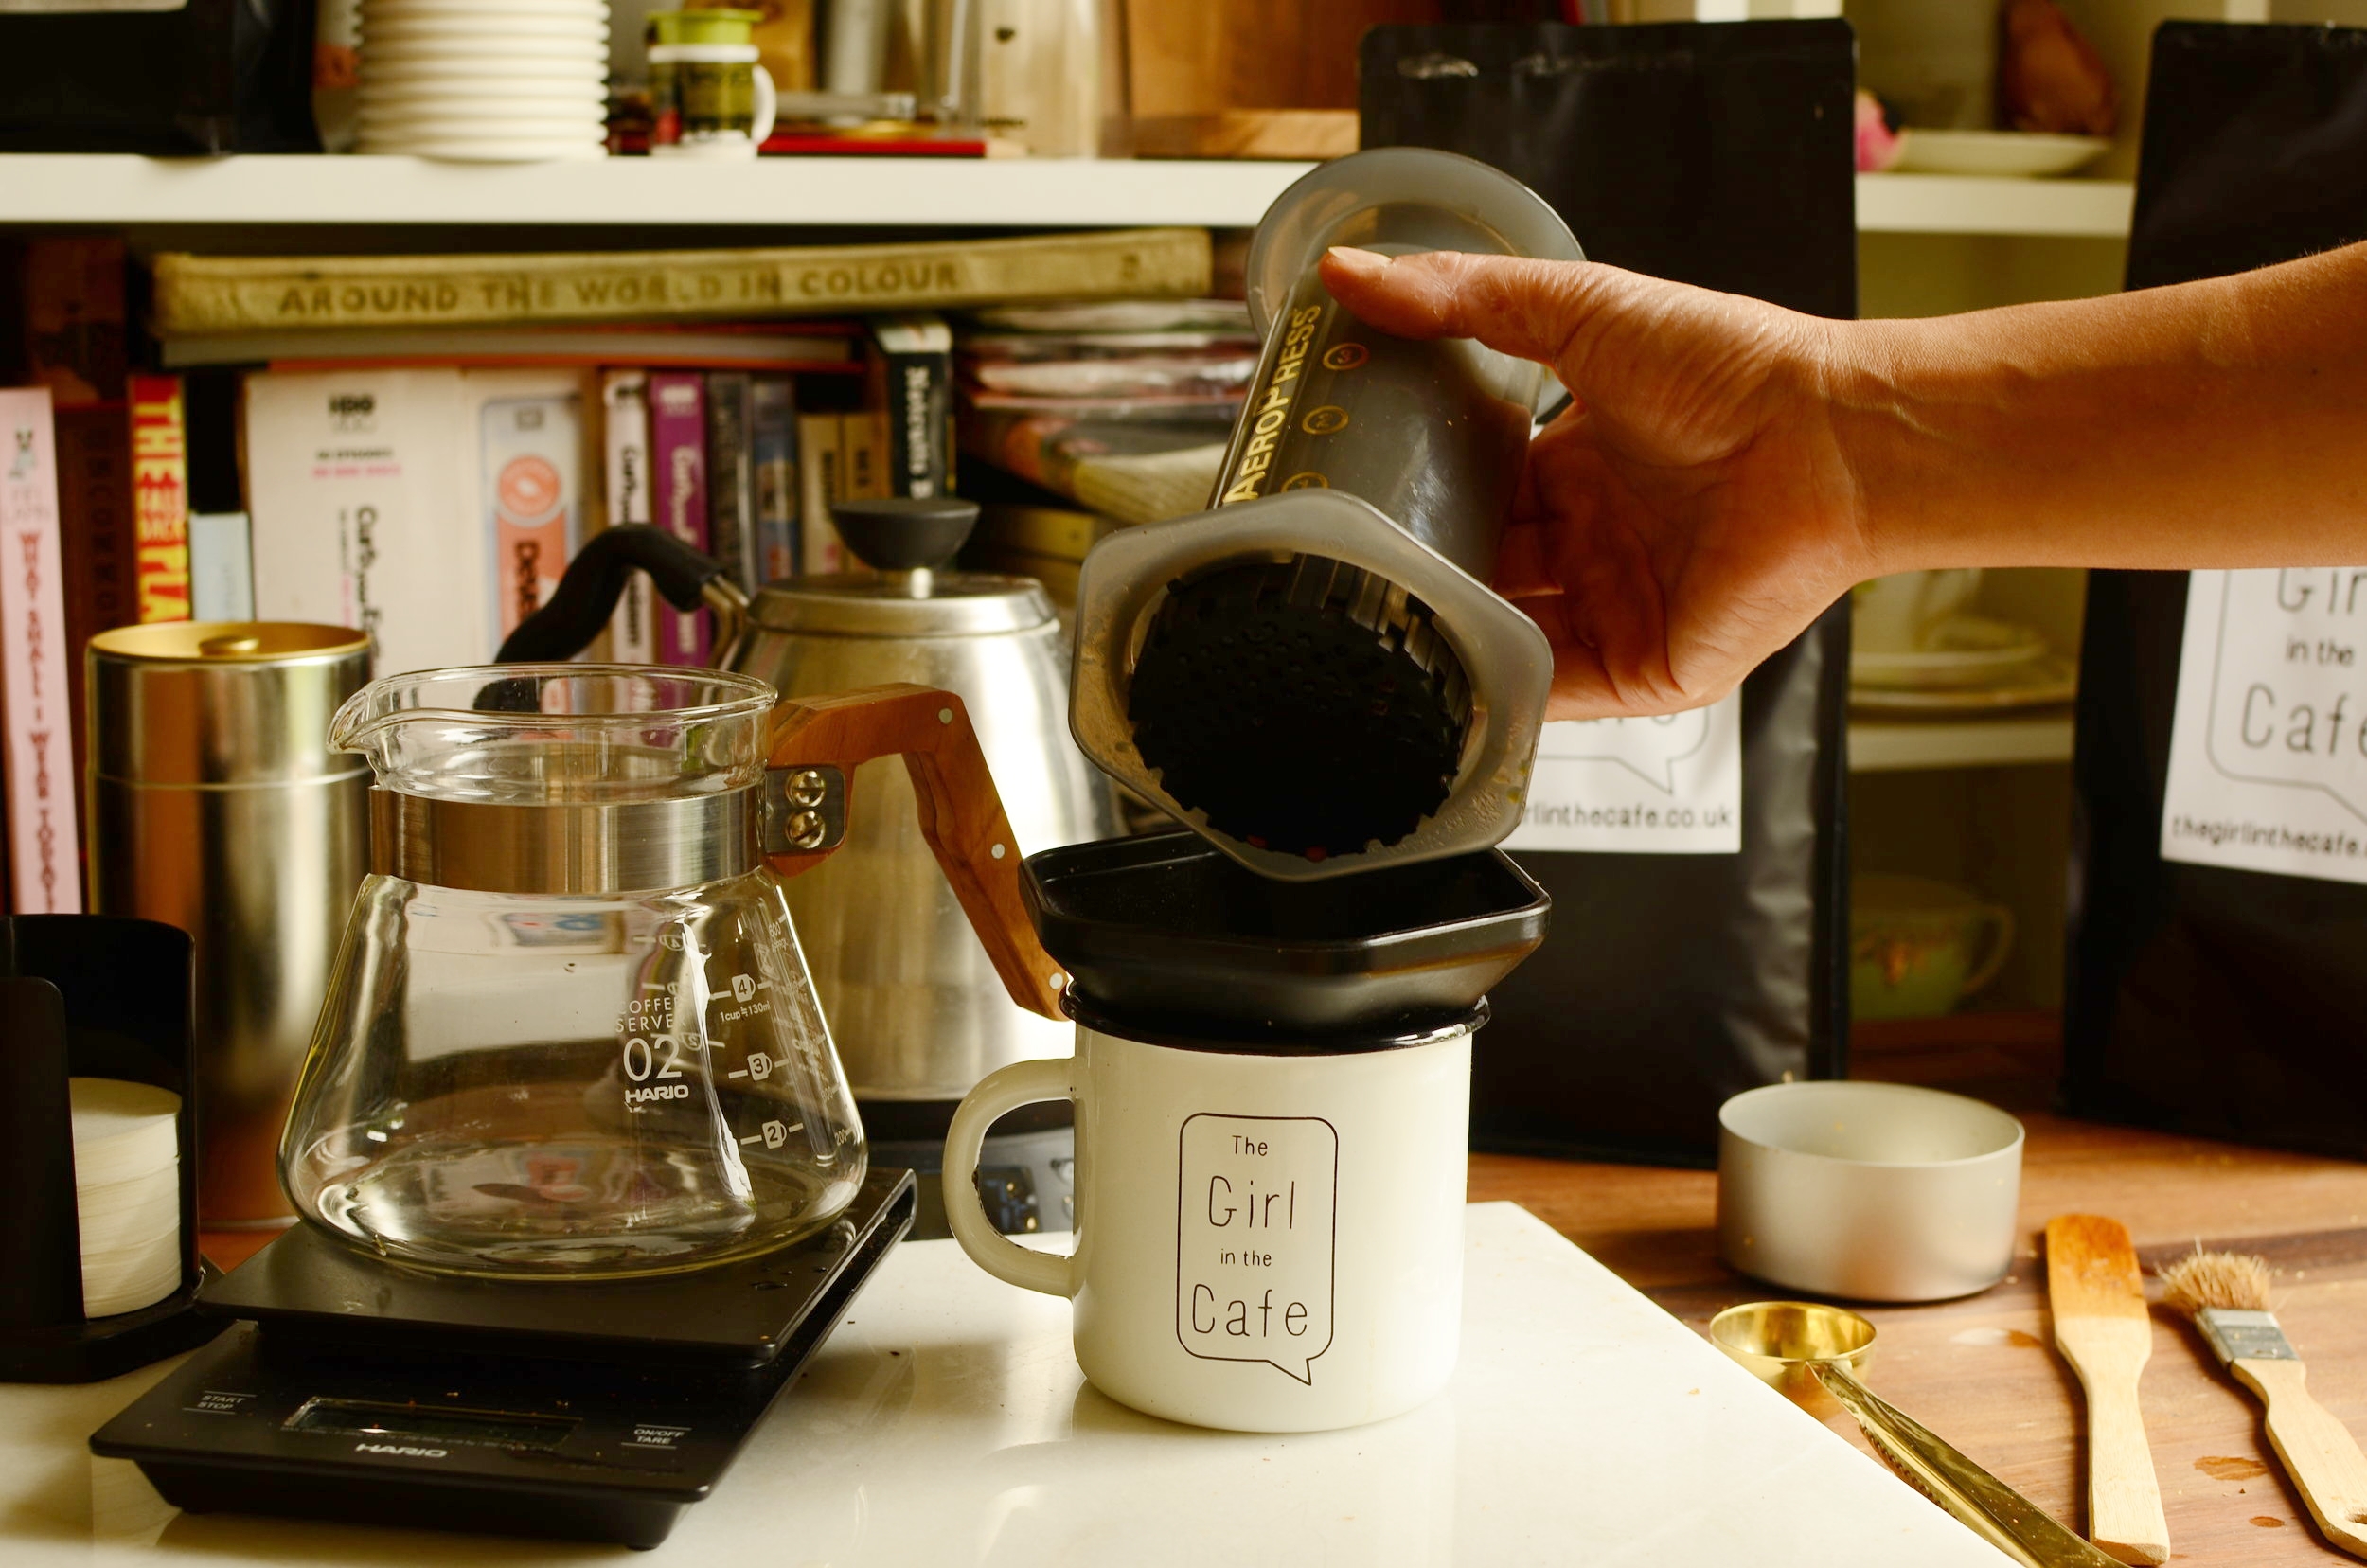
Take the perforated screen (lined with your rinsed filter papers) and place it over the brewed coffee and screw it on firmly.
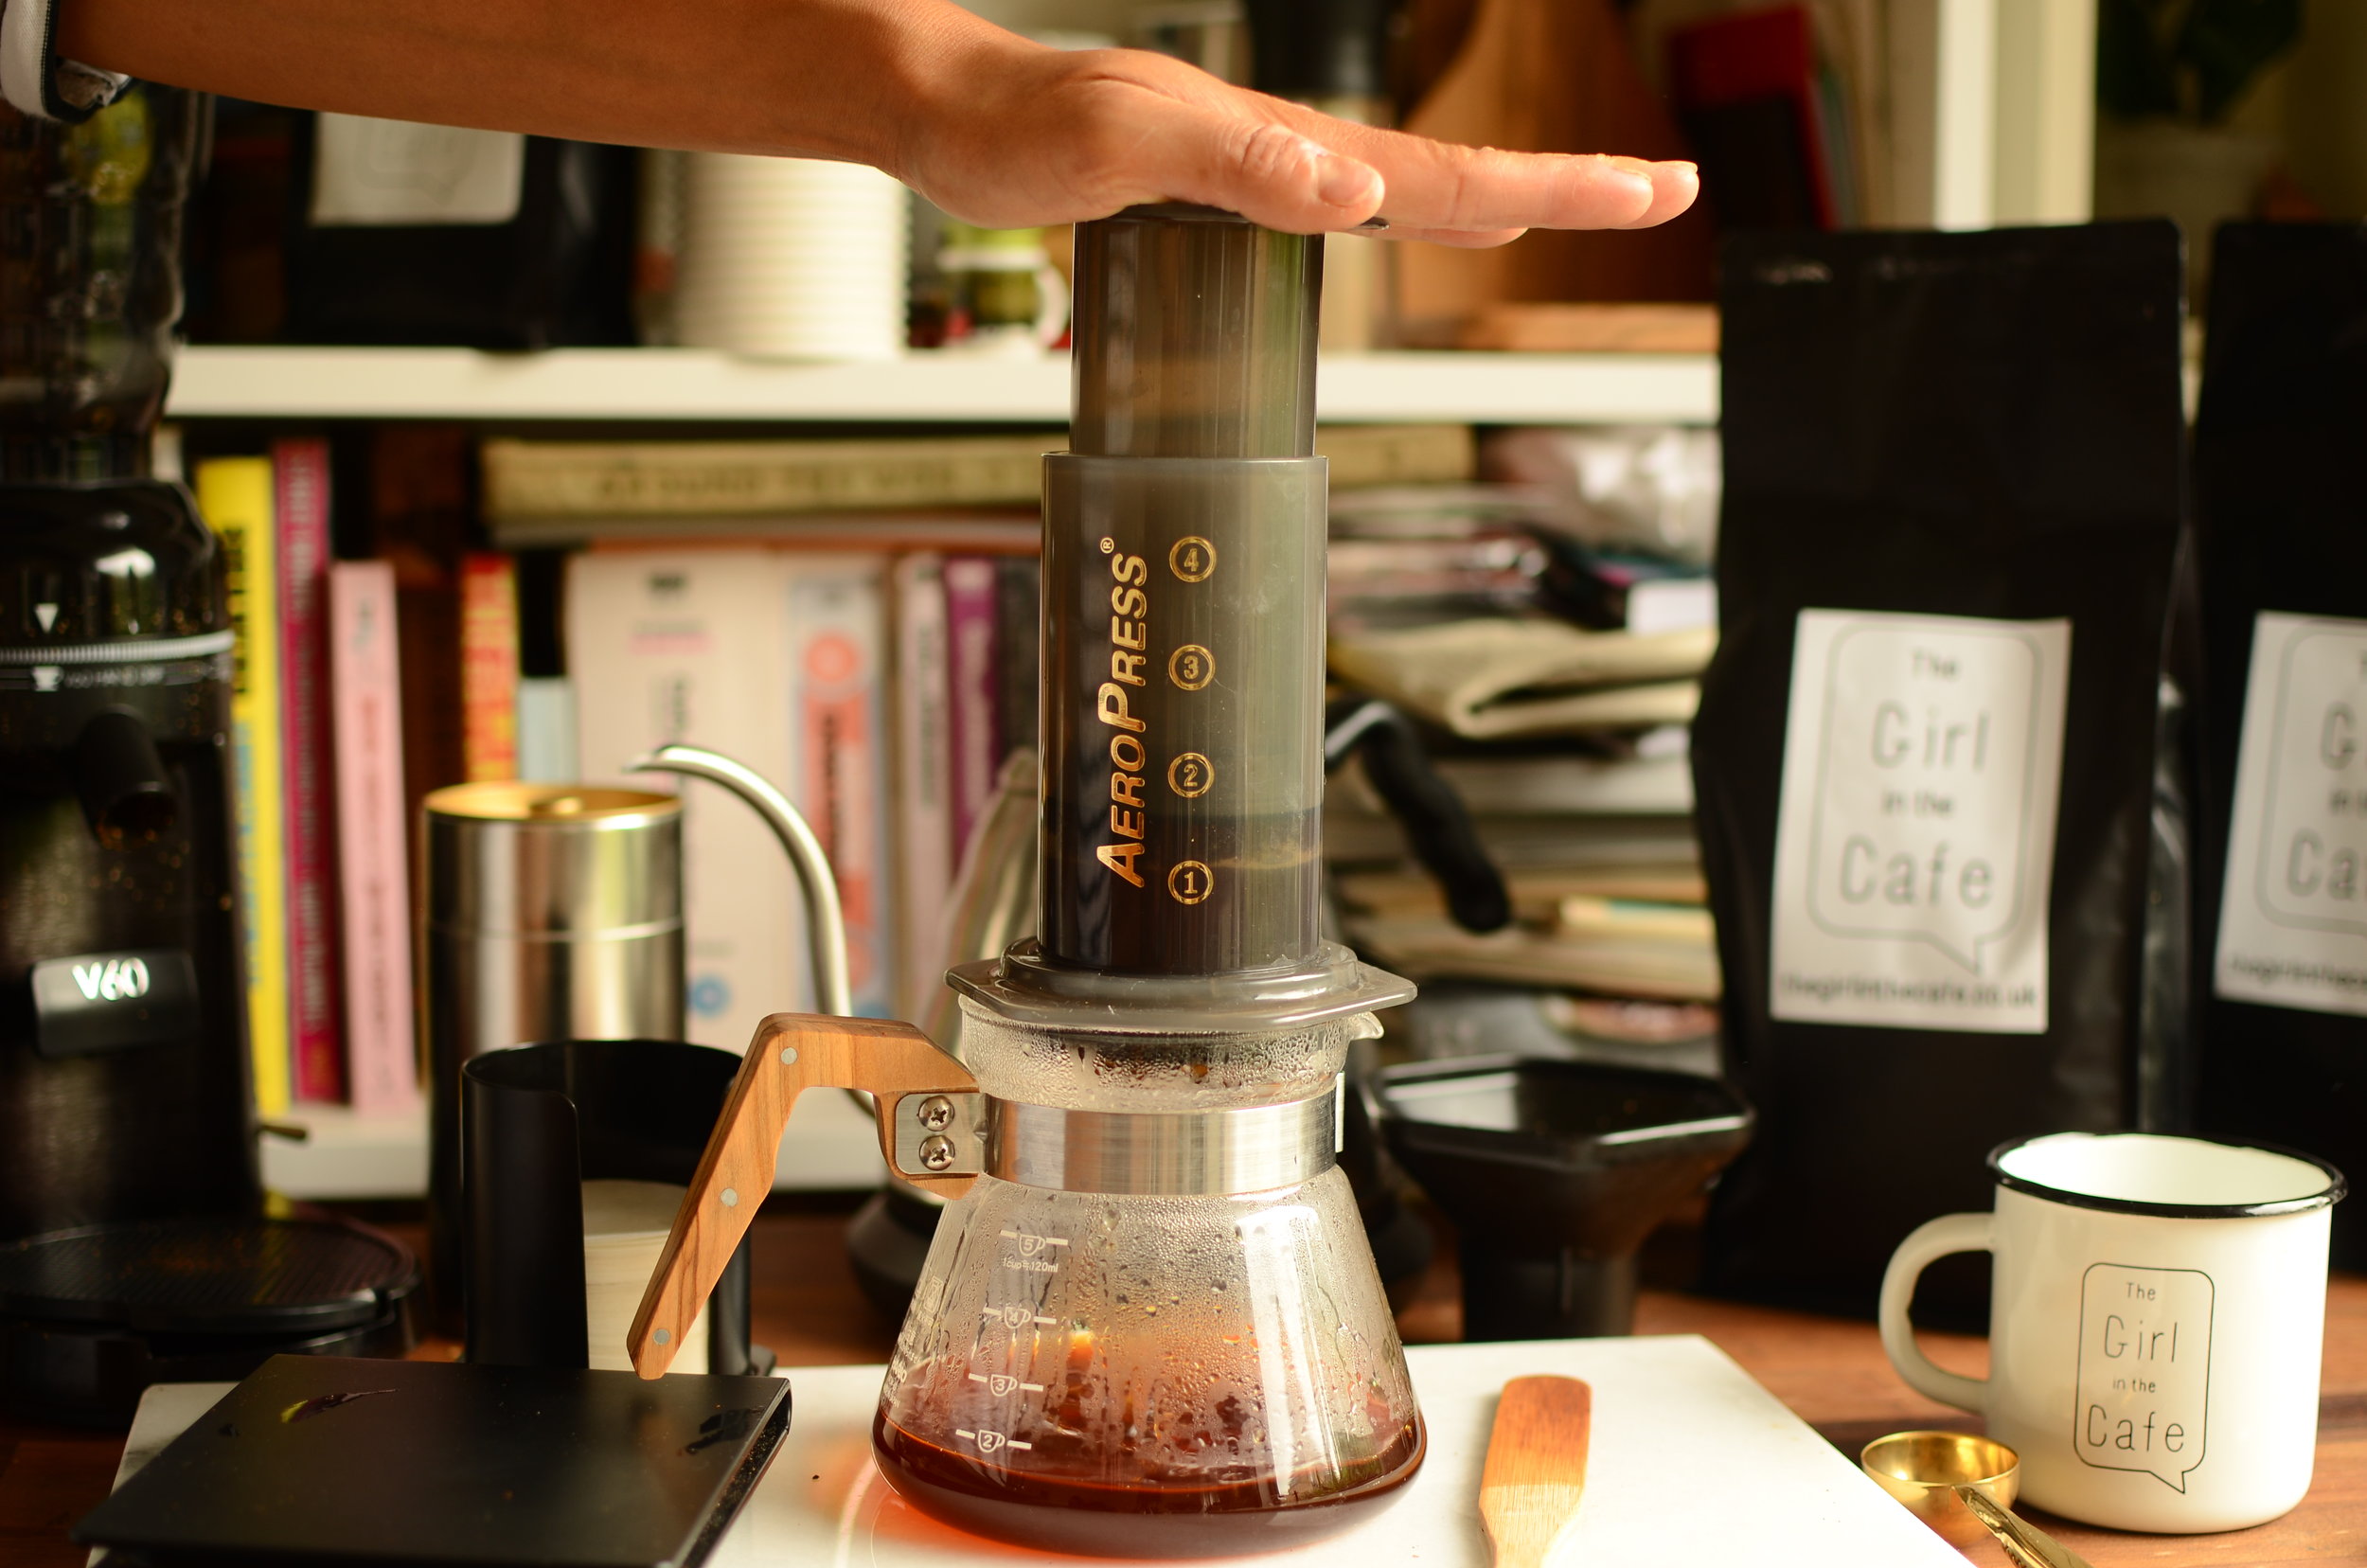
Here's the tricky part... (Not that tricky)...take the whole Aeropress and flip it onto your cup or vessel, making sure you are holding both parts together so that no coffee or liquid is lost!
If the cup opening is narrow, you can use the funnel to stop coffee dripping over the sides.
Using your hand, press down gently and smoothly - you will feel a good even resistance. I generally aim to take about 15 seconds to press the coffee fully.
Stop just when it starts to “wheeze” or “fizz”.
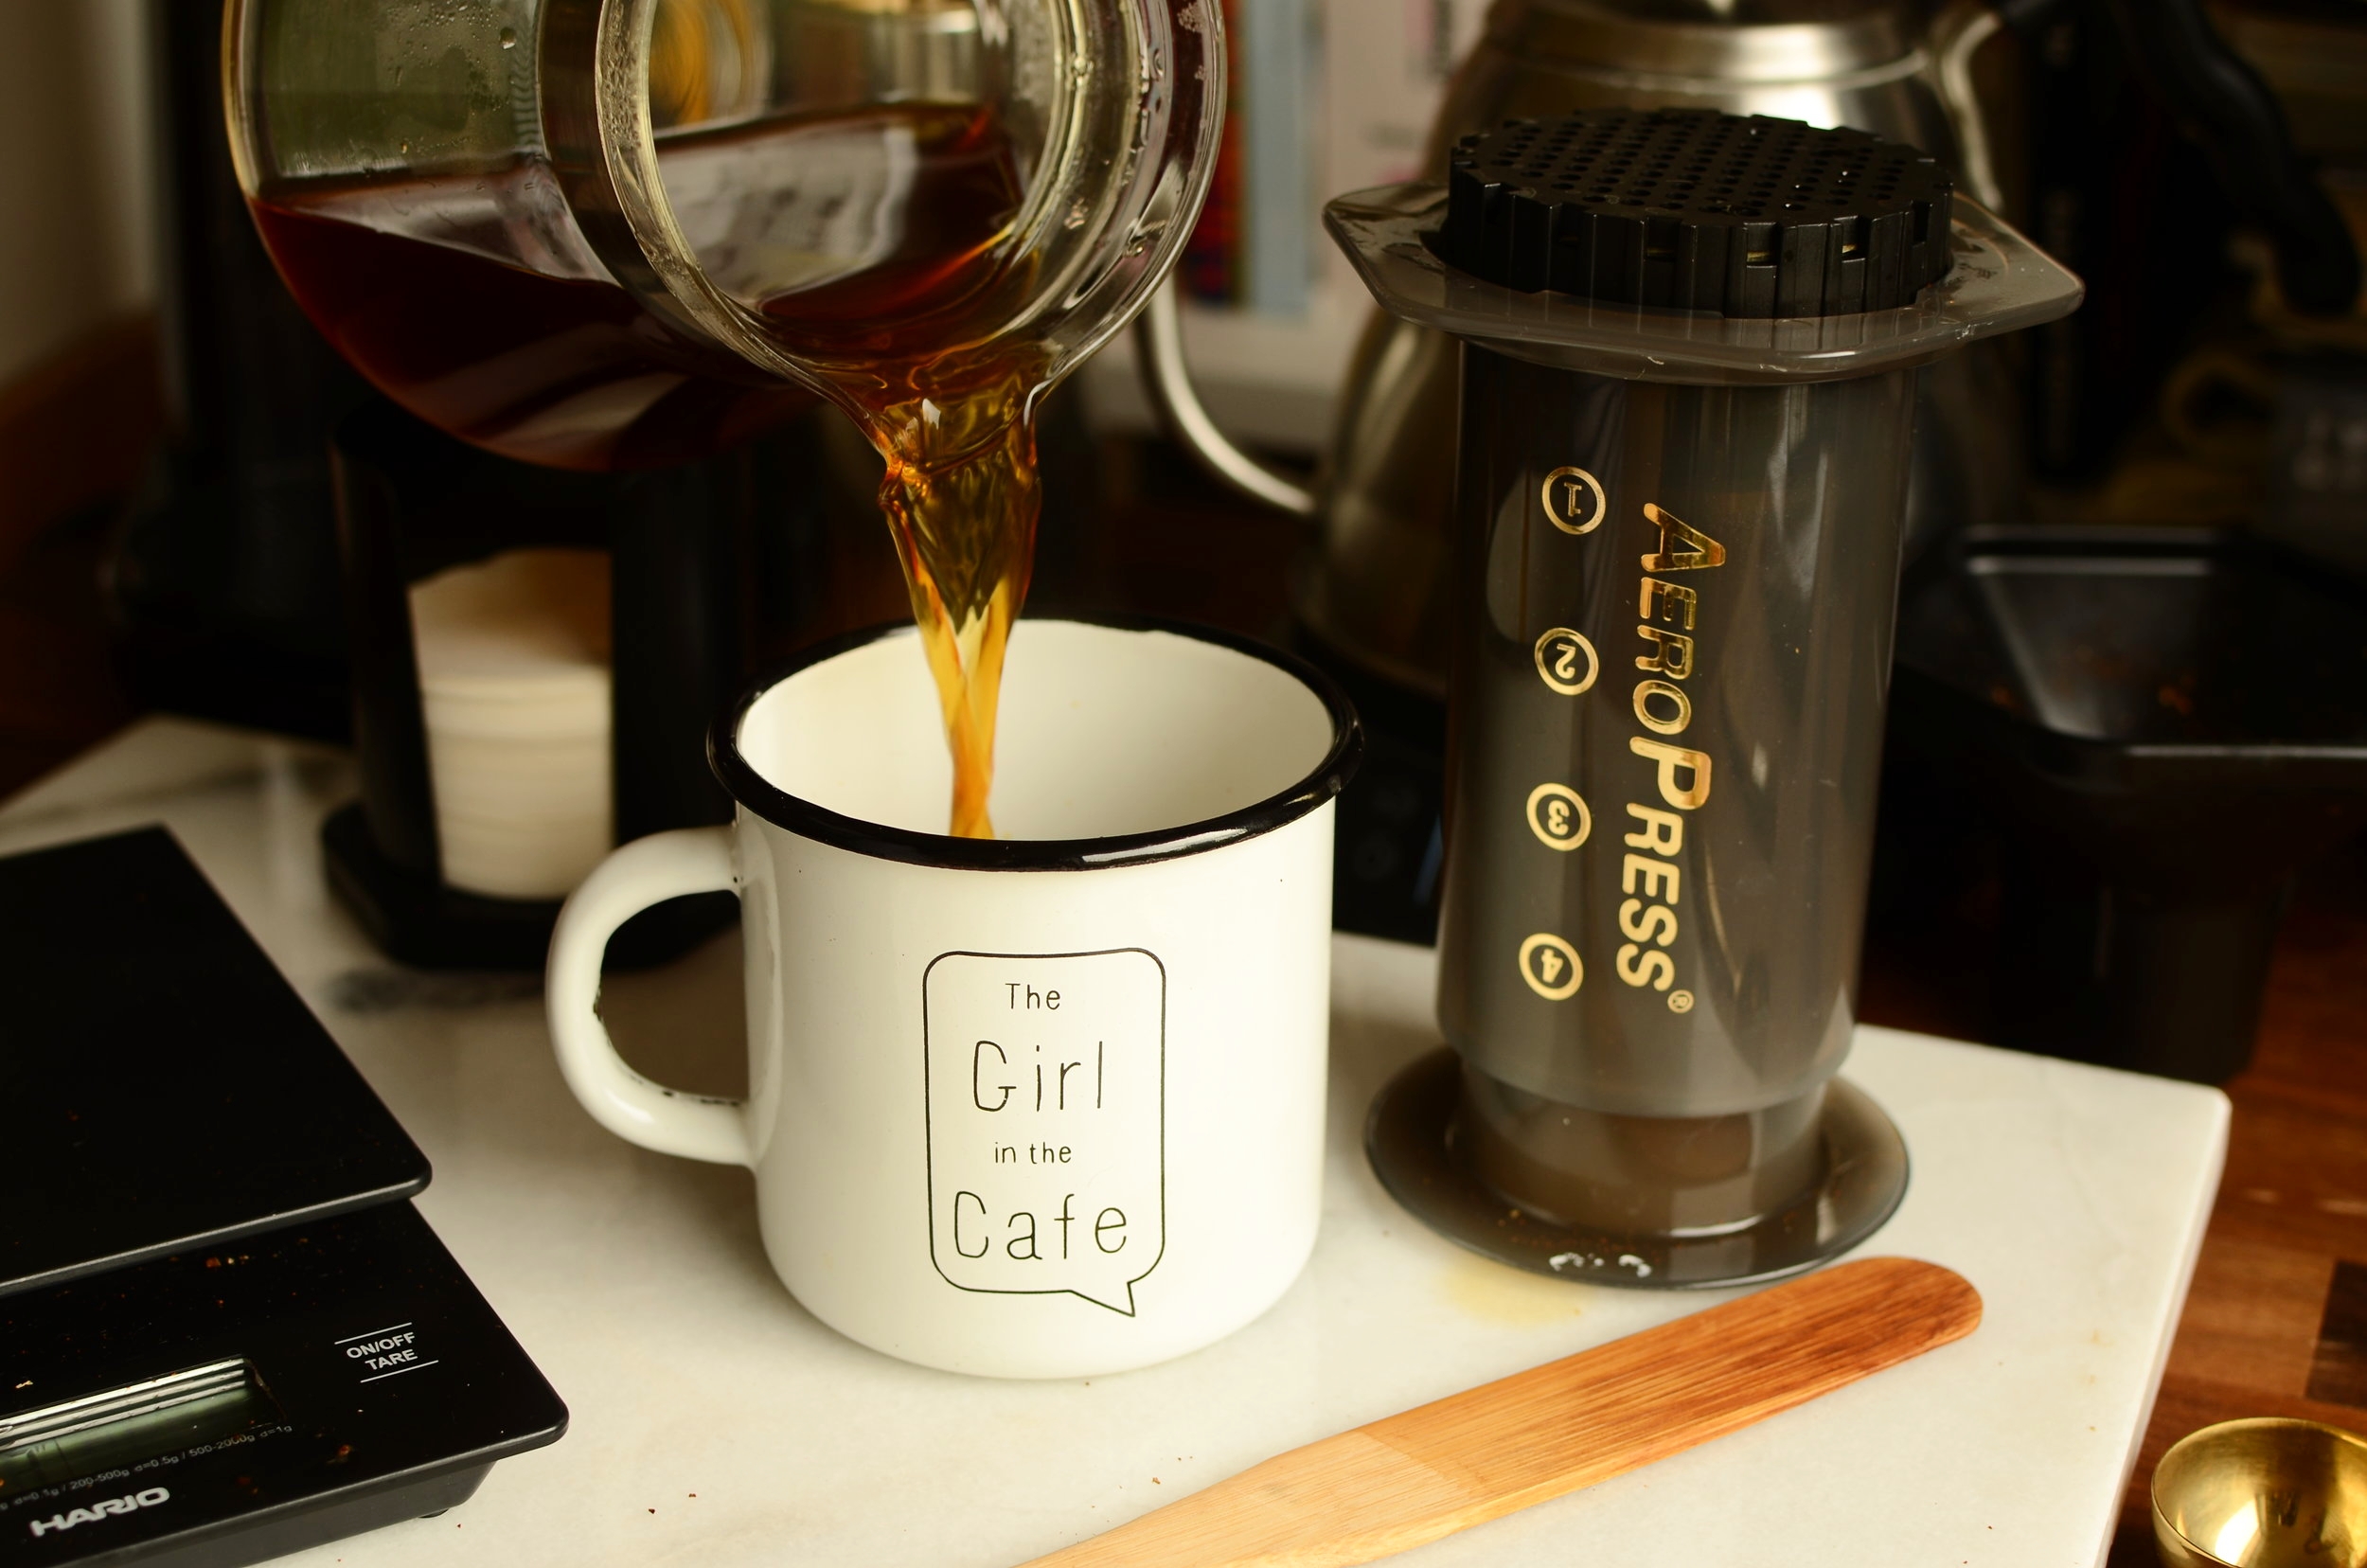
That’s it! Enjoy!!
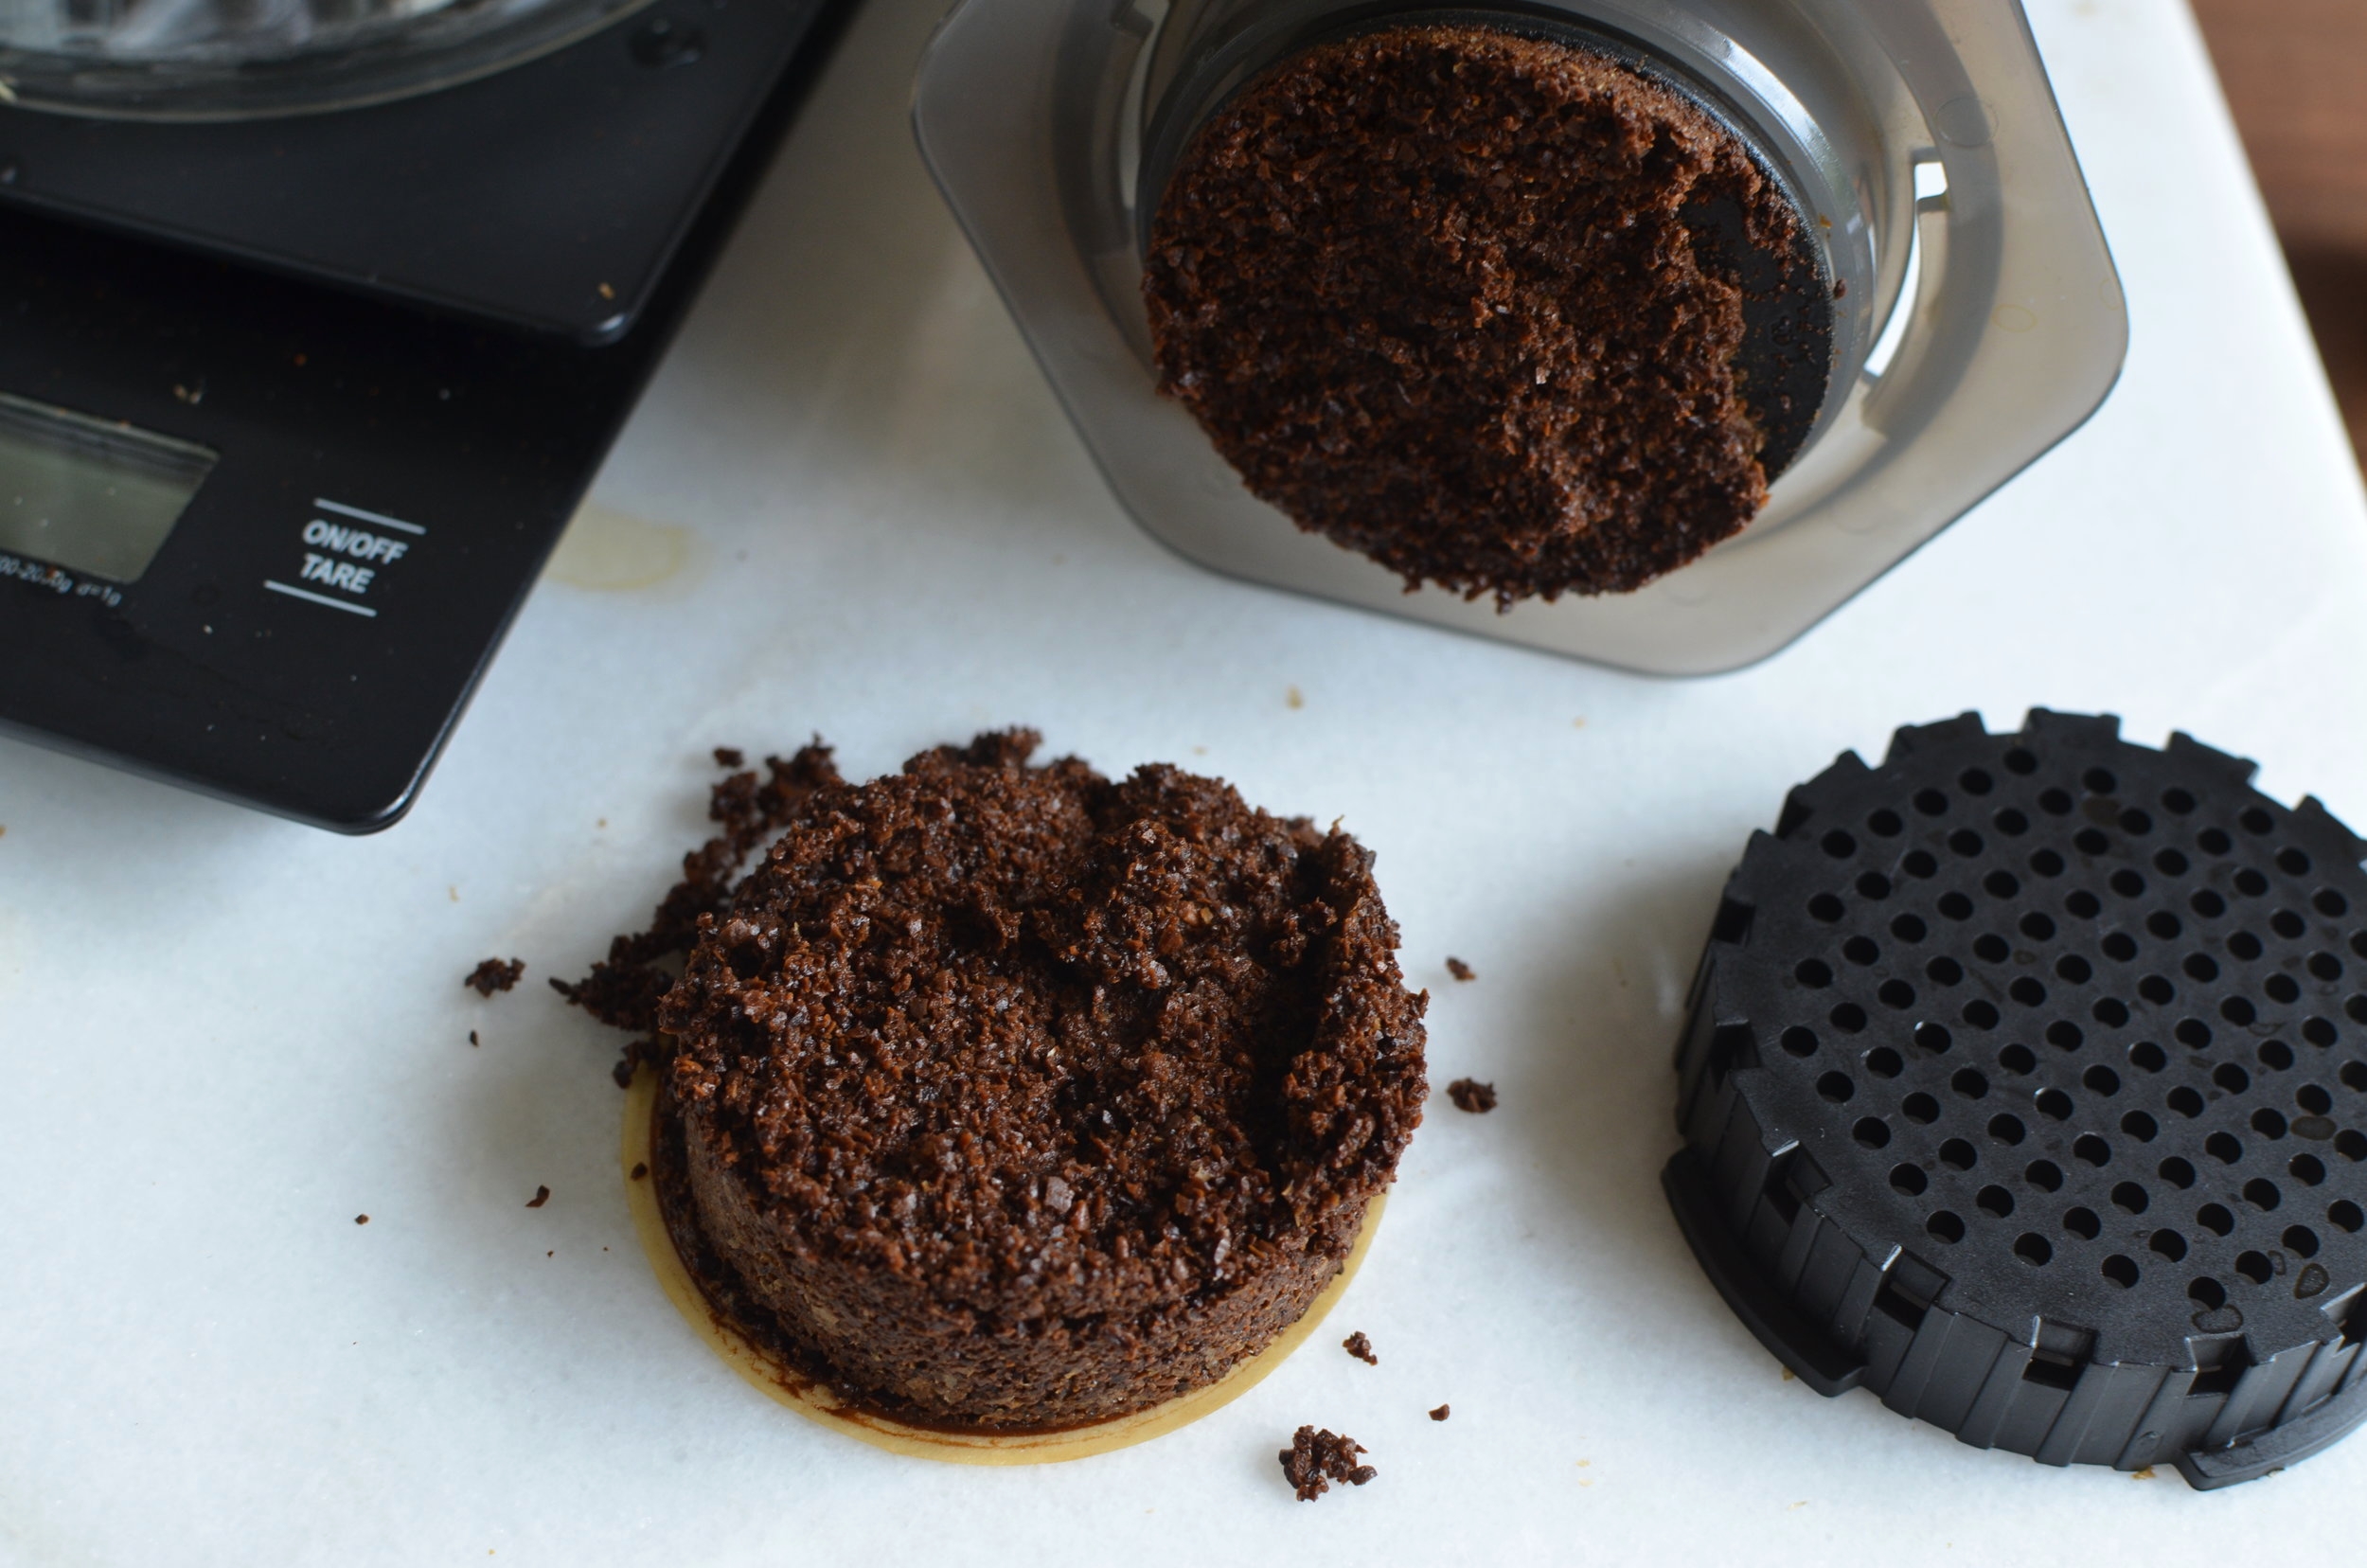
To discard the used coffee, unscrew the perforated screen and push the coffee puck out.
You’ve just made an Aeropress!!
If you find it's too strong or weak, you can either add water or next time, look at changing your coffee dose at the start. Either way it’s quick, easy and tasty…especially with MY TGITC COFFEE BEANS!!
*To try a 250g bag of TGITC filter coffee click here
Believe it or not, there is a World Aeropress Championship.... for other recipes from past and present champs, click here to check them out here
Update: New Video: How to make and aeropress
Shop these products here